
A Sony FX6 Shopping List
Introduction
I picked up a Sony FX6 in the fall of 2021 to work as a C-Cam on a series we were using 2 FX9’s on. I had previously owned the A7S3 as a b-cam for solo work but jumped at the opportunity to pick up the FX6 when I found one available. As we all know, its generally easier to work with the FX6 over the A7S3 (ND, XLRS, Timecode, SDI, etc). I sold the A7S3 to take a chunk out of the cost.
So why this list? Well I wanted to see what it would take to rig out the FX6 in a way that it could replace my FX9. Who doesn’t want a slightly lighter, less power hungry Sony full frame camera? So here is list of accessories to shoulder rig the FX6 in more or less the same way I have my FX9 rigged.
Note: I’ve given less explanation about certain things in this list as I feel like my choices are influenced and informed by my experience building out the FS7 and FX9 with similar accessories. Please take a look there for more in depth information. FX9 Shopping List, FS7 Shopping List
Camera rigging
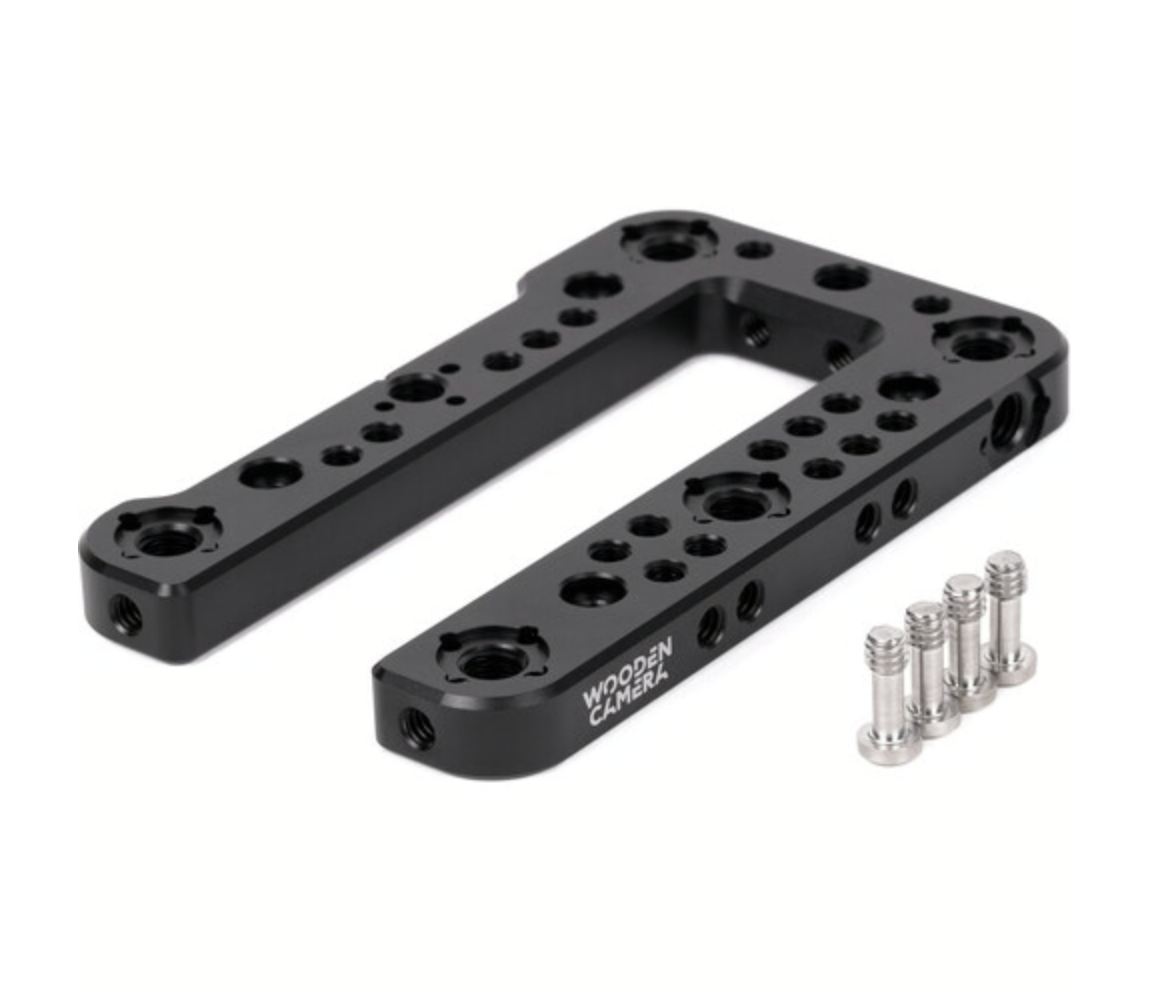
Wooden Camera FX6 Top Plate
Price: $195.00
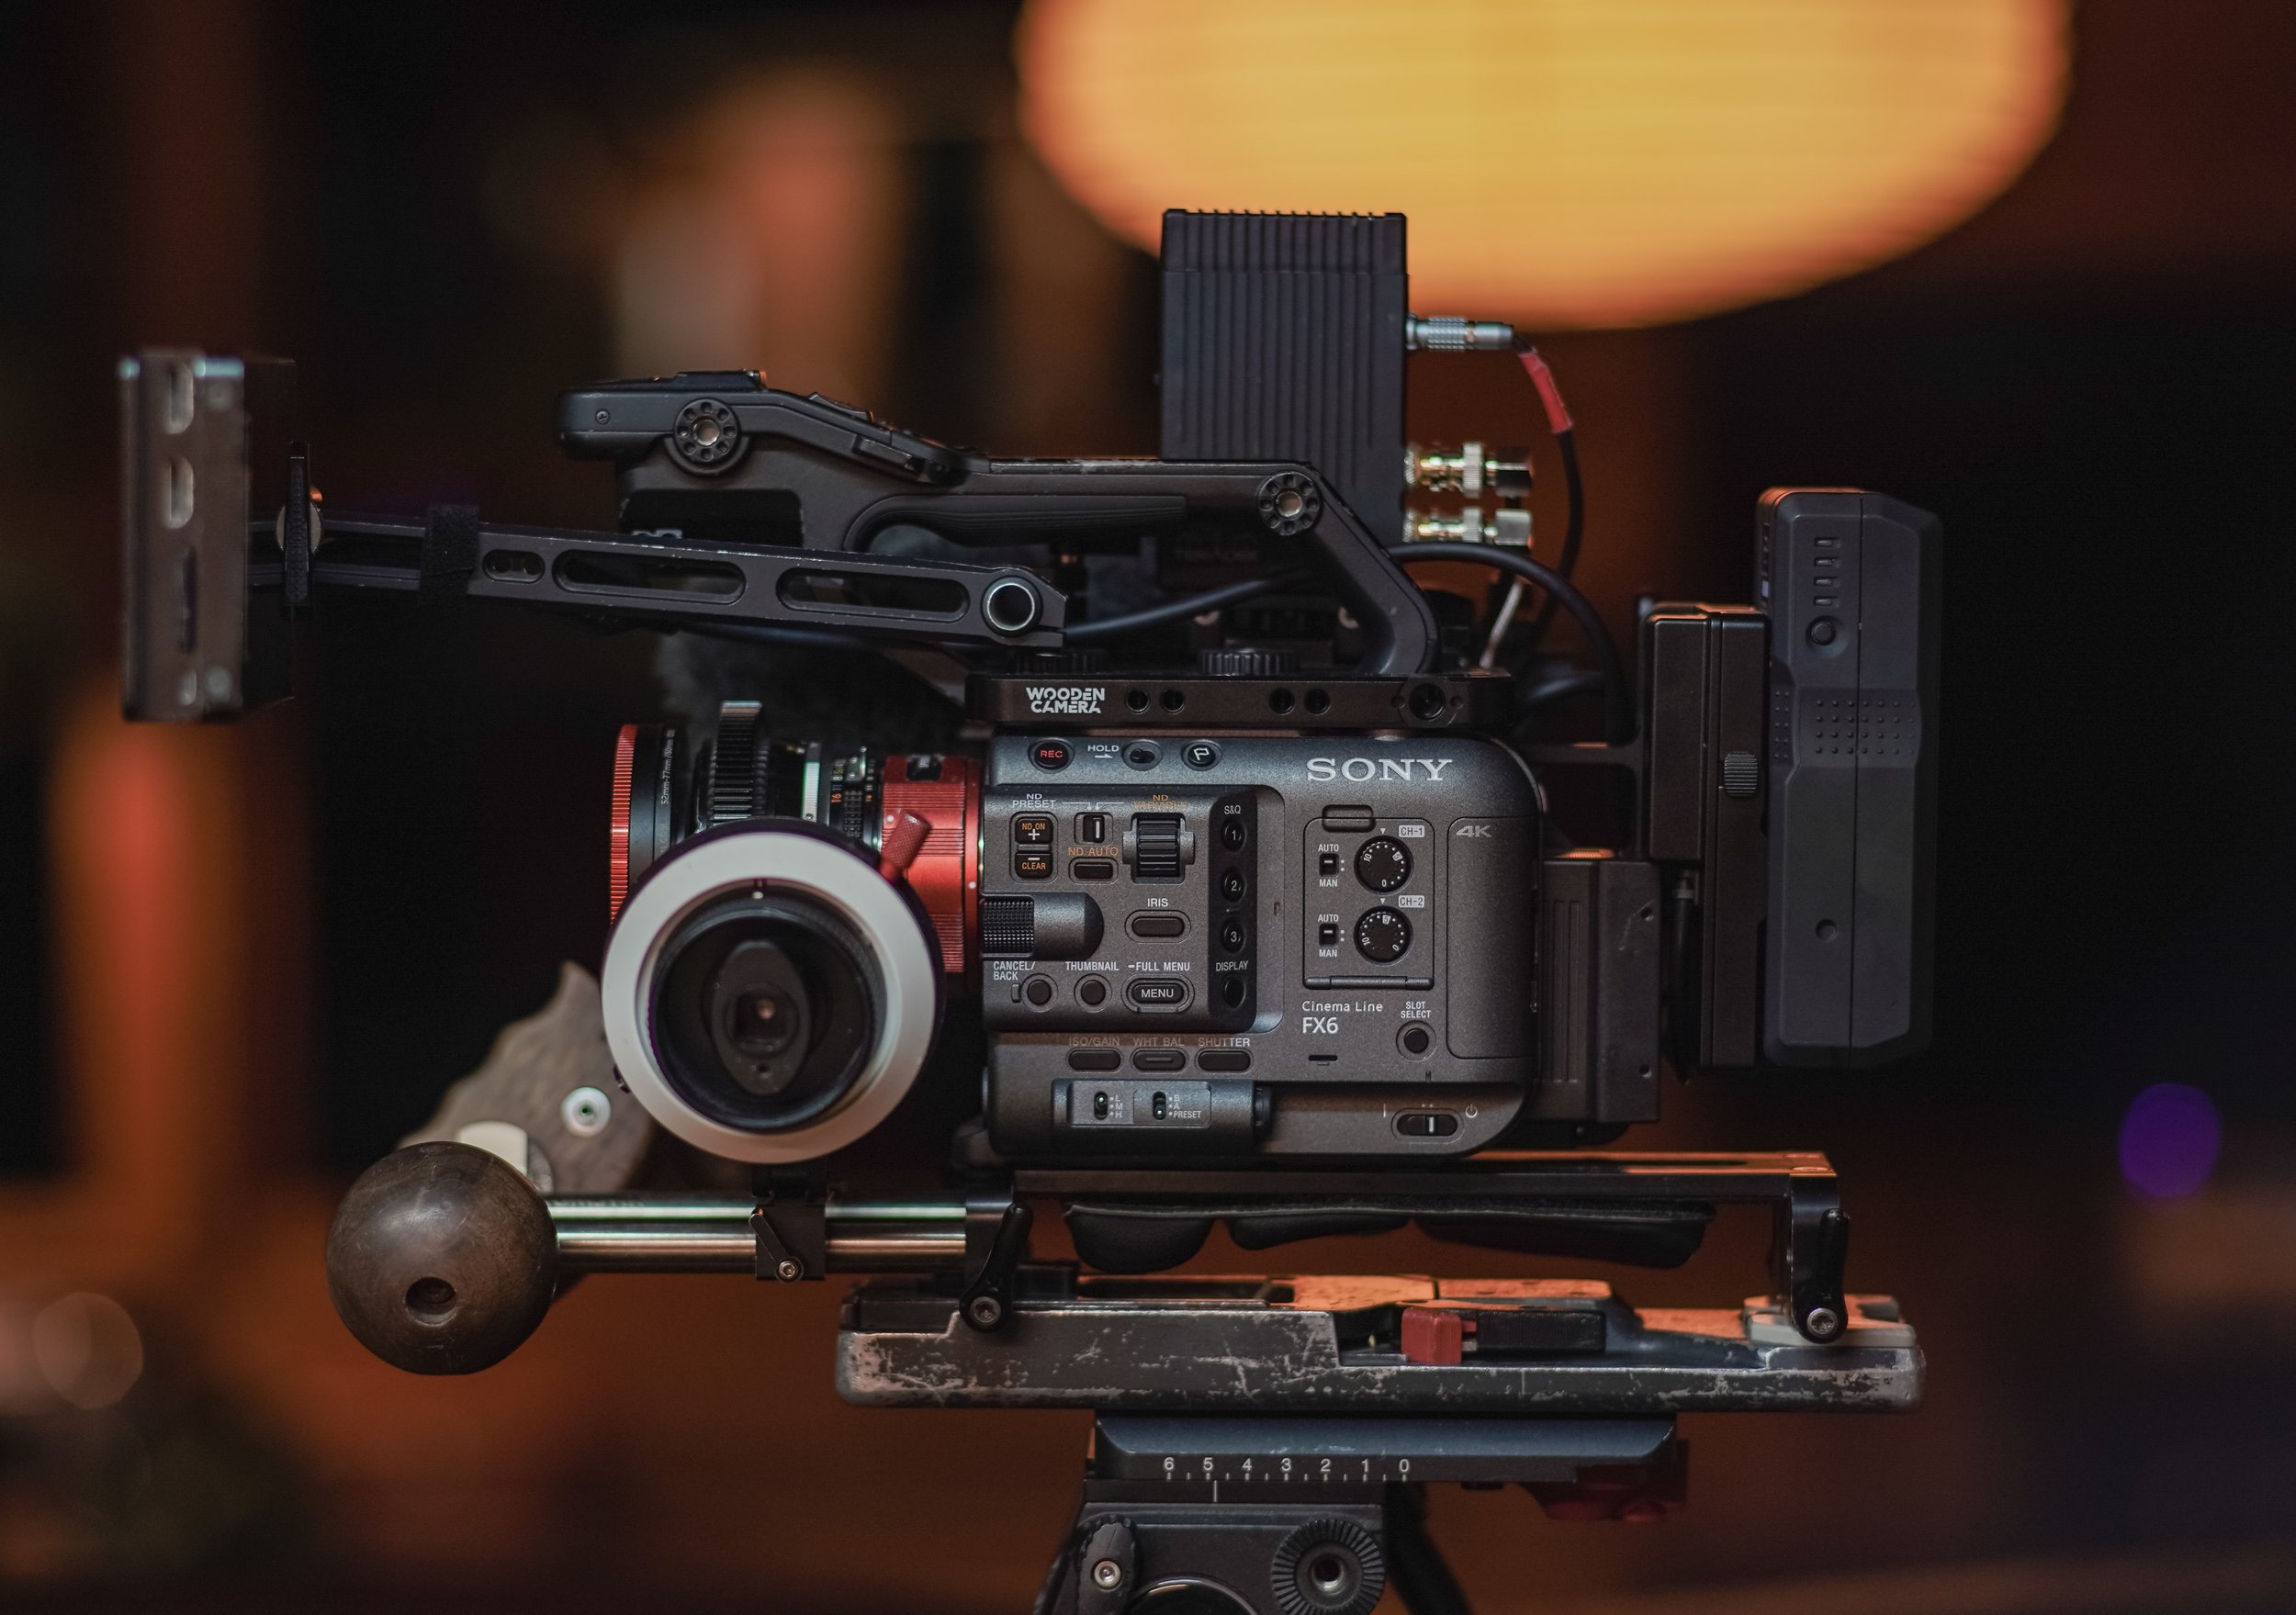
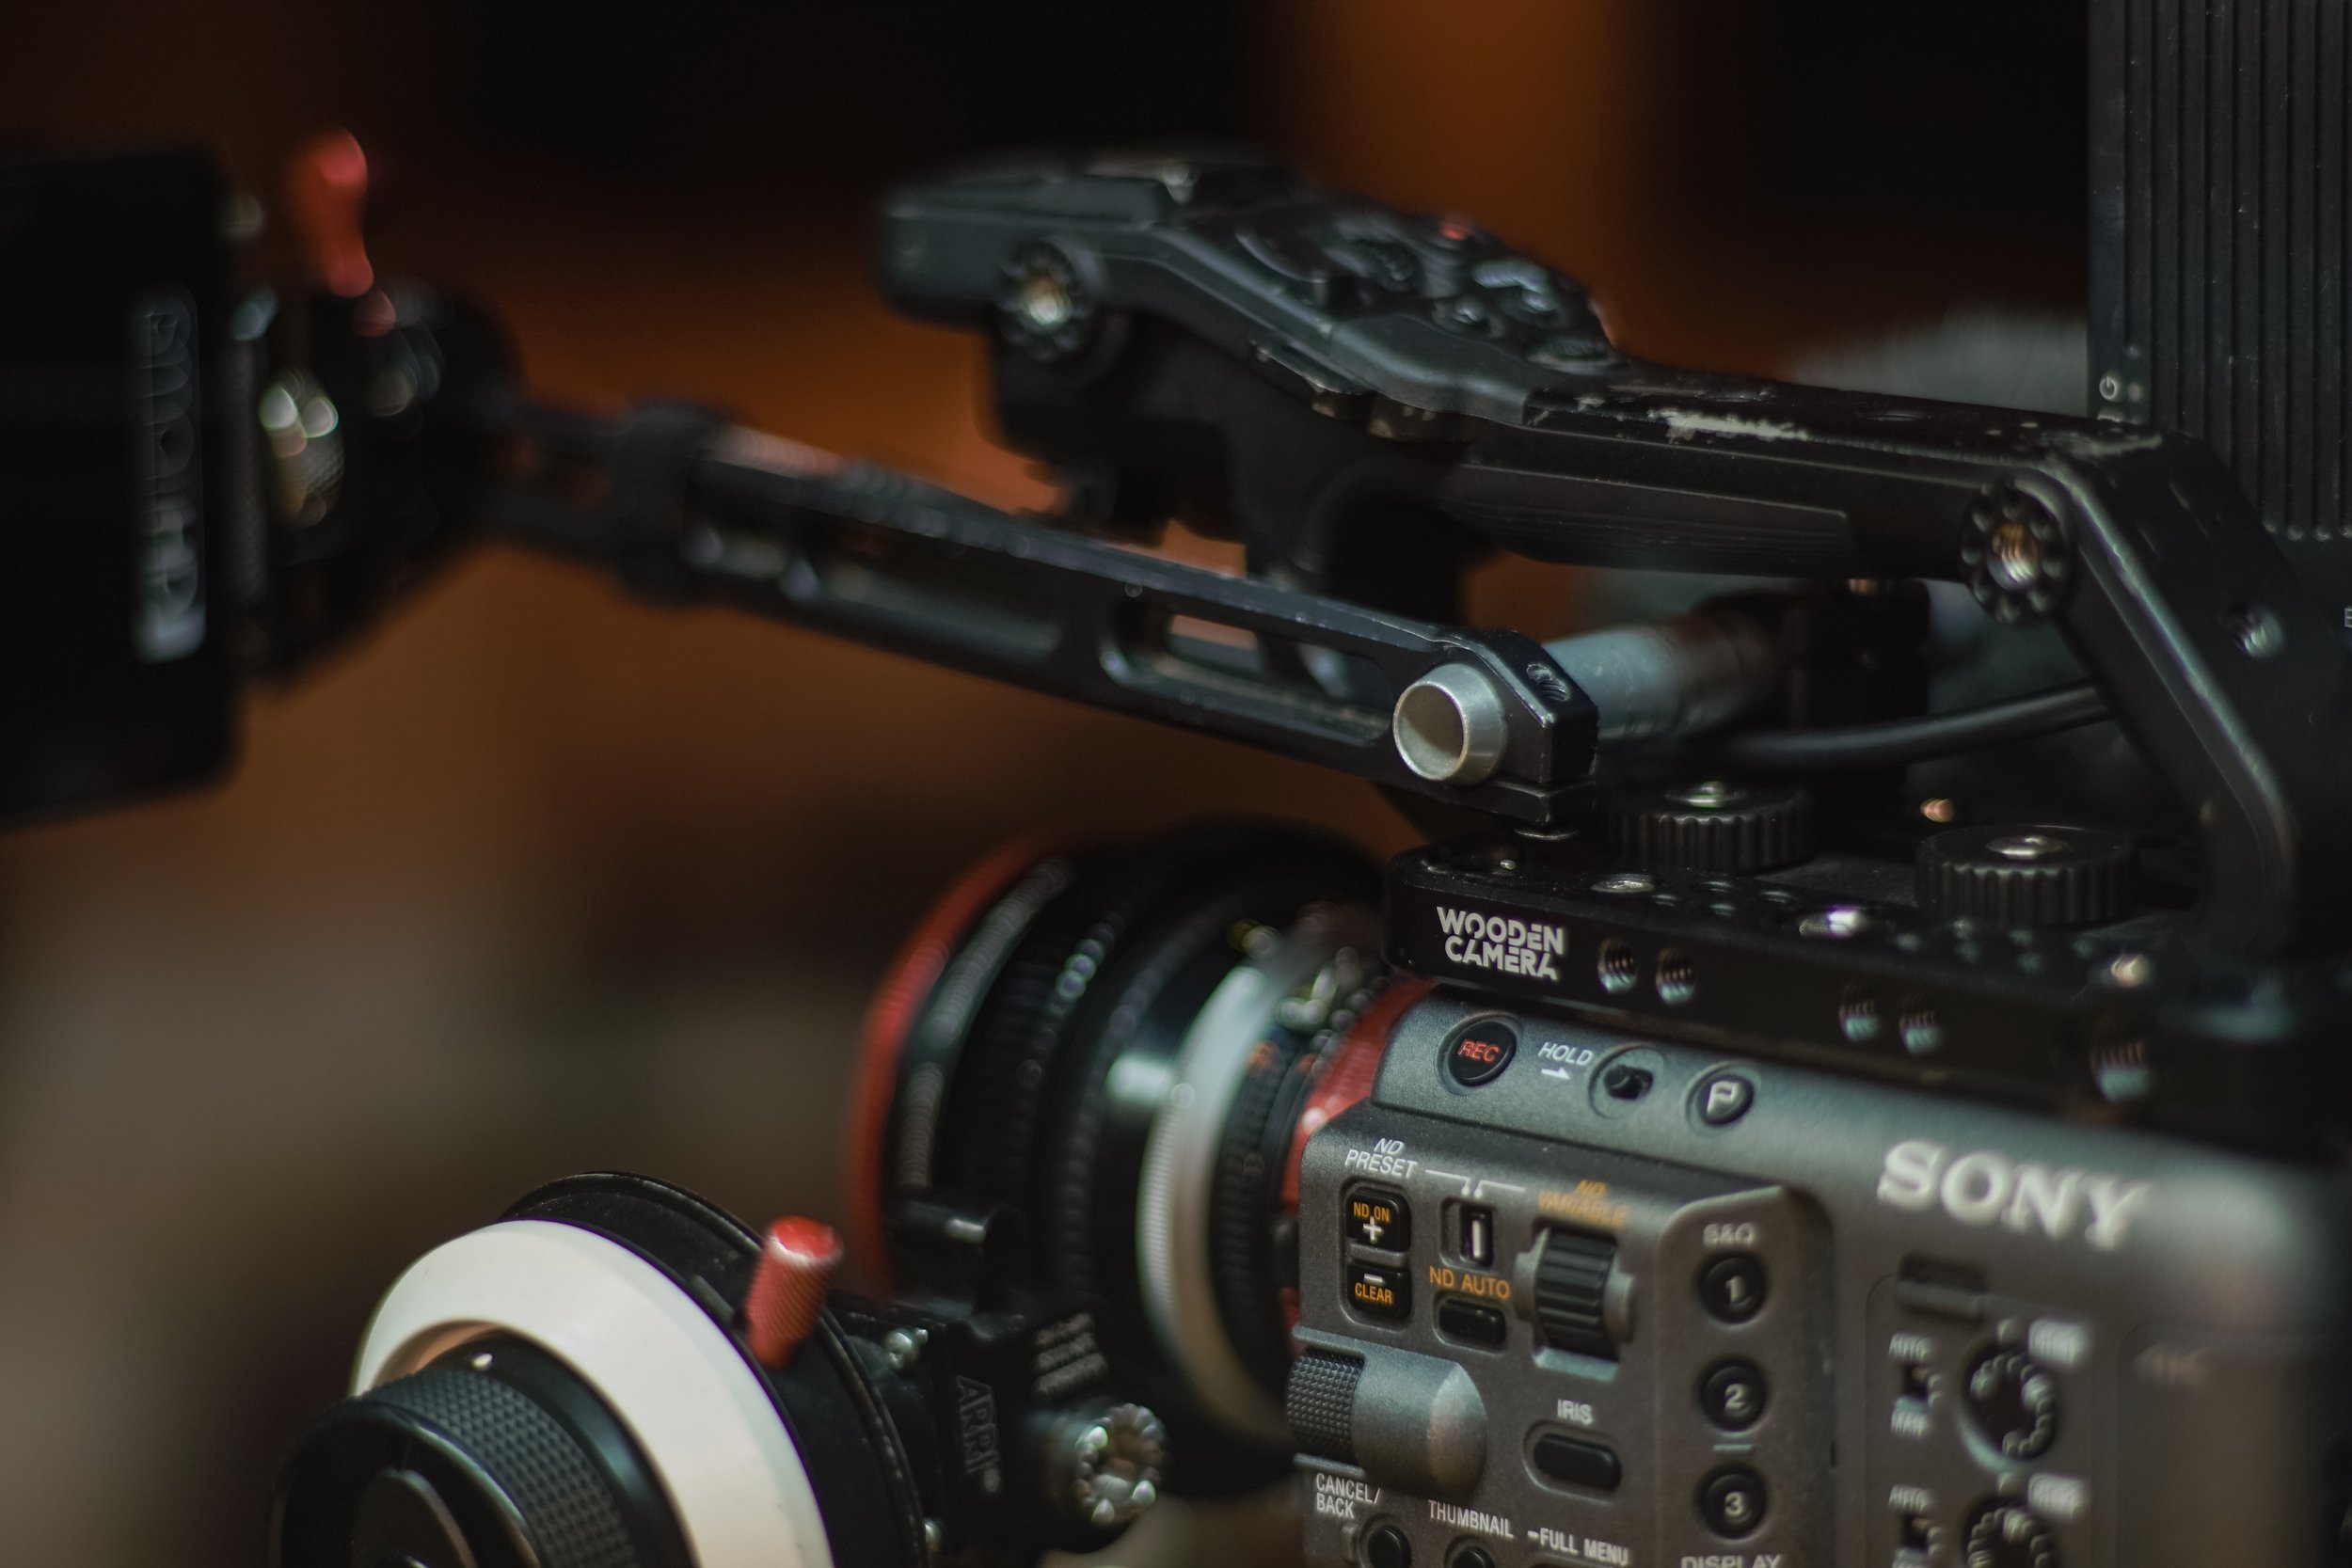
I started off with the Tilta plate has a I had a hard time seeing how this was worth the price. But after switching plates I found that this plate is better suited for how I rig my camera. The right side (dumb side) has standard mount points and the space to put a Teradek transmitter and re-locate my shotgun mic like I have on my FX9. This was a tall order with all the other plates I was looking at. Additionally it is compatible with WC’s PL lens adapter support bracket.
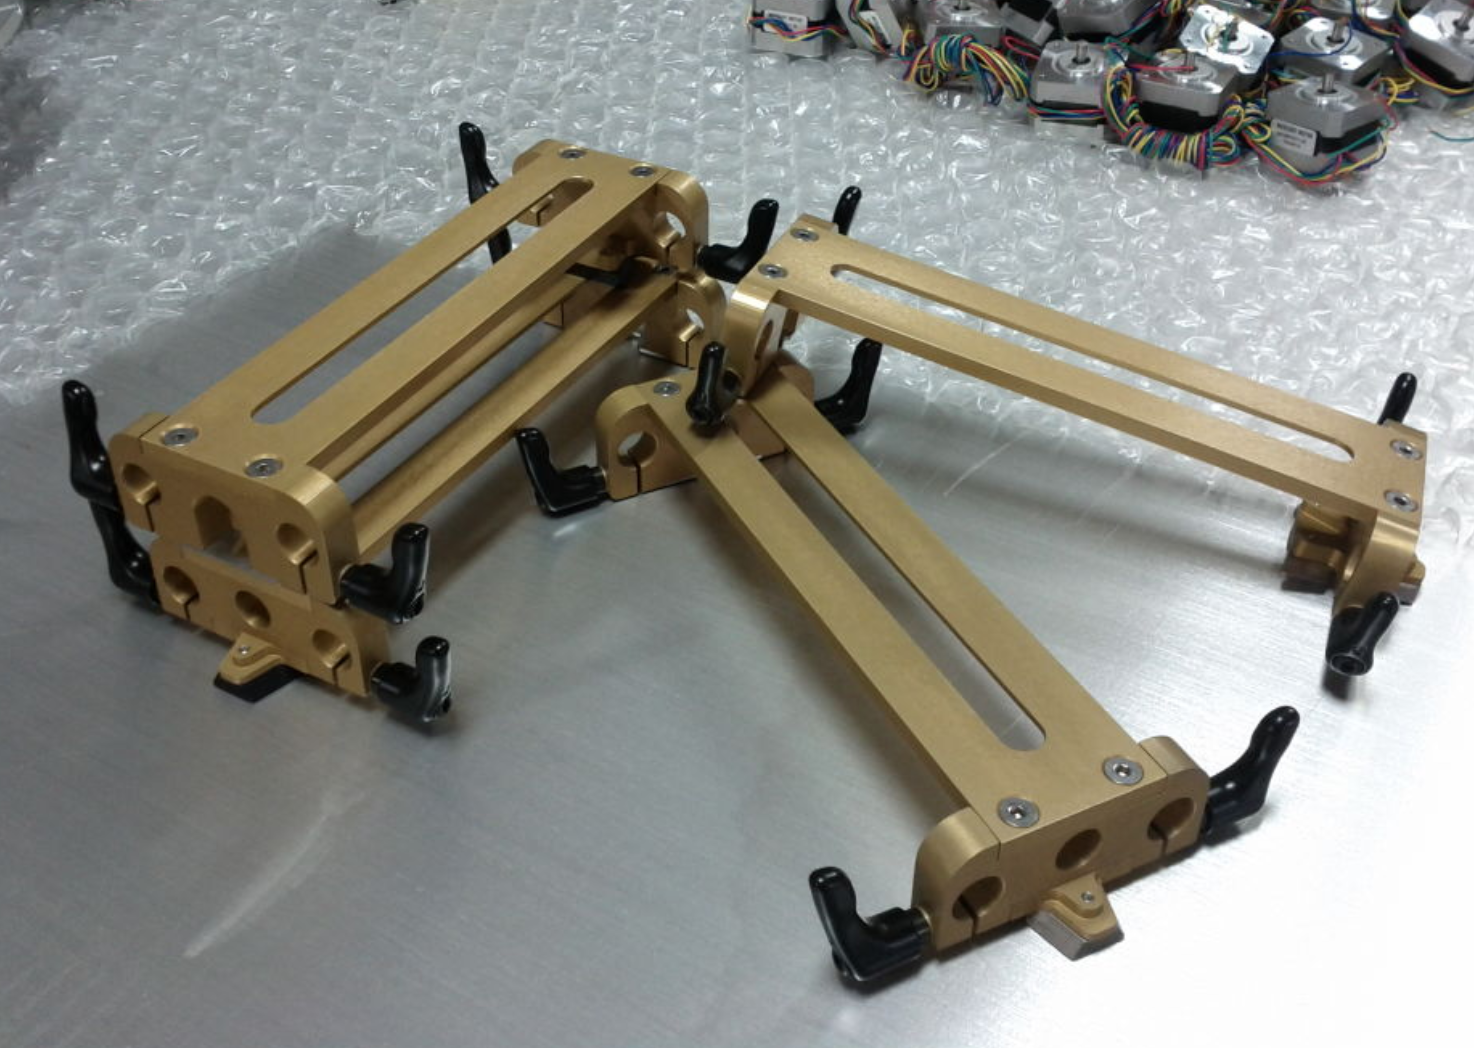
Prototypes of the Rush Design plate. They now ship in Black.
RushDesign Lightweight VCT Baseplate
Price: $600.00
This light weight baseplate from Rush Design is the lightest base plate I’ve ever used and I really love its minimalist design. I’ve written about this in more detail in article for NewsShooter.com, so I’ll leave it this section short. I’m currently using a Shape replacement shoulder pad part ($30.00) as my shoulder pad. It comes out of the box with velcro attached and ready to be stuck on the bottom of the Rush Design plate.
**As of 2/2023 it seems that Rush is including the Shape shoulder pad and the kipp levers with their basement.
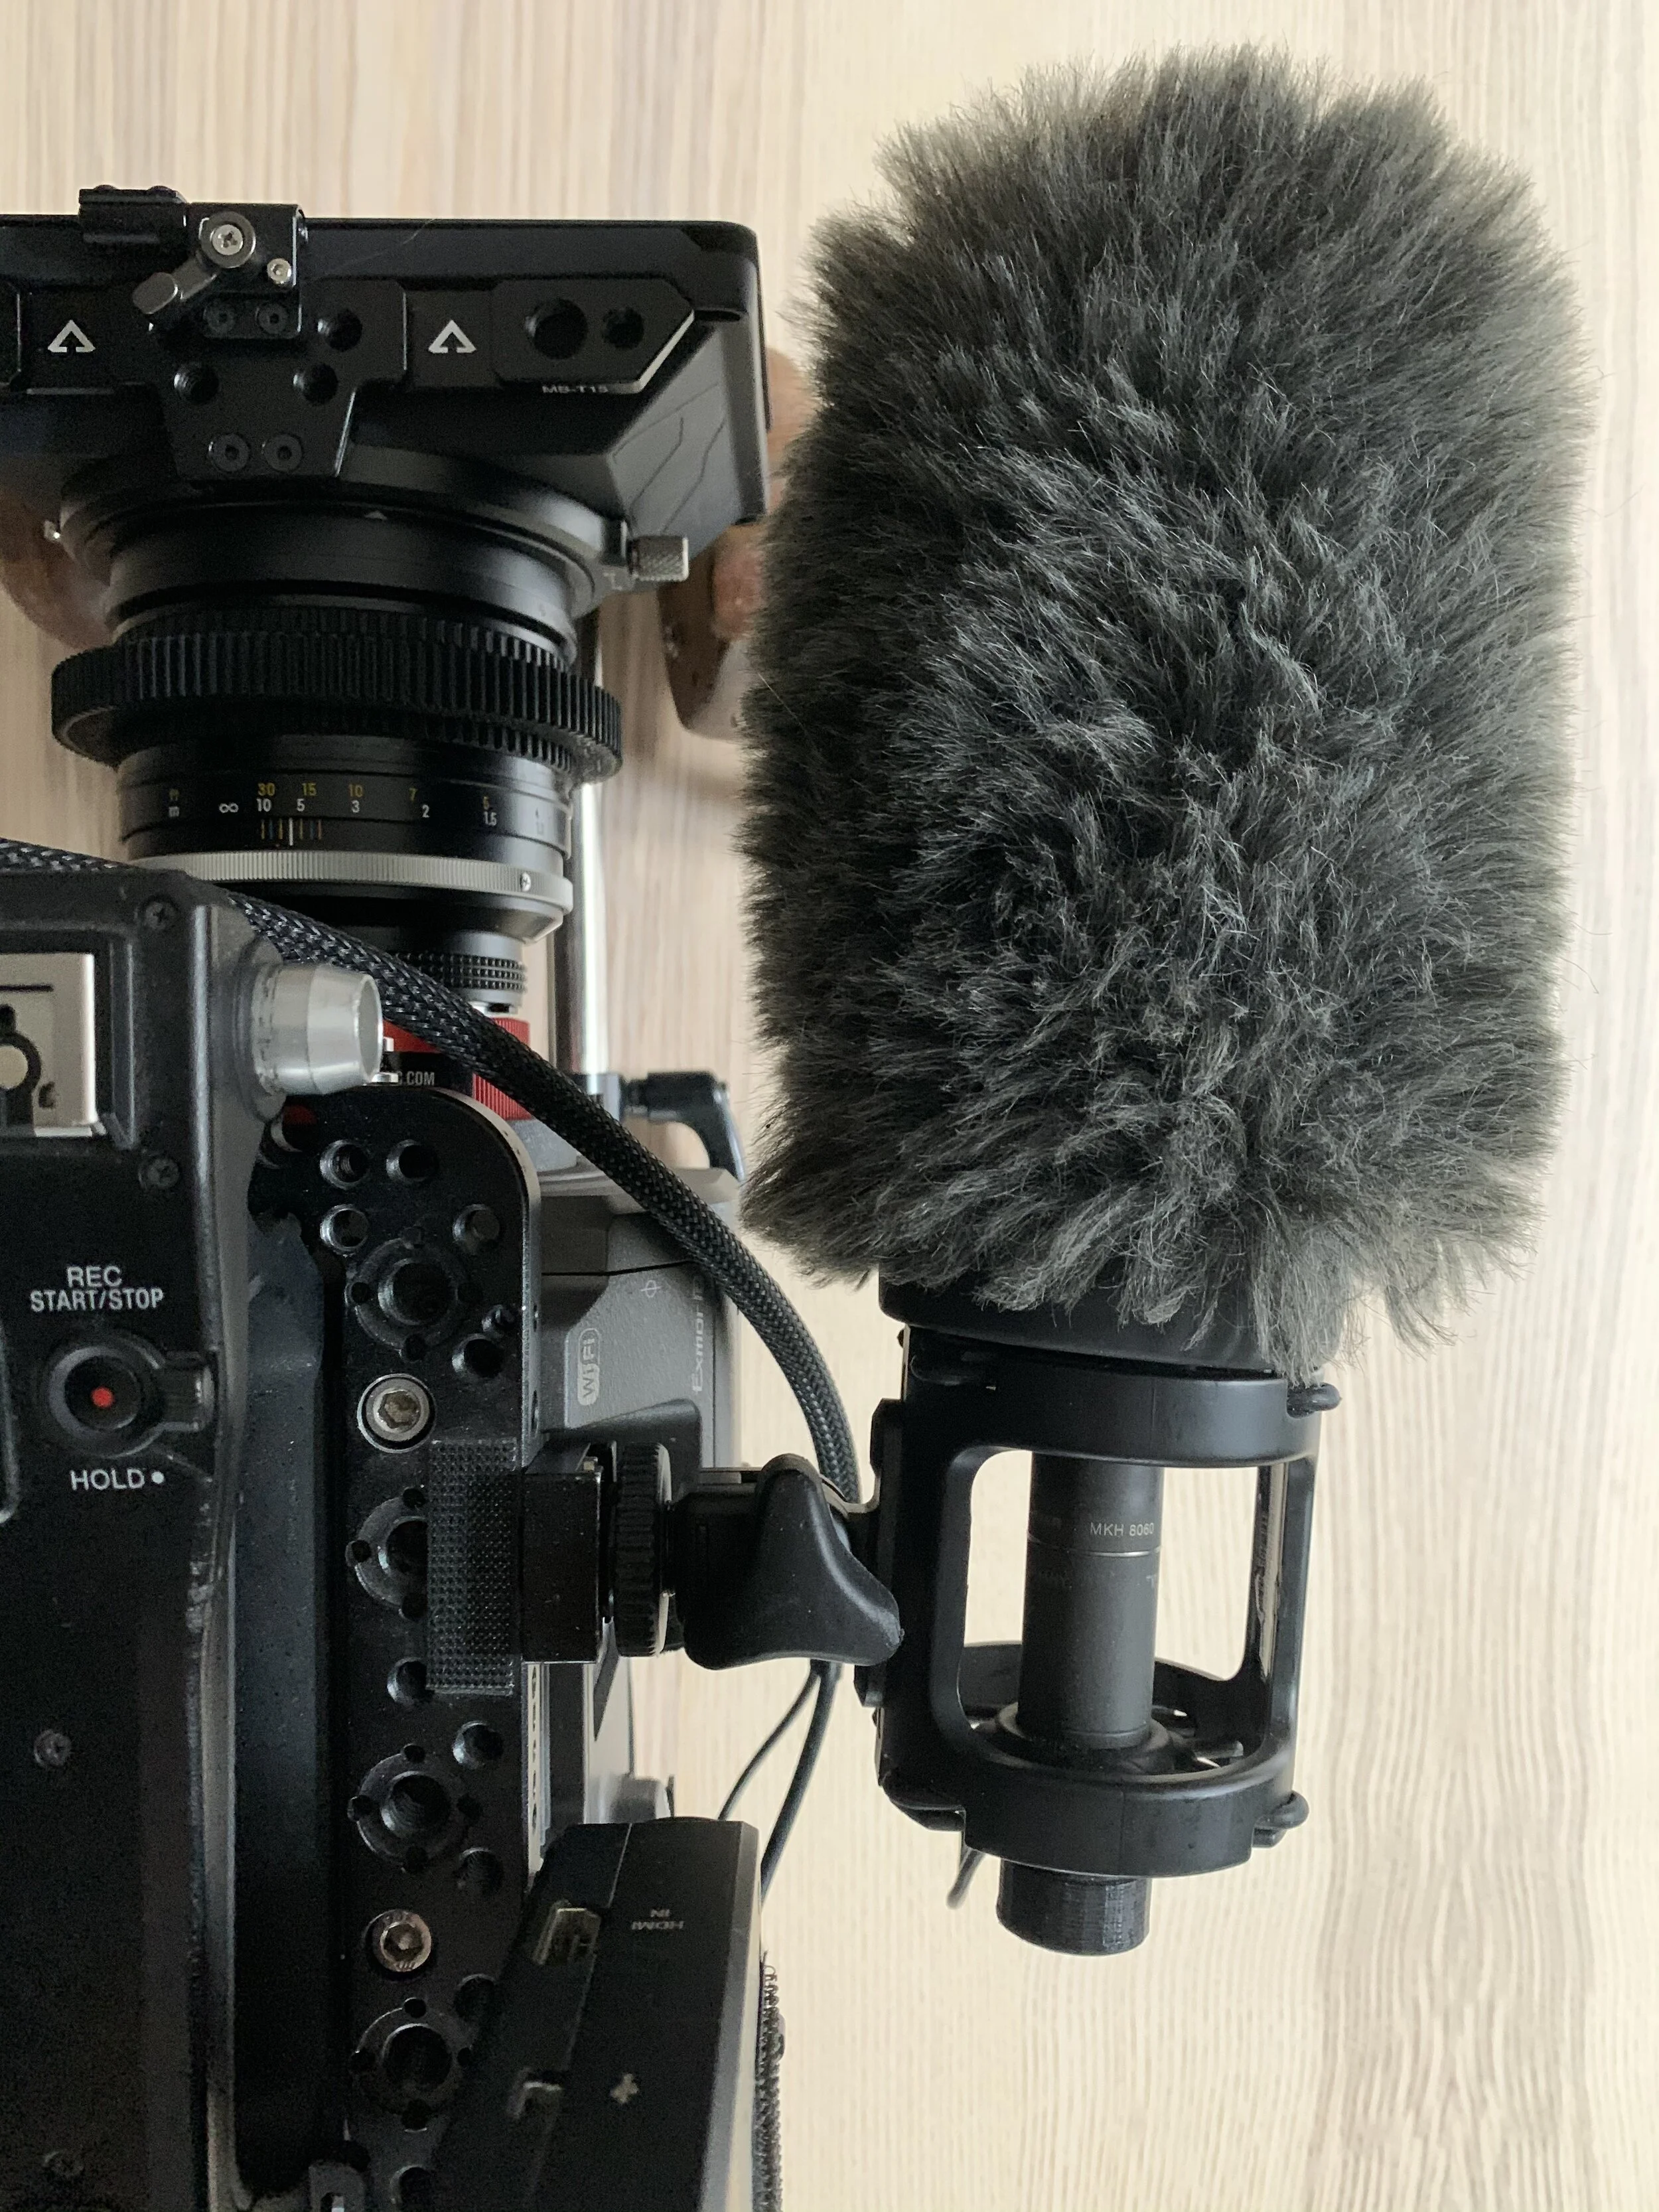

Auray DUSM-1 Universal Shock Mount
Price: $40.00
If you’ve read my FS7/FX9 shopping lists. you know I hate the Sony mic mounts. This is no different on the FX6. I removed the stock FX6 mic mount from the handle went with the trusty Auray shock mounted to the top plate with a cold shoe.
This Wooden Camera Universal Cold Shoe isn’t cheap but it fits in the Arri accessory hole and the locating pins offer secure connection to the most rear-ward hole of the top plate.
(More photos of this mounted on the FX6 coming soon)
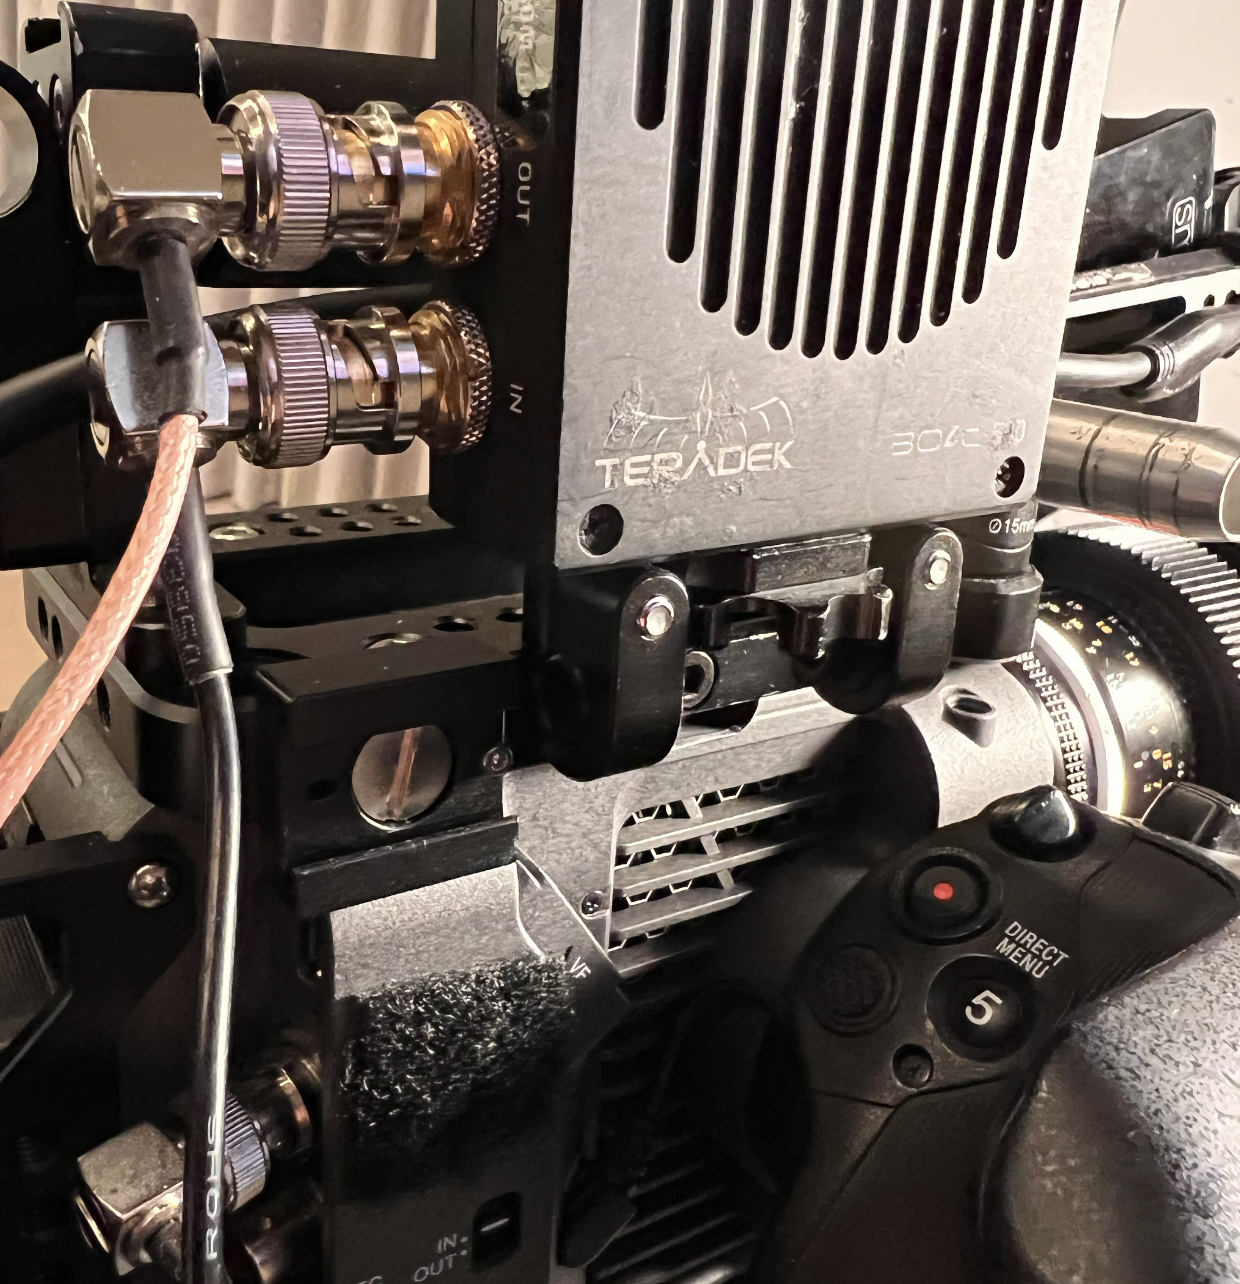

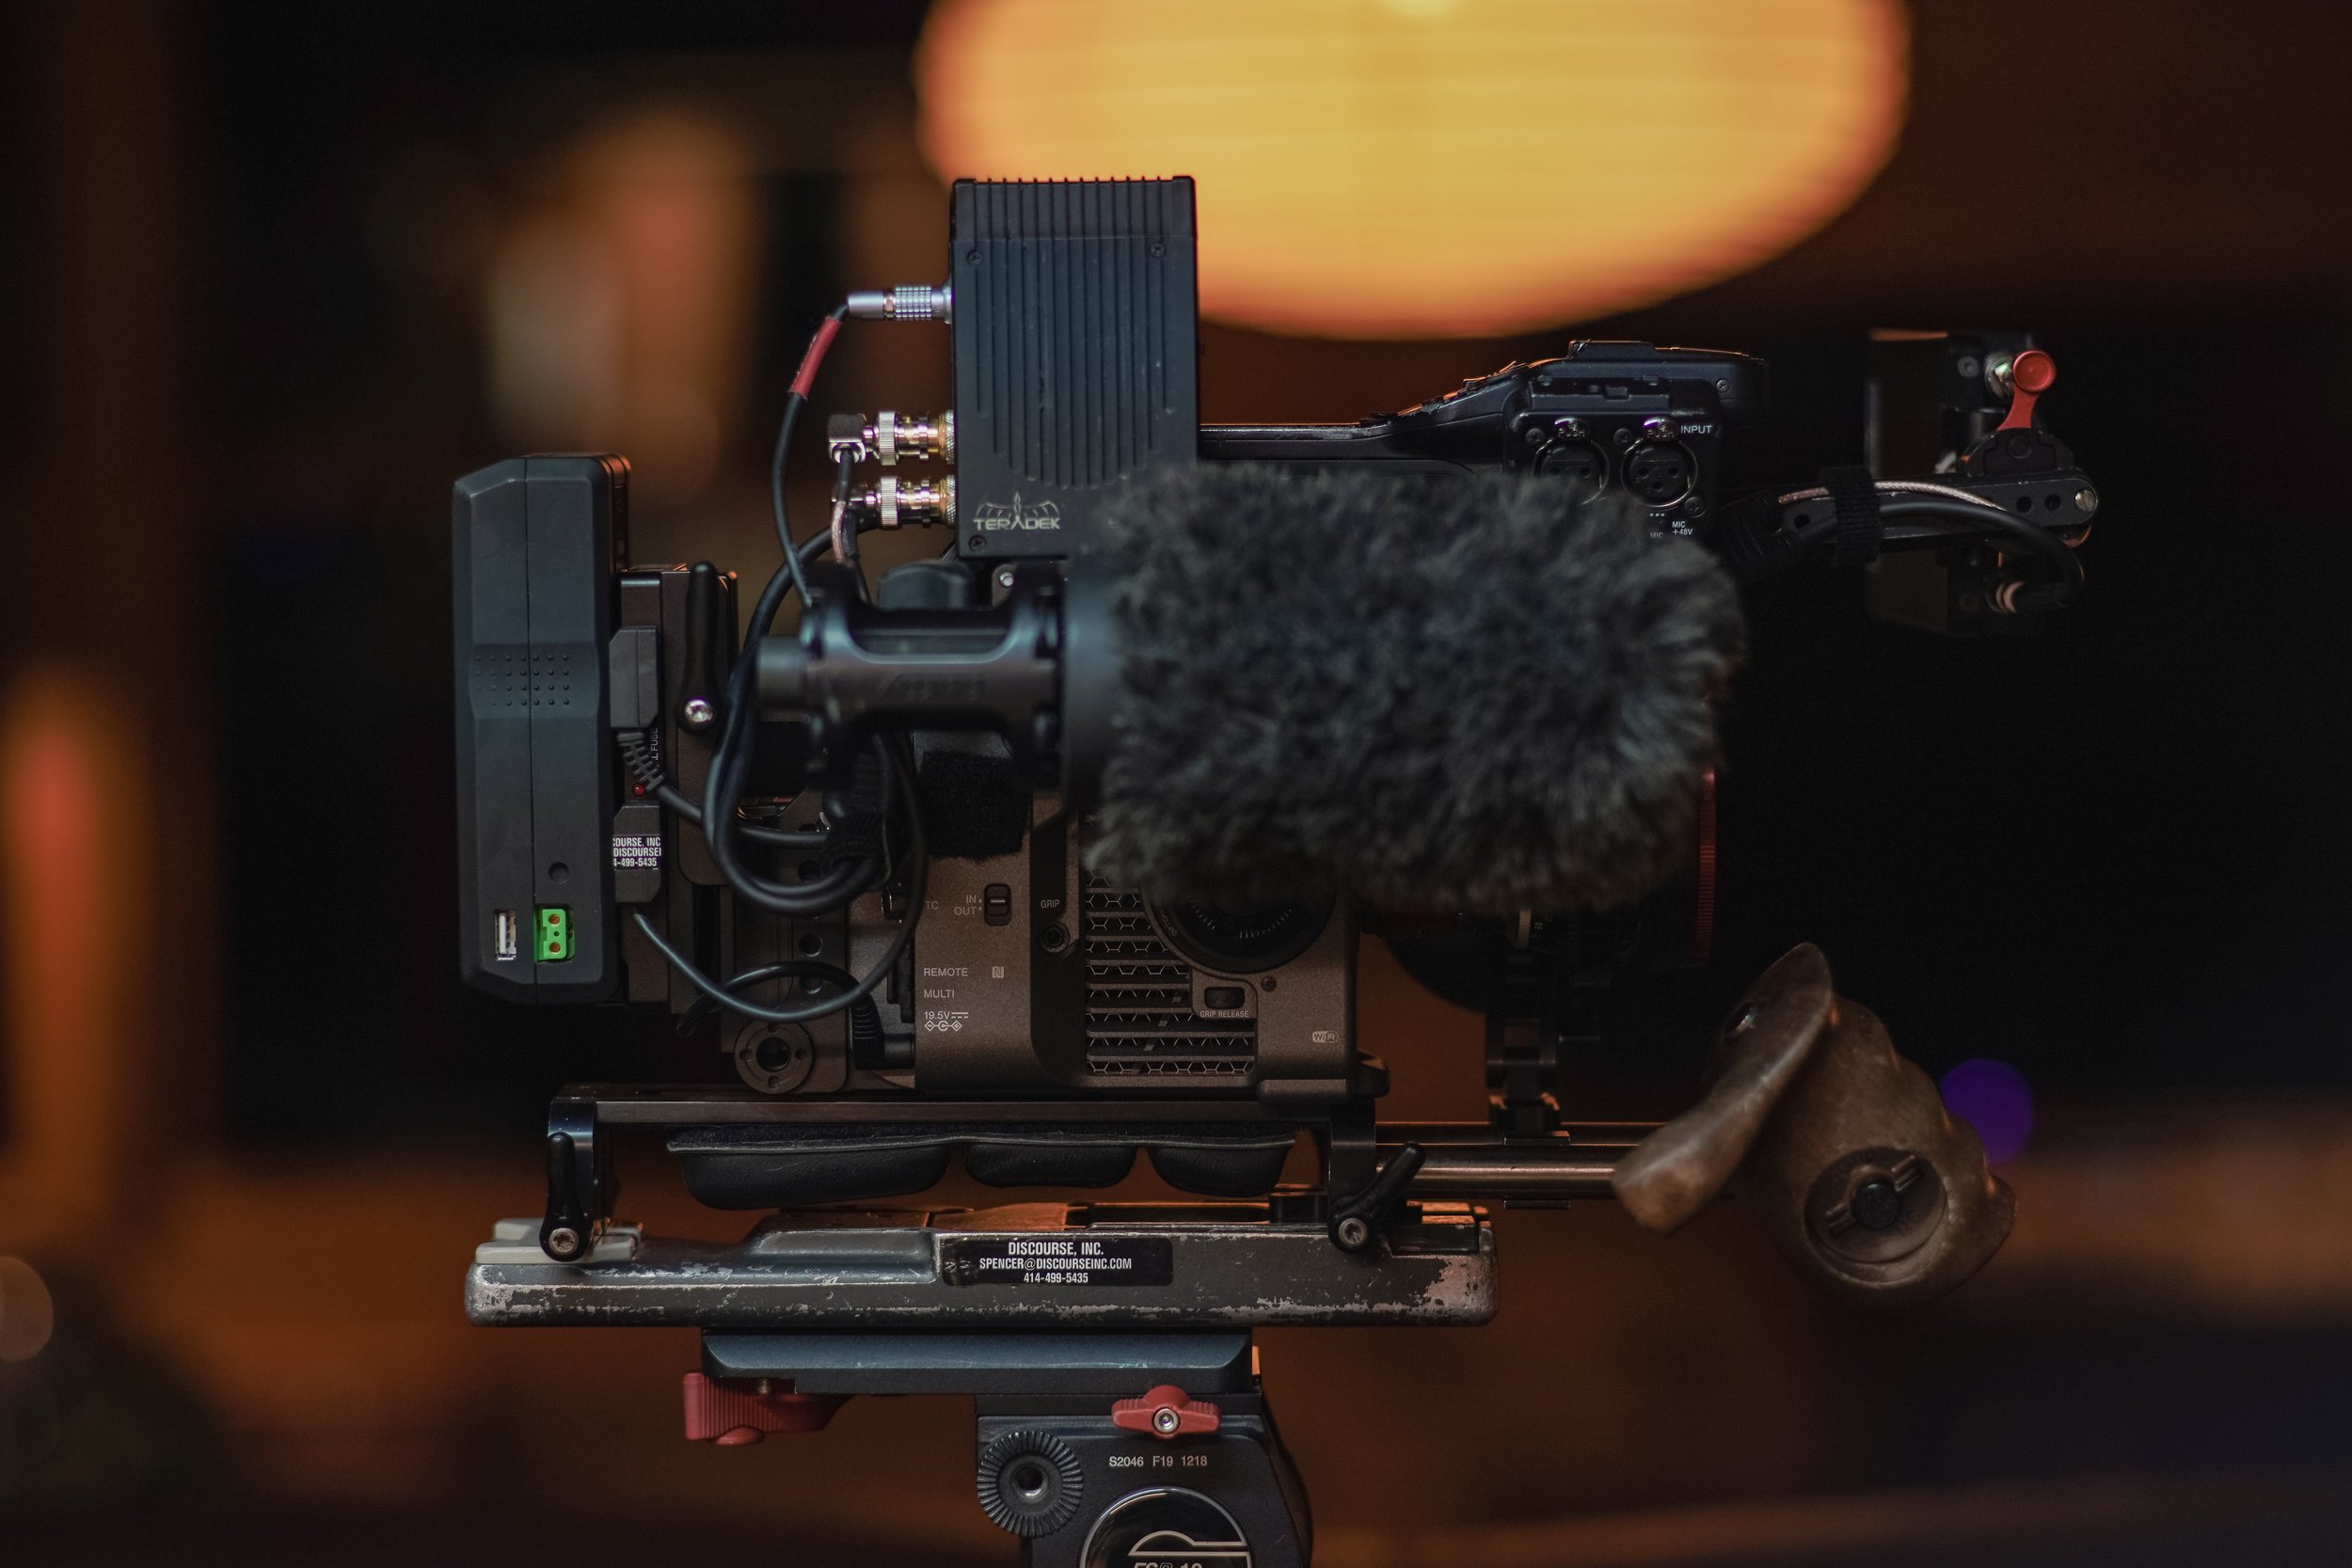
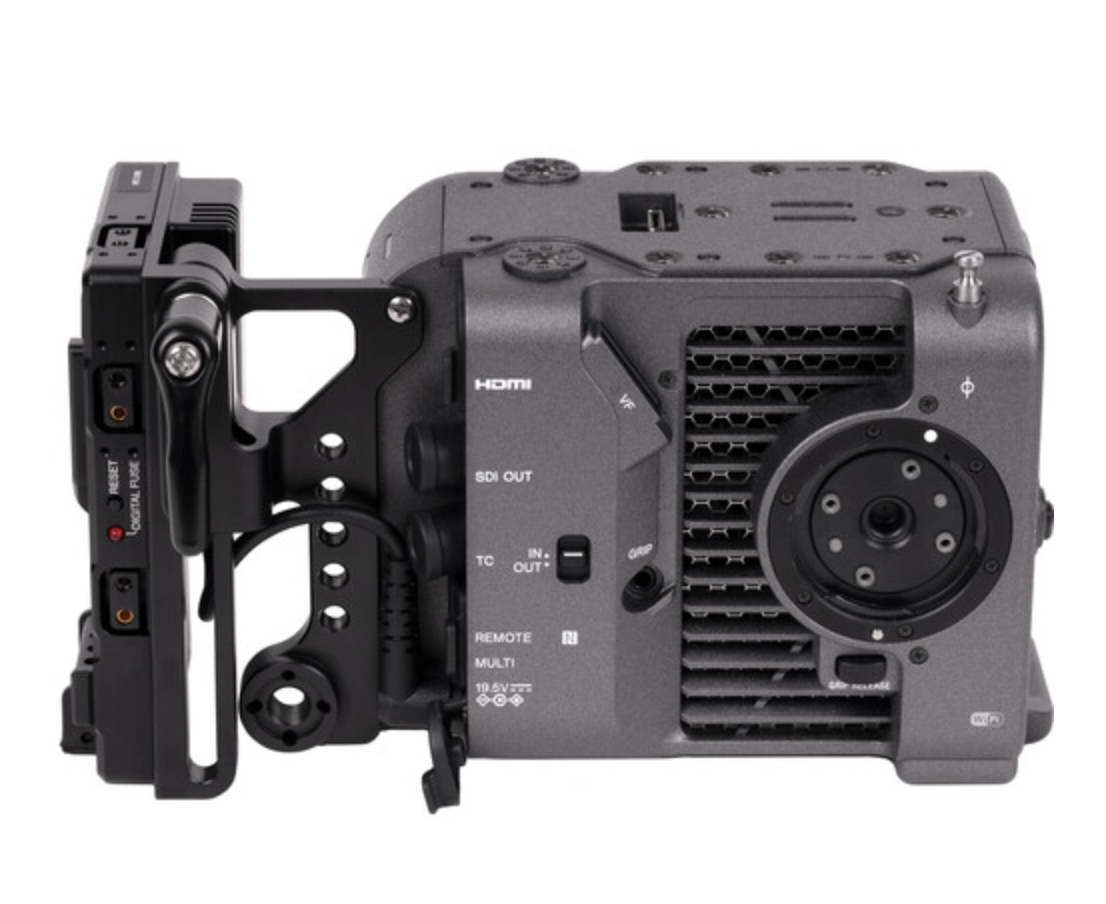
Folding Teradek Bolt Mount (Small Rig Monitor Mount)
Price: $40 USD
When I began doing shoots that required wireless monitoring for directors I had a difficult time mounting a Teradek wireless video transmitter in the way that made sense. After several failed attempts I found this part from Small Rig that has been very helpful. It mounts via 2 screws to the side of the camera’s top plate, just above where the stock monitor plugs in. It then screws into the bottom of the Teradek transmitter. It is a tight fit on the FX6 vs the FX9 but it still functions.
Sadly I cant fold it down in all configurations like I did on my FX9 as the space clearances are too much, but it still functions well as a monitor mount.
Video of how this functions here on my FX9: https://youtu.be/At0AGVQt5q0
Smart Grip Accesories
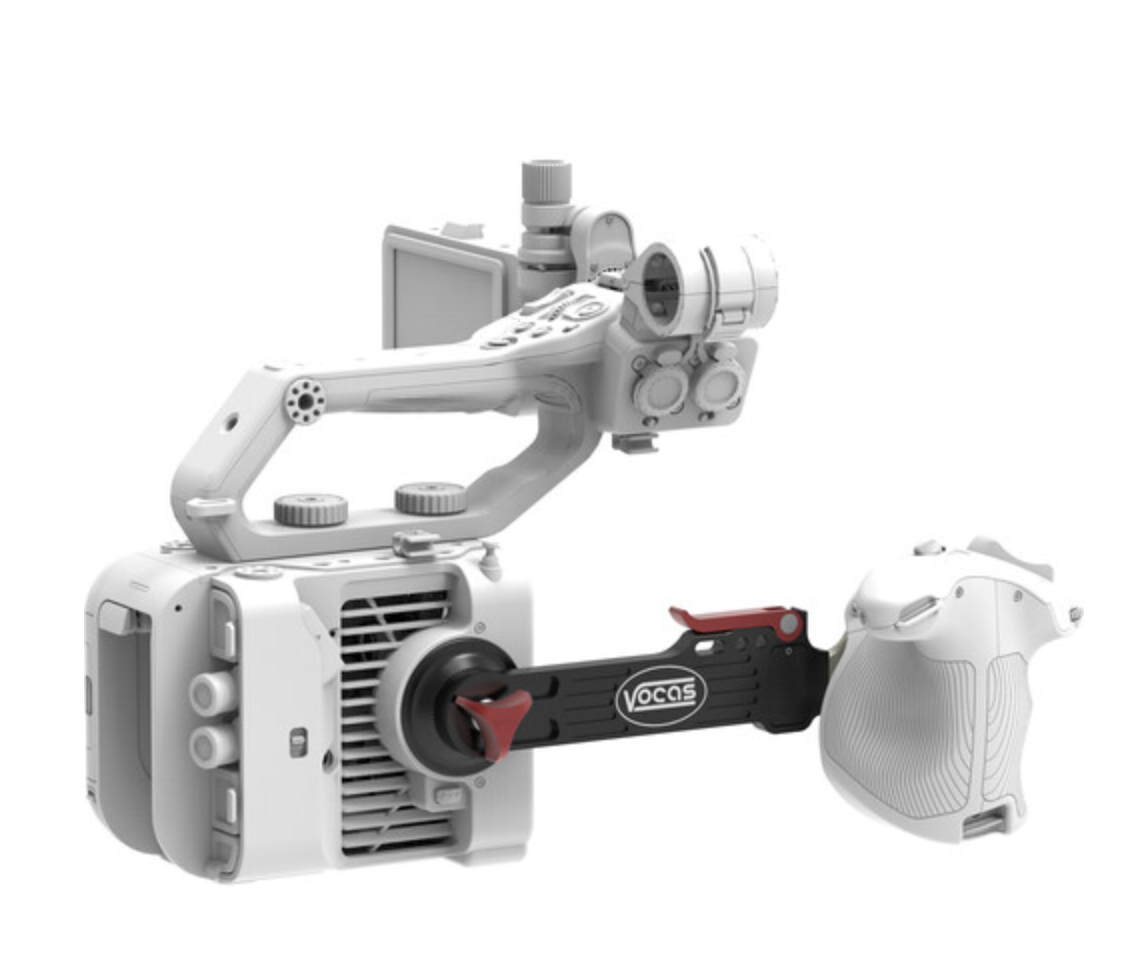
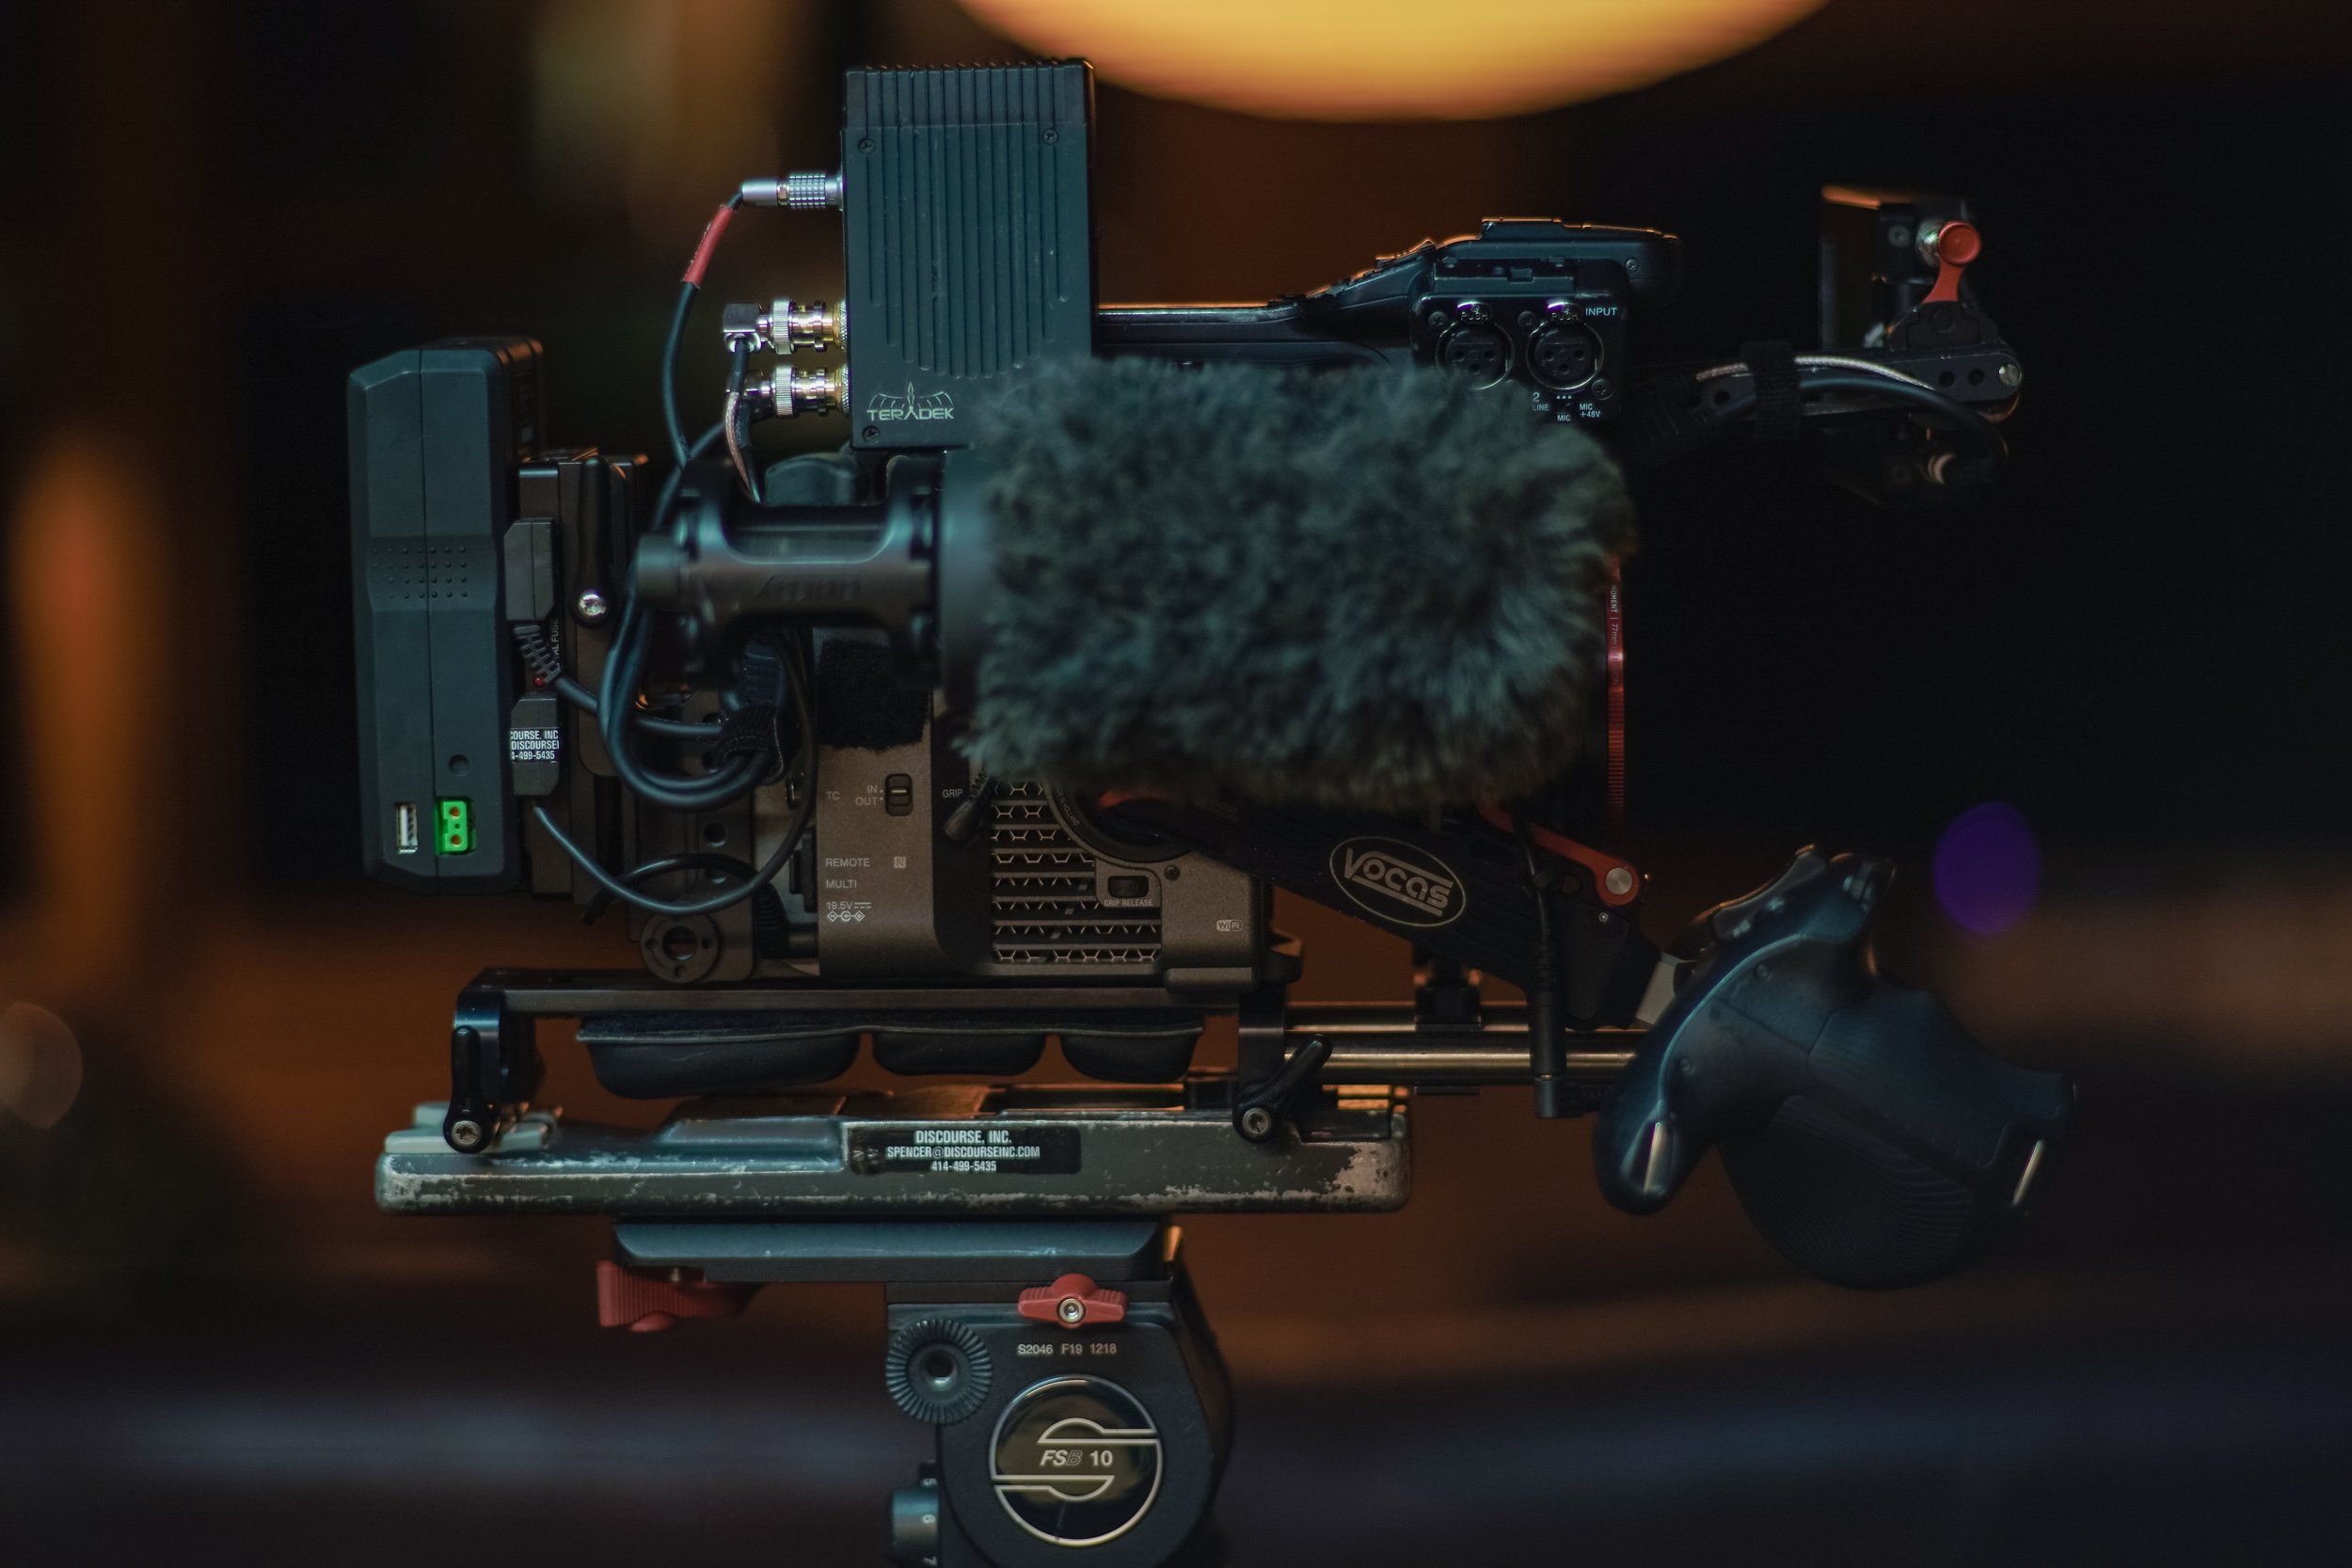
Vocas FX6 Grip Relocator
Price: $315
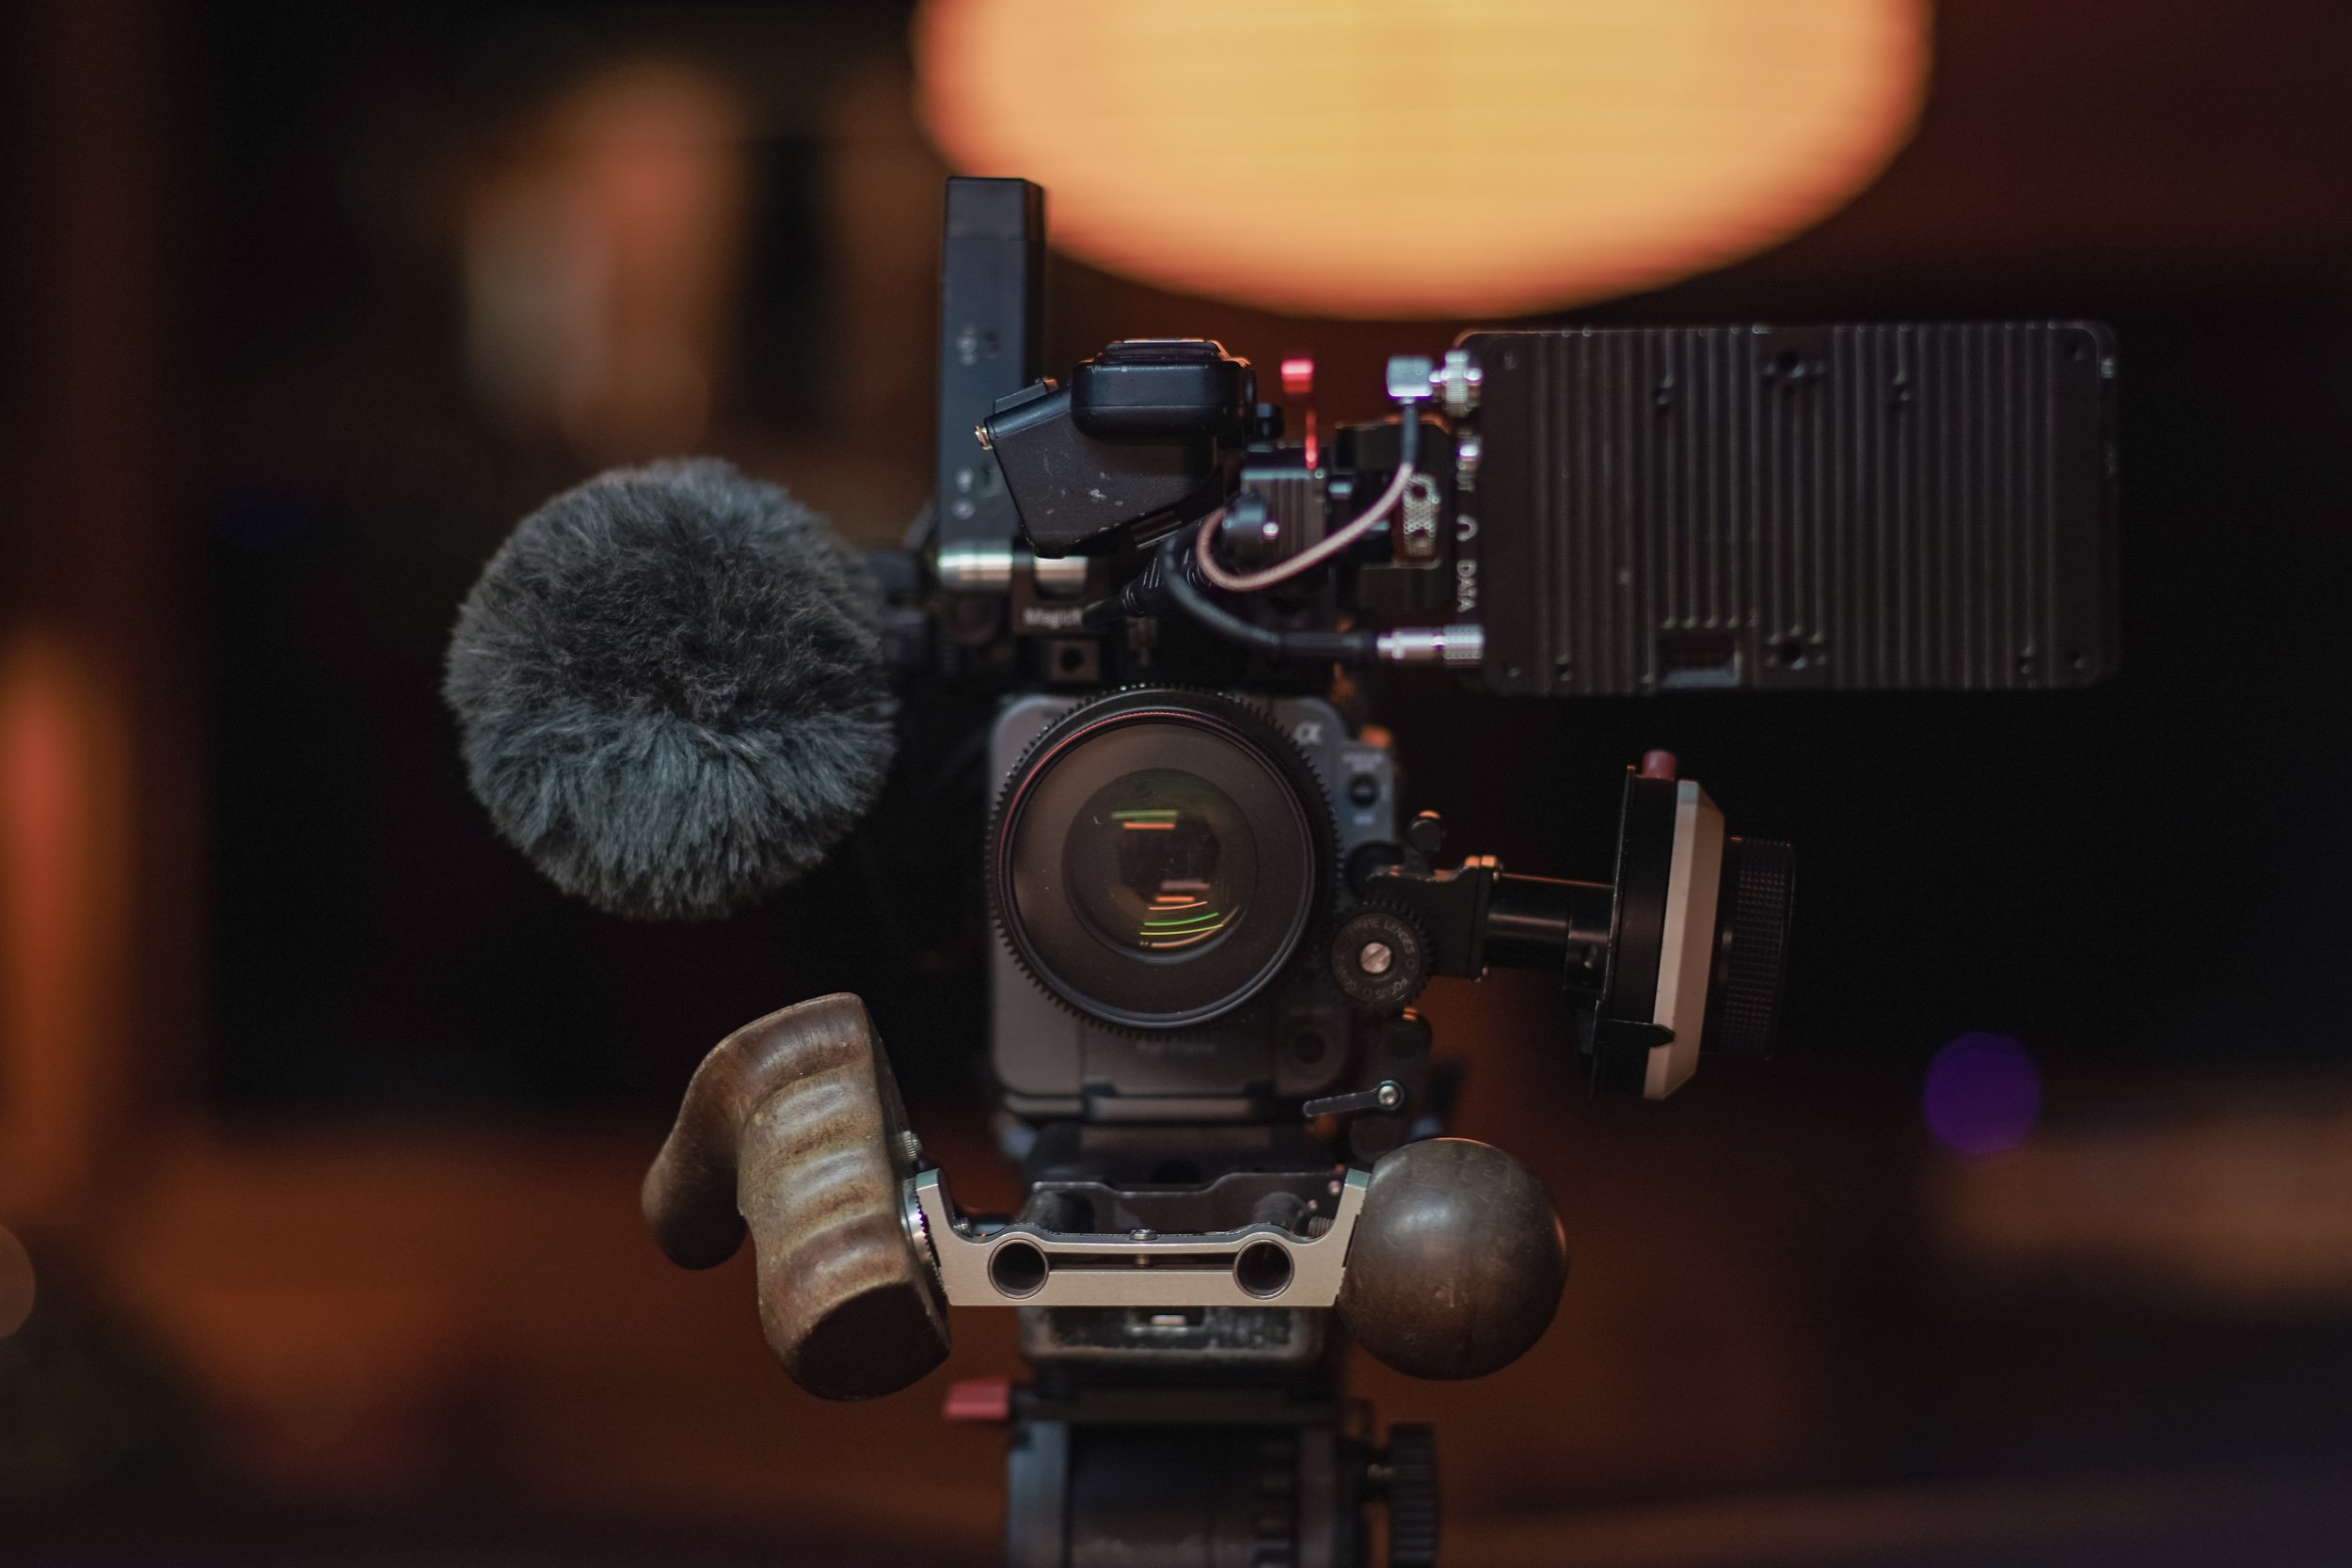
I’ve been rocking my wood handle/spehere off 15mm rods and leaving the FX6 handle mounted to the body so when I want to cradle the camera I hold it how it was originally designed to be held.
If you want something that offers similar functionality that the SHAPE arm did for the FX9/FS7 I would check out this offering from Vocas. Build quality is stellar and it doesn’t push your hand/arm out to the right further like the Shape one does - keeping your body in a more natural alignment. Vocas never disappoints.
Power
Wooden Camera FX6 Battery Plate
Price: $450.00
Wooden Camera wins again. I originally bought the Tilta plate (the one that goes in the BPU bay, not the one with rods). as it seemed more integrated into the build and keeps the camera length pretty short.
A few things made me switch and spend the $$$ on the Wooden Camera battery slide.
The Tilta one is so close to the body that it is hard to to open the SD card door and get cards out with a battery on. I’d have to take the battery off to access the cards. With the WC battery slide there is slightly more space in the down position and I can easily swing the battery up to access the media door
One of the Dtaps is on the left side instead of both being on the right side or top like the WC plate. Which also gets in the way of accessing the media door and is generally just sort of annoying.
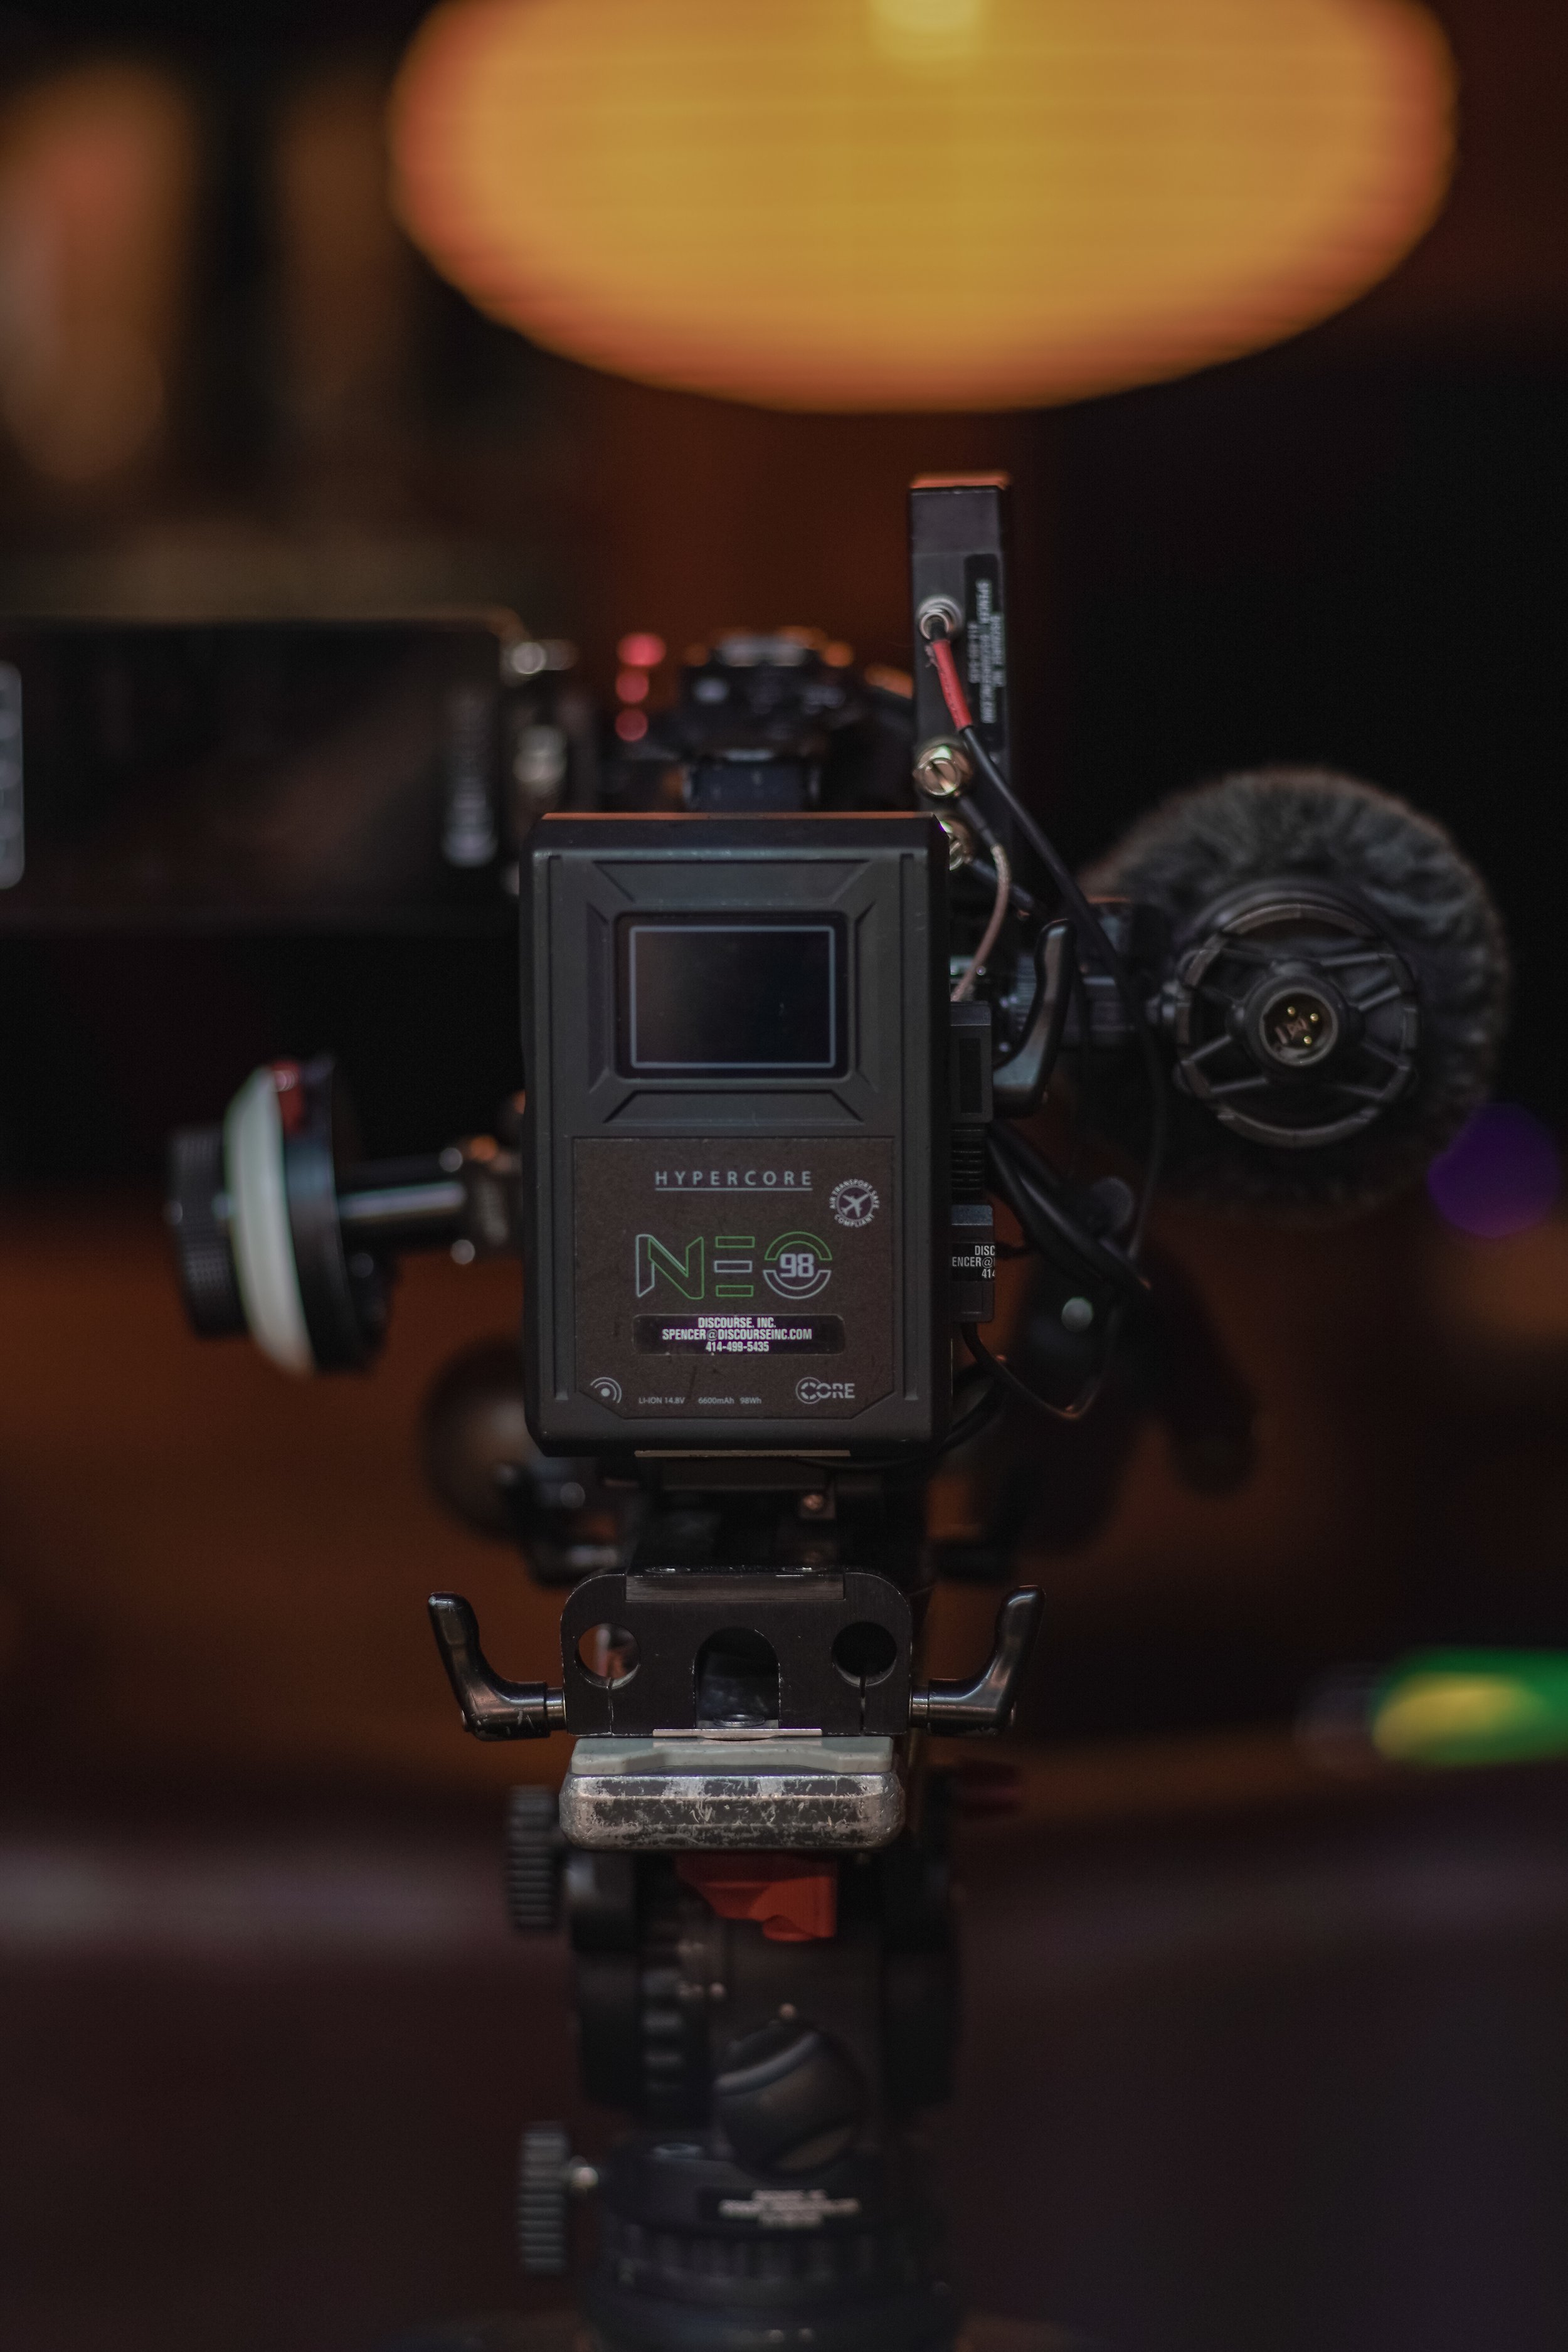
I’ve grown very fond of hot swapping batteries on the FX9 with my Wooden Camera battery slide. Since the WC slide does not occupy the BPU battery bay you can put in a BPU 30 battery and hotswap on when needed. Or put a BP98 in there to run the camera and power your accessories (Teradek and SmallHD 503 for me) by just the v mount. Additionally - it scares me that the 19v input could be removed by accident while filming and power will be cut to the camera.
This plate could afford to be slightly shorter in length. But with that said it makes the camera about the same length as the FX9 with no v-mount plate attached which is an improvement in my eyes.
5” Monitor Rigging
Those who have read some of my other shopping lists know that I prefer to use a 5” monitor. I don’t like loupes/EVFs and the Sony stock monitors are garbage. Several companies have really ingenious parts available to make the stock FX6 monitor more useable (either with a loupe or other wise), but realistically the entire top handle and the monitor of the FX6 is a liability. Its built poorly, secured poorly, etc. If only Sony would of left us at least one XLR port on the body of the camera. Vomit.
So what do I do to mount my trusty 5” monitor to the camera similar to my FX9? Go straight to the body top plate with a tube clamp and the Wooden Camera XL 6” Nato Rail. This reduces any strain on the top handle and secures it to the body.


SmallHD 503 UltraBright On-Camera Monitor
Price: Discontinued
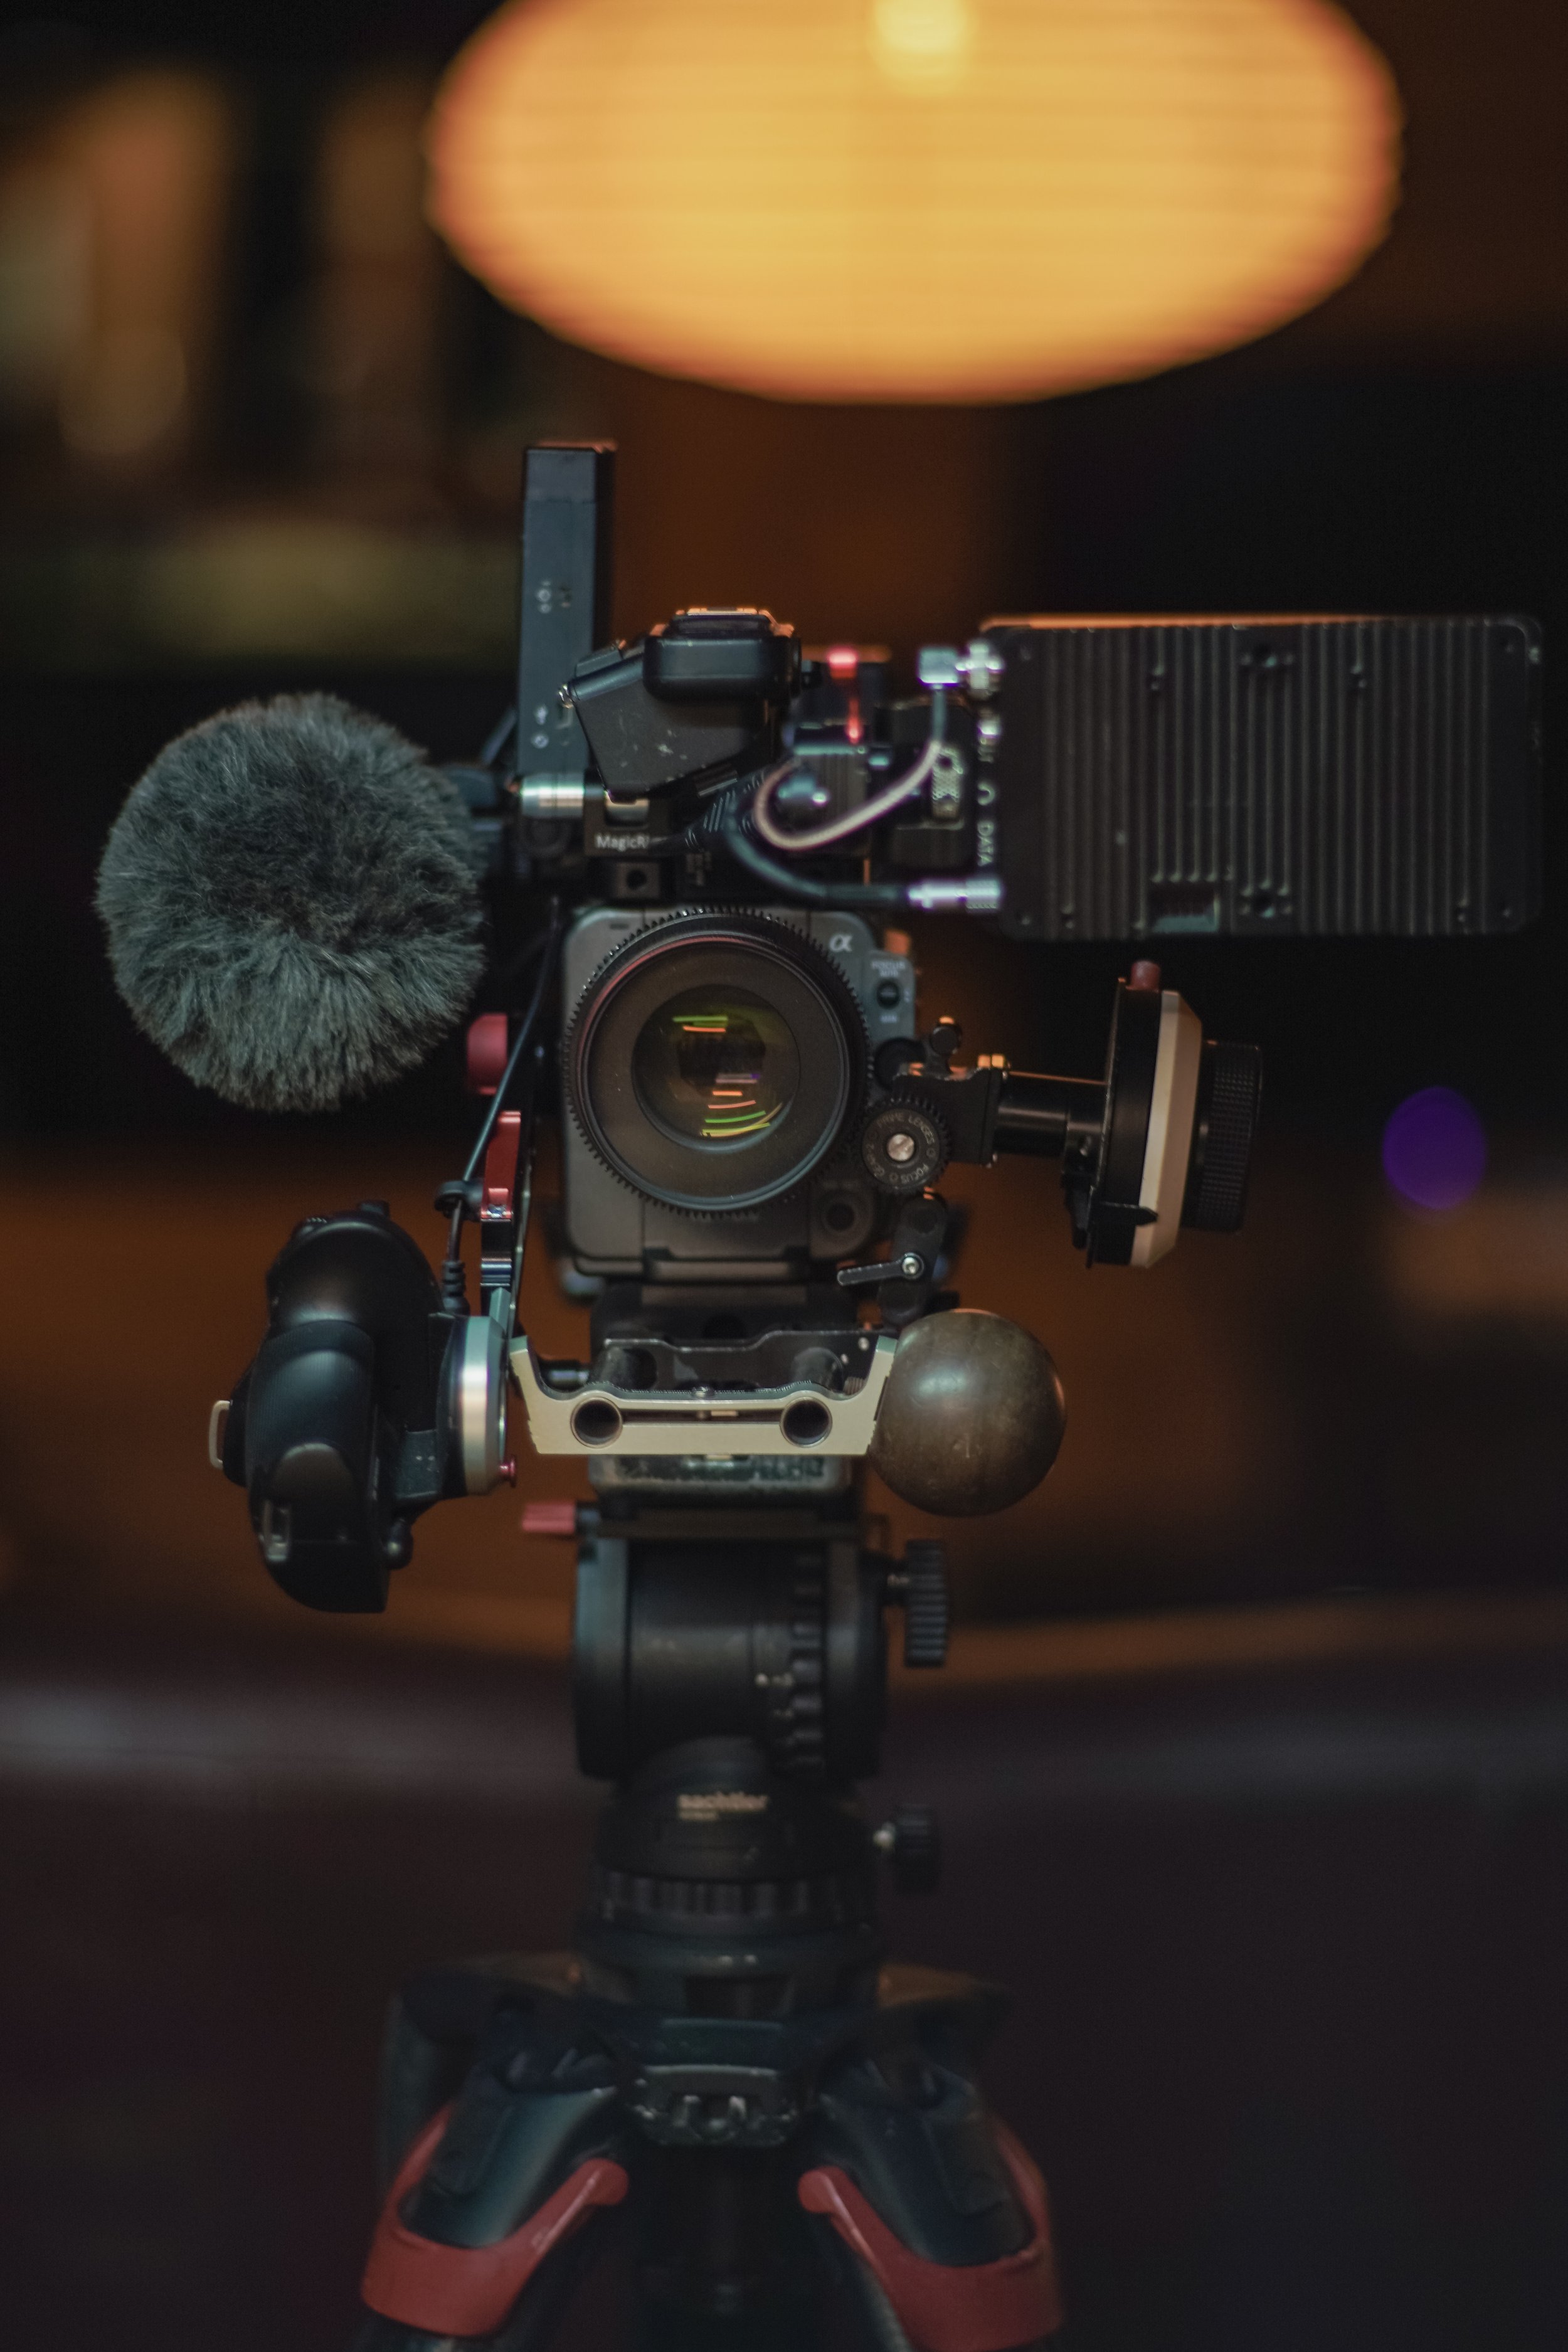
The SmallHD 503 Ultrabright has quickly become one of the go to field monitors for documentary shooters. Its size is compact and it has the ability to increase its brightness to be viewable outside in bright sun. Comes with a pleathora of exposure and focus tools. As illustrated in the first image on the page, I use it basically the same way I would use the stock monitor. Mounted at the correct distance out in front of me using the XL NATO rail and often combine it with this Hoodman Sunhood to cut down on reflections when out doors.
The hood is not perfect as it was designed for a DJI Phantom 4 controller screen, but I haven’t been able to find a better fit, and Hoodman refuses to make one for the 503 (I’ve sent lots of emails…).
I use this 30” SDI/Lemo cable from Zactuo to power and transmit the image out of SDI 2 with the camera overlays being sent to the monitor.
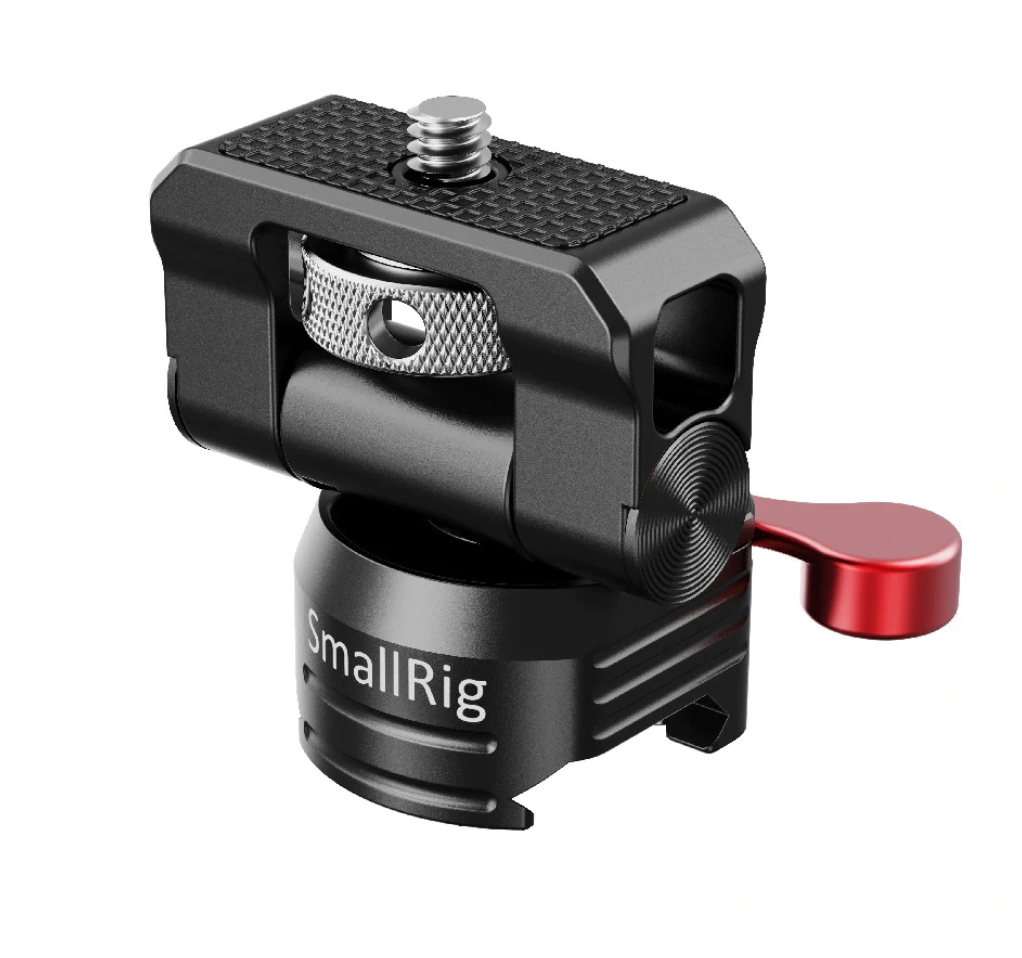
SmallRig Swivel & Tilt Monitor Mount with NATO Clamp
Price: $59.00 // For use with aftermarket 5” HD Monitors***
This is a nifty little accessory manufactured by Small Rig. While it was intended to mount monitors on the top of mirror-less camera cages, its works perfectly with 5” HD monitors with 1/4-20 mount points on their sides (Small HD 503, etc). It allows for quick tilting of the monitor for different viewing angles, and allows you to fold the monitor flush with the camera when not in use (perfect for when you need to travel between locations in the van or car). Easy on/off from the XL Nato Rail listed above. Only thing I wish Small Rig would do is put anti-twist bolts on either side of the mounting screw. I don’t believe any other company makes a product like this.
Video of how this functions here: https://youtu.be/_zSb0LS2HHk

Wooden Camera XL NATO Rail
Price: $135.00 USD
This NATO rail is the longest I have found on the market. When using a 5” monitor as a viewfinder, you really need to have it located quite a bit in front of your eyes in order to be able to use it without going cross eyed. Any rail shorter than this I find to be very difficult to use, which rules out alternative products from other companies.


Wooden Camera Universal 15mm Rod Clamp
Price: $45 USD
Since you can’t use aftermarket handles and run sound I had to figure out how to get the 6” Nato Rail to mount properly for my 5” monitors. I tried a few options from Bright Tangerine with a shorter nato rail off the top handle, but I found the whole thing to be a bit flimsy. I went back to the 6” Nato rail and found this tube clamp that bolts to the top plate on the Arri accessory mount and takes the build quality of the top handle out of the equation.
There are cheaper rod clamps on the market, but what made me choose this one is that is offers more clearance from the top plate than other ones I tried. This allows the nato rail to rotate freely while being positioned as close as possible to the stock a handle with out hitting the top plate (and by that rationale, keeping the monitors more centered in front of your eyes.
I did replace the kipp lever on this with one I had lying around that is easier to tighten. Not sure why WC thought this new design was good…
Did you find this list helpful and wish you could “buy me a beer” for the time it saved you in building out your camera? Now you can!