
A Sony FS7 Shopping List
Introduction
The Sony FS7 MK1/MK2 is one of the most popular cameras for news and documentary cinematography. I thought it would be helpful to provide a list with hyperlinks to all the products I’m currently using to rig out my Sony FS7 Mk2 for those shopping for accessories. My goal in selecting these parts was to make a light, clean and tight build for documentary shooting.

Sony FS7 Mk2 Super 35 Cinema Camera
Price: $9,000
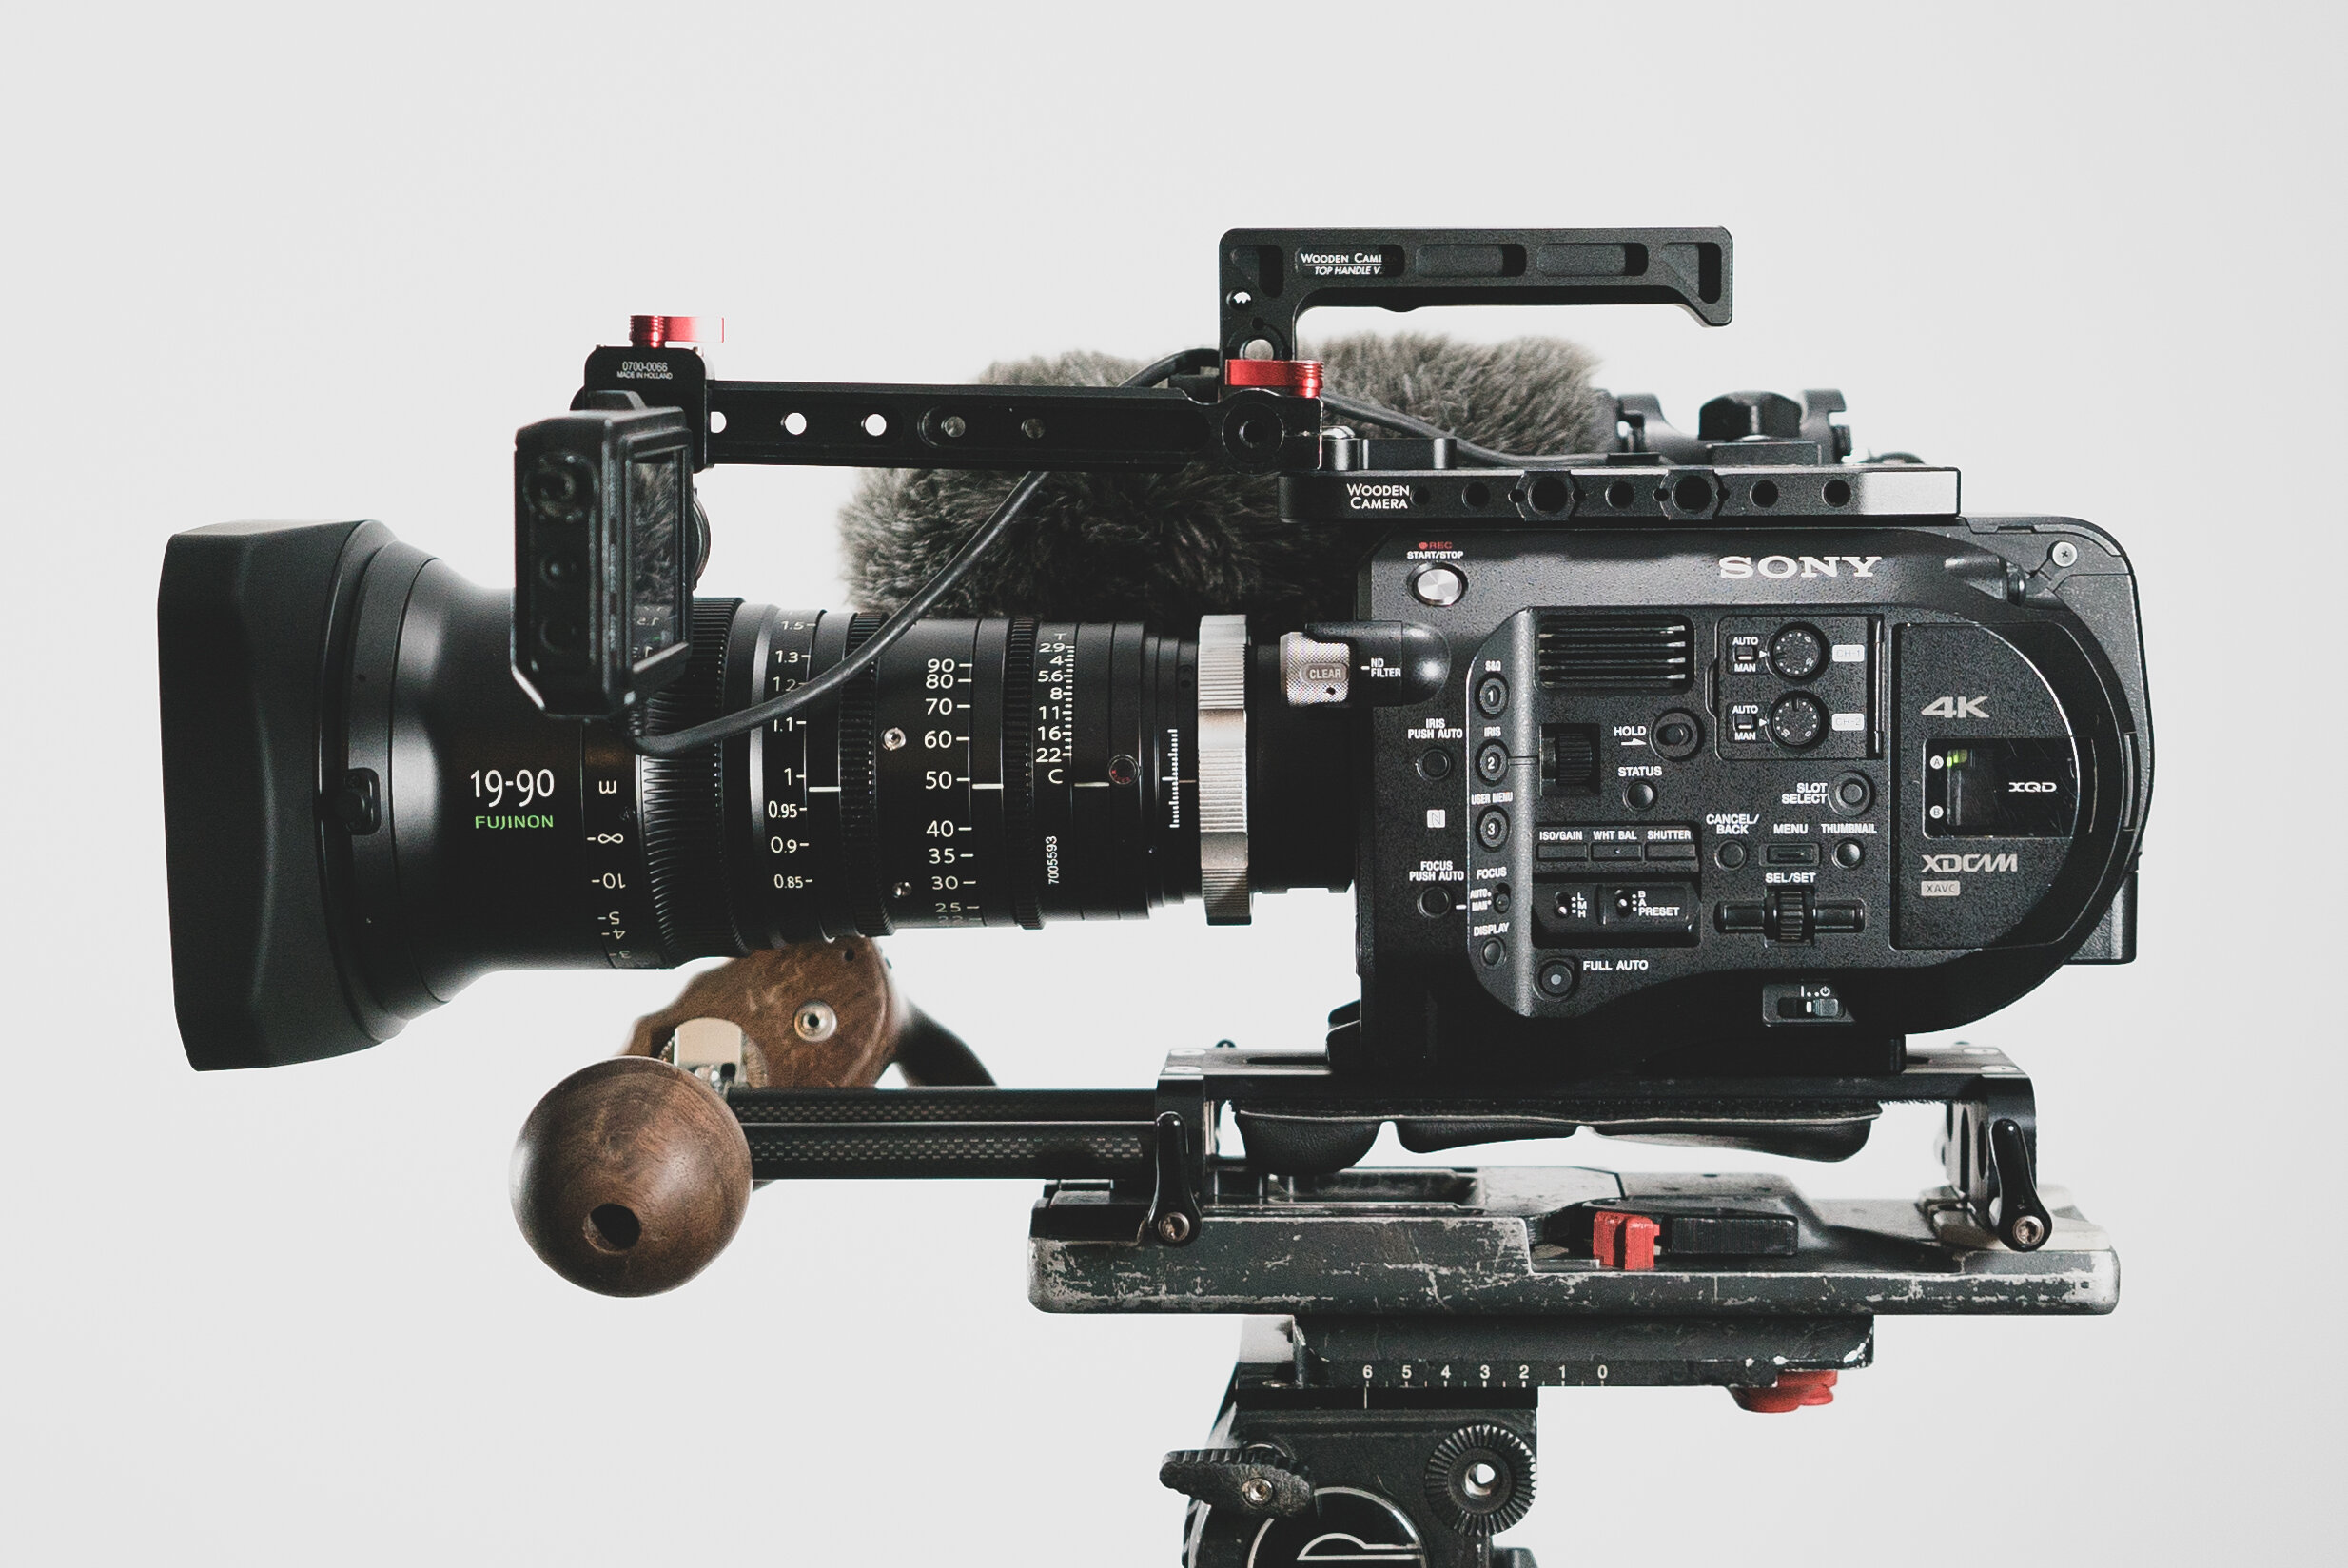
I purchased the FS7 Mk1 in January of 2015. In the fall of 2017 I upgraded to the MK2. Why? I find the electronic variable ND to be worth every penny when it comes real world shooting. Allows me to stay at my aperture/ISO level of choice while utilizing the ND to make step-less exposure adjustments. Additionally the locking and reinforced e-mount allows me to more confidently use heavy lenses such as the Fujinon 19-90 without a lens support (but for safety, might as well use a lens support!). The EVF mounting system and the smart grip assemblies are better made, although this is less important since I’ve replaced all of these parts with aftermarket solutions. If you have the finances to buy a FS7 Mk2, you won’t regret the updated feature set.

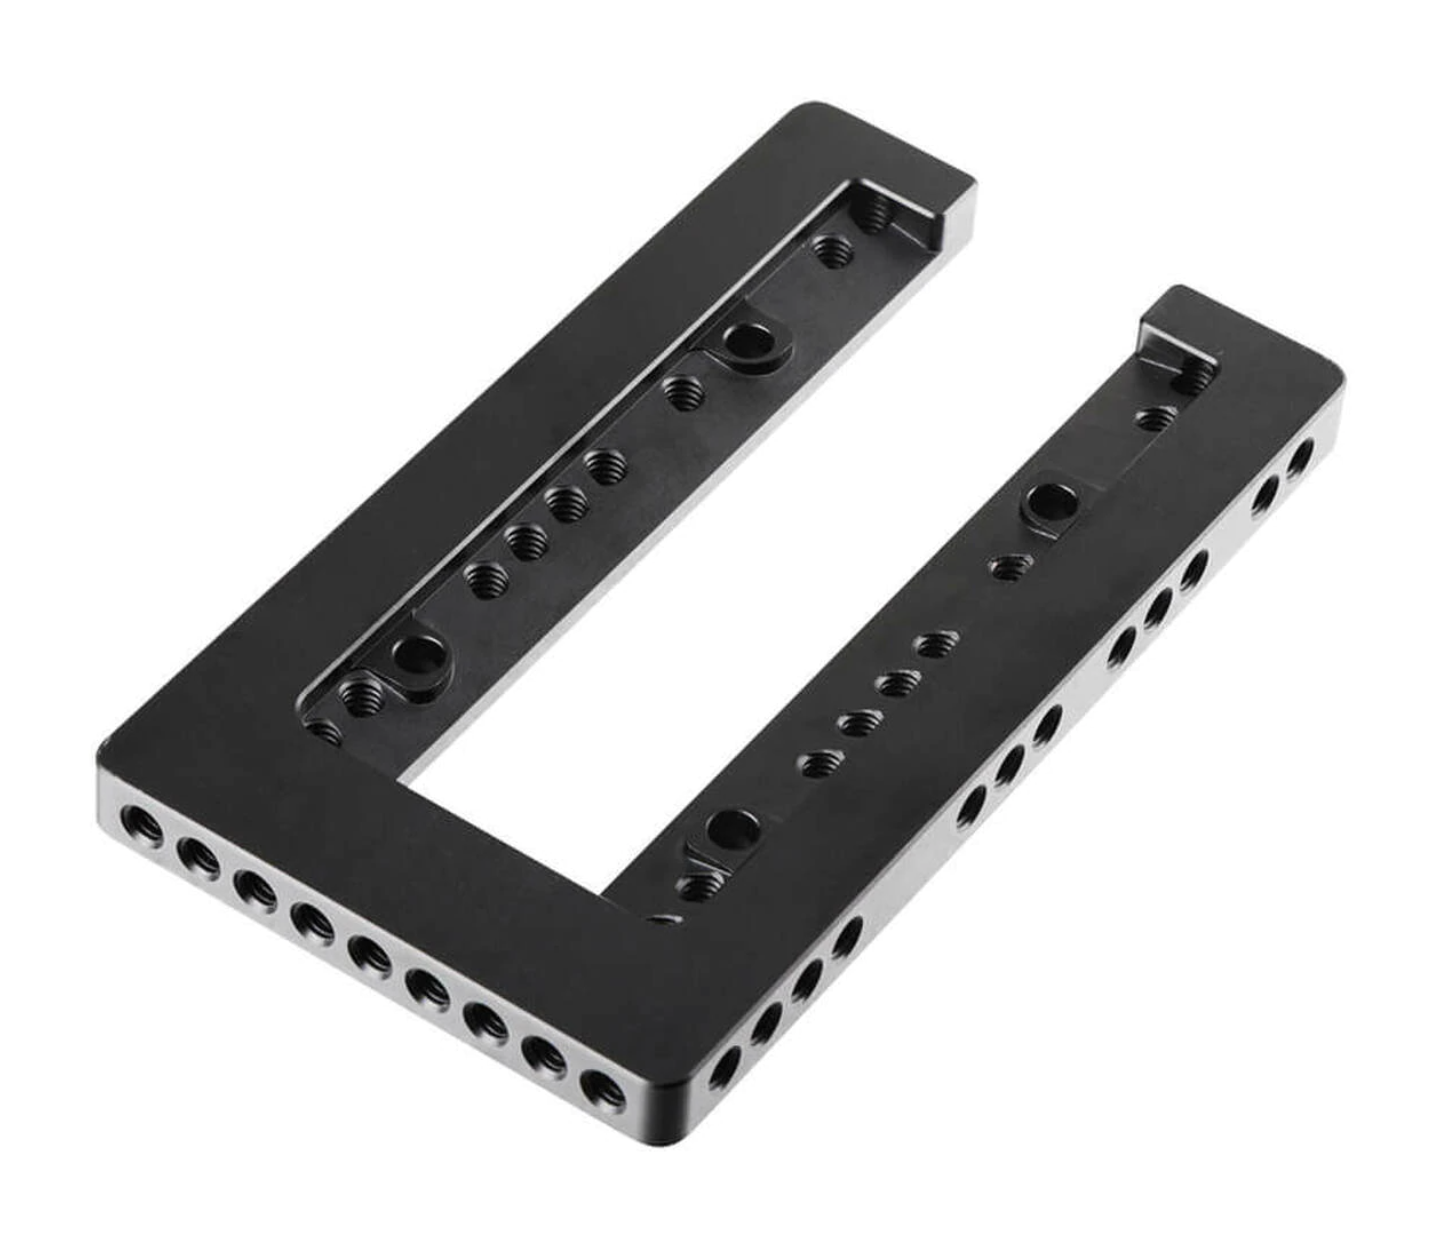
Wooden Camera FS7 Top Plate
Price: $284 USD
There are may FS7 top plates from all sorts of companies. I’ve stuck with the Wooden Camera model somewhat because I’ve owned it for a long time, but also I find its very adaptable, and well made. The latest model allows you to remove a the center portion to utilize the Sony stock handle (mostly for the Multi-Interface shoe on the top to run additional audio to the camera). Even when not utilizing the stock top handle, I leave the center part of the plate off to reduce weight.
It can also be rigged out to support Wooden Camera’s PL adapter (from the top) for the MK1 FS7. The MK2 isn’t compatible due to the way the positive lock e-mount is designed.
Small Rig FS7 Top Plate
Price: $40.00
SmallRig also makes a very similar plate to the Wooden Camera one for much much cheaper ($40 USD) . Had I not already owned the Wooden Camera model, I’d likely have purchased their rendition as they are very very similar and why spend extra money for very little extra functionality?

Wooden Camera Top Handle V2
Price: $140 USD
I’ve owned more than a few top handles over the years. I recently purchased Wooden Camera’s newest handle. It bolts directly on the camera and features a 15mm rod port that I utilize for my EVF/Monitor mount. I opted for a non-NATO quick release version as I don’t like making my camera any taller than necessary (the nato rail adds height and a nominal amount of weight). Additionally find as the camera gets heavier I want an extremely strong point of contact between the handle and the camera body. The trade off is that I need to actually screw on/off my handle to build/disassemble my camera - this really doesn’t bother me very much as my camera stays built for the duration of any shoot. The handle features a bunch of mount points, cold shoes, is ergonomic, light and well built.
SmallRigs FS7/FX9 Top Handle Special Screw
Price: $12 USD
I searched for a kipp lever style replacement for the stock Sony handle screw forever. Finally SmallRig has come out with a dirt cheap fix for what has been an inherent problem in Sony’s top handle design since the original FS7 came out in 2014. The stock screw is very difficult to access with the top handle mounted to the camera and strips easily. This special screw from Small Rig helps makes the stock handle more functional by allowing you to tighten the rod clamp by hand. It also makes disassembling the viewfinder bracket easier for storage and travel.

Wooden Camera XL NATO Rail
Price: $135.00 // For use with aftermarket 5” HD Monitors***
This NATO rail is the longest I have found on the market. When using a 5” monitor as a viewfinder, you really need to have it located quite a bit in front of your eyes in order to be able to use it without going cross eyed. Any rail shorter than this I find to be very difficult to use, which rules out alternative products from other companies. It attaches to the camera via 15mm rod into the stock Sony handle’s rod port, a top handle like the one listed above, or a 15mm rod tube clamp like this from Wooden Camera bolted on to the front portion of your top plate.
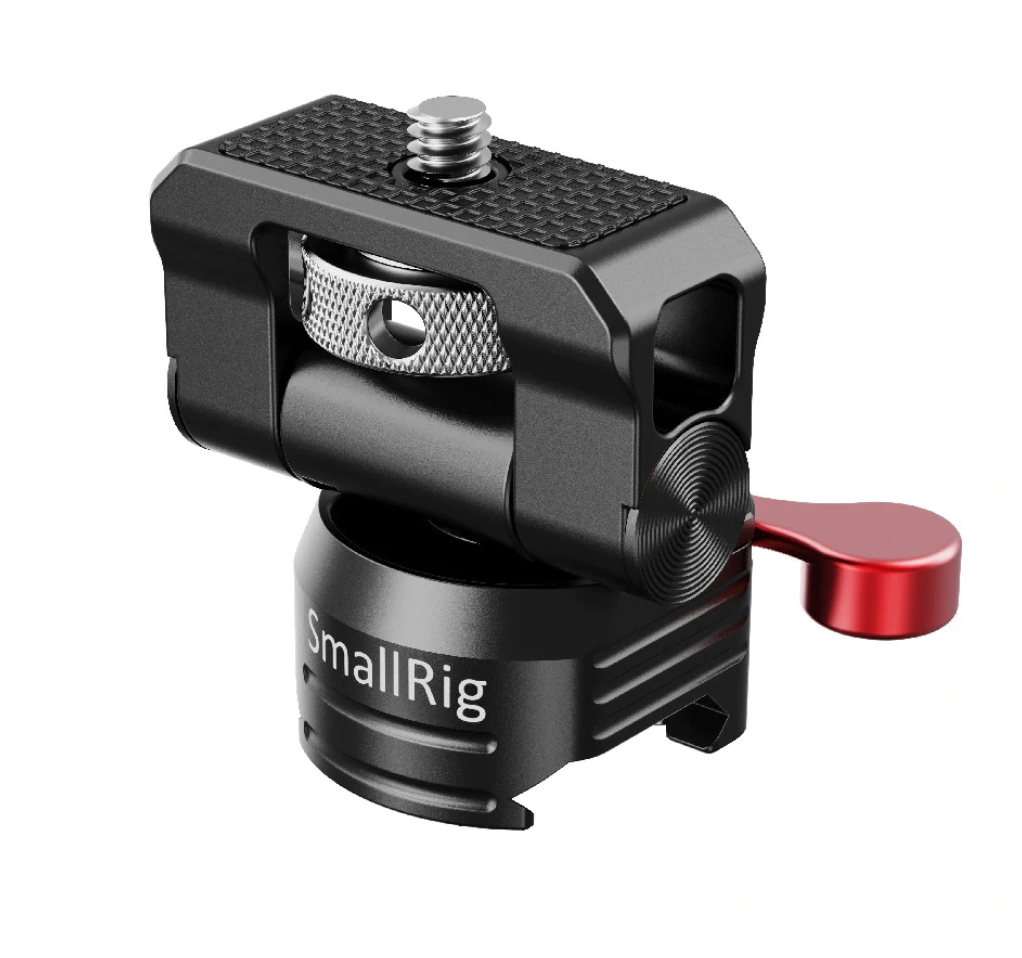
SmallRig Swivel & Tilt Monitor Mount with NATO Clamp
Price: $59.00 // For use with aftermarket 5” HD Monitors***
This is a nifty little accessory manufactured by Small Rig. While it was intended to mount monitors on the top of mirror-less camera cages, its works perfectly with 5” HD monitors with 1/4-20 mount points on their sides (Small HD 503, etc). It allows for quick tilting of the monitor for different viewing angles, and allows you to fold the monitor flush with the camera when not in use (perfect for when you need to travel between locations in the van or car). Easy on/off from the XL Nato Rail listed above. Only thing I wish Small Rig would do is put anti-twist bolts on either side of the mounting screw. I don’t believe any other company makes a product like this.
Video of how this functions here: https://youtu.be/_zSb0LS2HHk


SmallHD 503 UltraBright On-Camera Monitor
Price: $2000.00
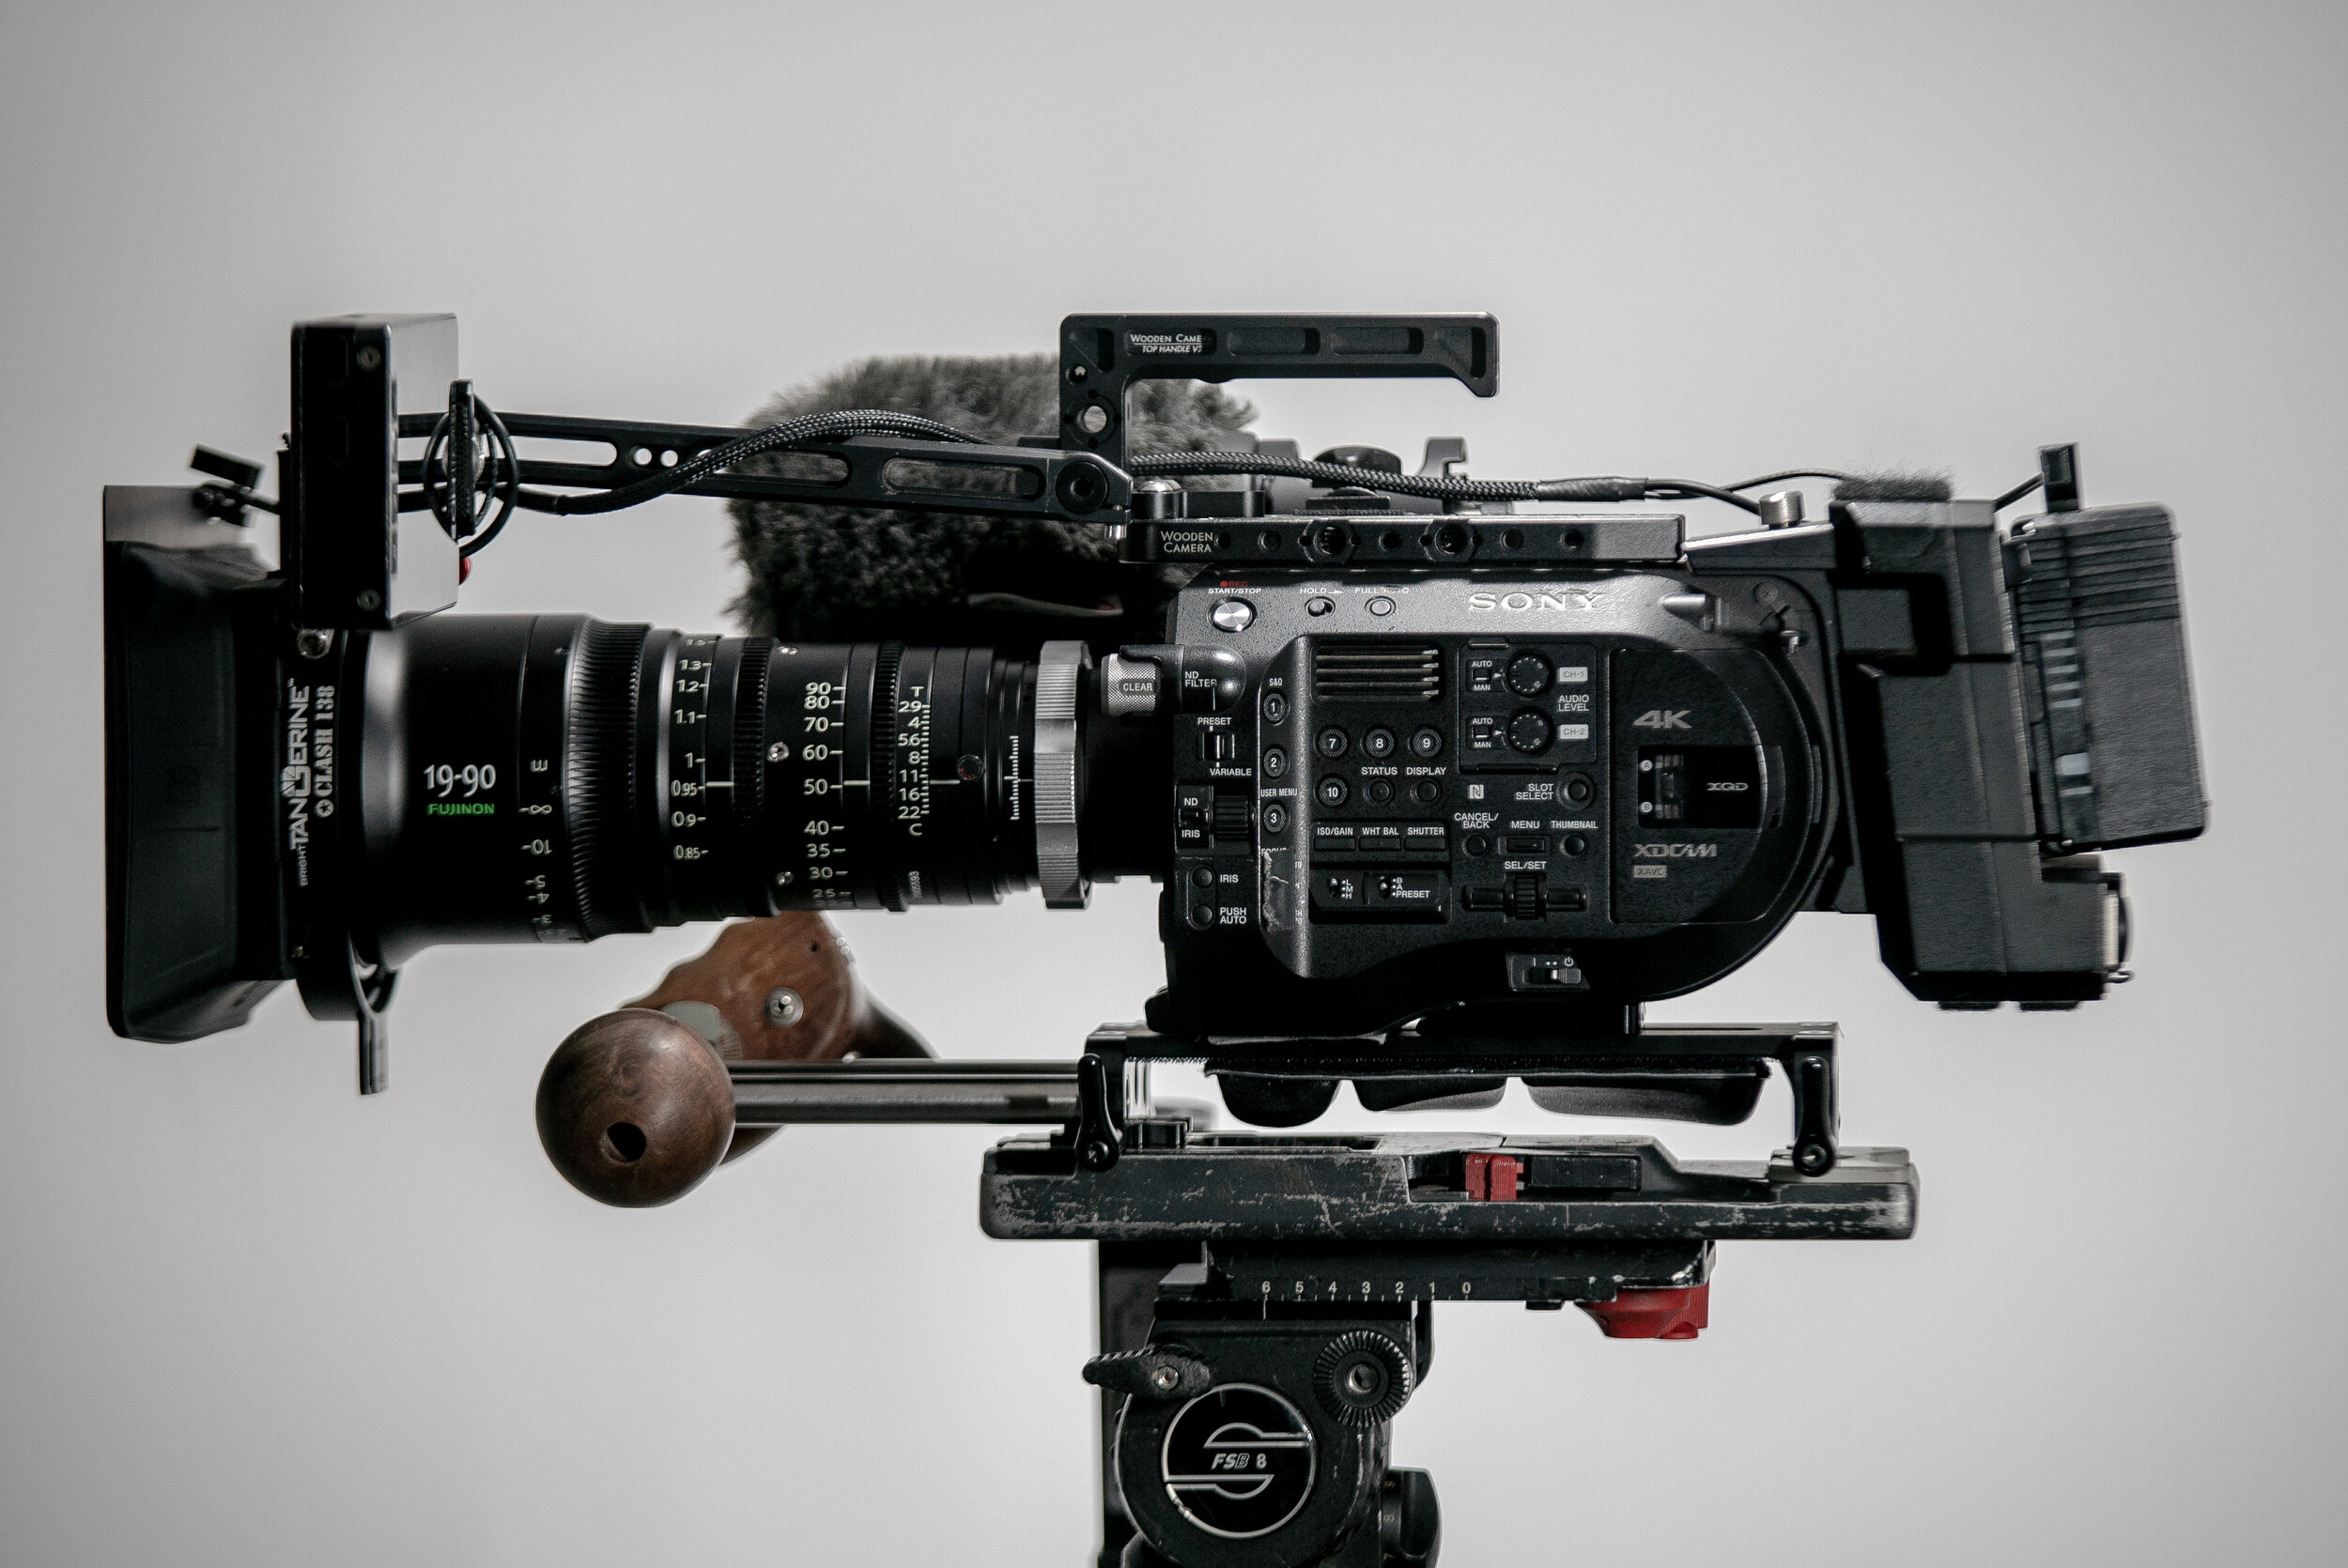
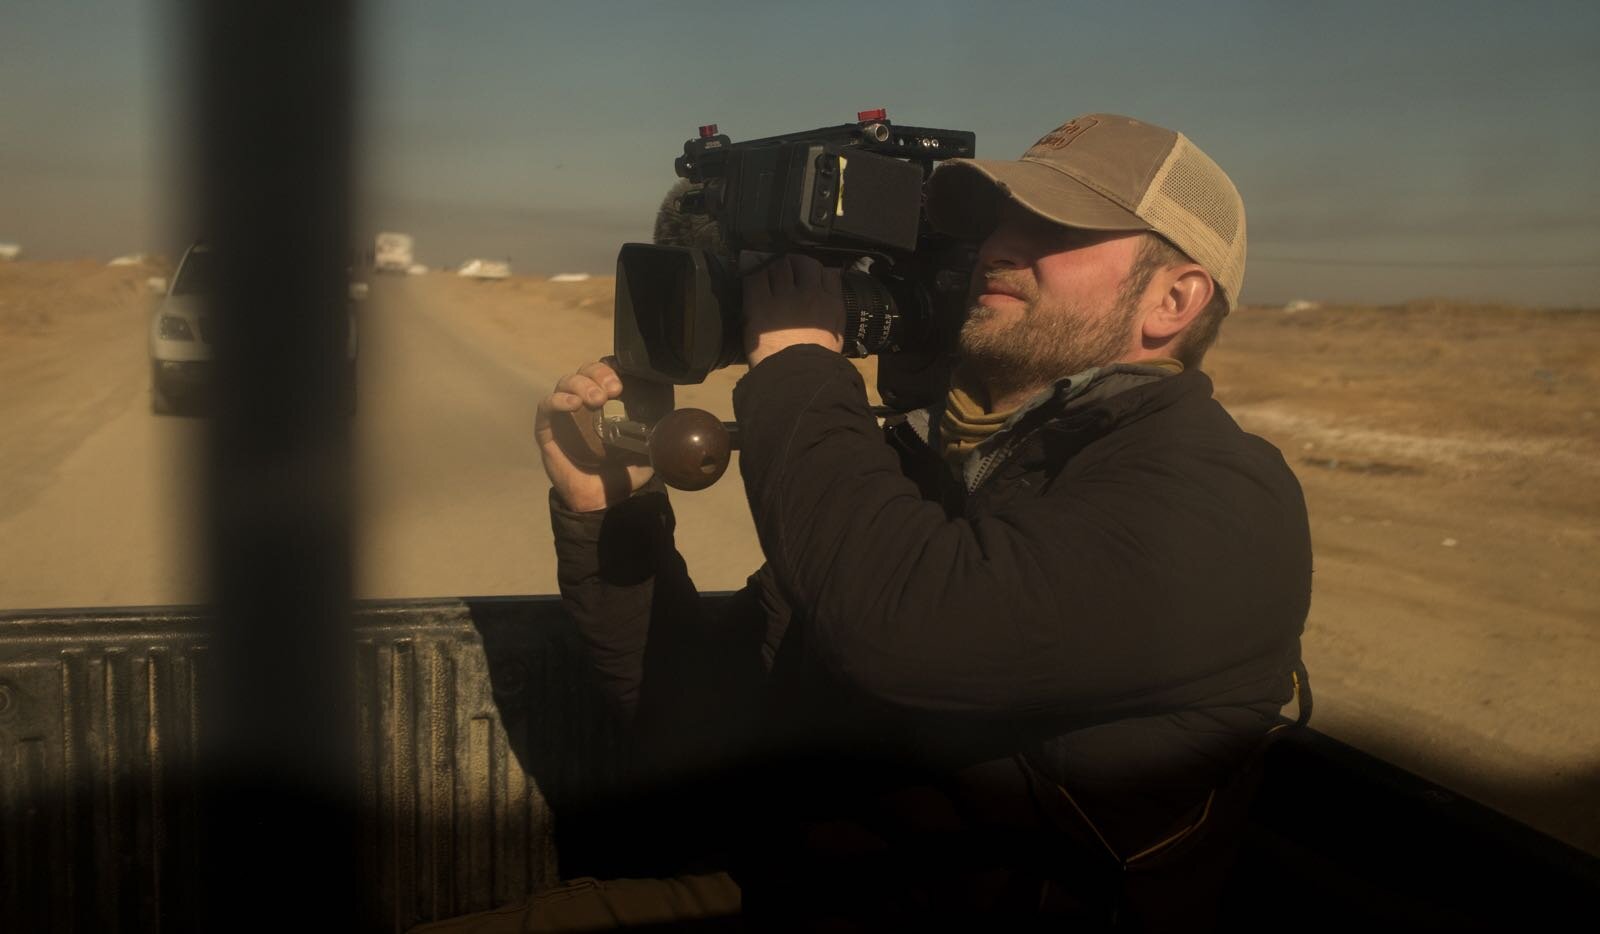
The SmallHD 503 Ultrabright has quickly become one of the go to field monitors for documentary shooters. Its size is compact and it has the ability to increase its brightness to be viewable outside in bright sun. Comes with a pleathora of exposure and focus tools. As illustrated in the first image on the page, I use it basically the same way I would use the stock monitor. Mounted at the correct distance out in front of me using the XL NATO rail and often combine it with this Hoodman Sunhood to cut down on reflections when out doors.
The hood is not perfect as it was designed for a DJI Phantom 4 controller screen, but I haven’t been able to find a better fit, and Hoodman refuses to make one for the 503 (I’ve sent lots of emails…).
I use this 30” SDI/Lemo cable from Zactuo to power and transmit the image out of SDI 2 with the camera overlays being sent to the monitor.

Vocas Viewfinder Bracket for FS7

Wooden Camera UVF Viewfinder Mount for FS7
Vocas Viewfinder Bracket Kit for Sony PXW-FS7/FS7 II
Price: $220.00
If you use the stock FS7 monitor, do yourself a favor and replace the stock mounting brackets. They’re garbage. Wooden Camera sells are placement kit which I believe was the first on the market, but to be honest, it has an inherent design flaw that allows for horizontal drift on the monitor. I constantly found myself trying to reposition it and tighten it to get it level.
This brings me to the Vocas replacement bracket. It is designed slightly differently to avoid horizontal drift. There can be some play (front/back) but that is easily adjustable on the fly and won’t have you constantly wondering if your viewfinder if level.
Additionally the NATO rail in the Vocas viewfinder bracket its the perfect length vis-a-vis the length of the FS7’s monitor cord. While the Wooden Camera NATO UVF may be able to extend longer, you can only go so far out due to the length of the monitors cable - so the feature is sort of a moot point.
It attaches to the camera via 15mm rod into the stock Sony handle’s rod port, a top handle like the one listed above, or a 15mm rod tube clamp like this from Wooden Camera bolted on to the front of the top plate. It has 2 mounting holes which prevents horizontal drift, I don’t believe the Small Rig version does. Its robust and better built than the Small Rig version.
Note: While its possible to use the stock FS7 handle’s 15mm rod clamp to attache theses brackets, the screw is really hard to get to and is prone to stripping. Please see above “Special Screw” from Small Rig that solves this problem.

Latest version of the Z-finder for the FS7

Zacuto Z-Finder v2
Price: $522.00
The stock loupe shipped with the FS7 MK1/MK2 is not fantastic. Don’t get me wrong, Its fully functional, but its length can cause some neck strain if it is not located far enough forward. Additionally is notoriously poorly made - drop it a few times and it will be in several pieces before you know it. Zacuto’s replacement is built better, has solid attachments and most importantly is shorter in length. Allowing it be be positioned in a way that does’t require you to move your head to an uncomfortable at an angle to see through it.
If you love using a loupe - check out BlueStar’s eye cushions pads ($10.00) that attach to the loops rubber eyepiece. Makes it softer, more comfortable and helps with moisture build up.

Stock photo of Hoodman350 on a DV cam. It ships in black, not grey)
Using the Vocas EVF Bracket and Hoodman Sunhood
Hoodman HD 350 Sunhood
Price: $25.00
Loupes are not without their problems. While they effectively block light and magnify the viewfinder image for critical focus I always found myself fighting the a foggy optical element and having to lift it up to see the screen when shooting from the hip.
Prior to switching to an a 5” HD monitor at my primary tool, I slapped a sunhood on the monitor and just taught myself to feel comfortable judging focus off the peaking and using the focus mag tool. It kept the rig light and was easy to go from the hip to shoulder in a flash.
I still keep one in my kit incase a shoot requires me to go ultra light and make the camera a smaller more nimble package (no external monitors, v-locks, etc)

Small Rig cold shoe bolted on a Wooden Camera top plate.
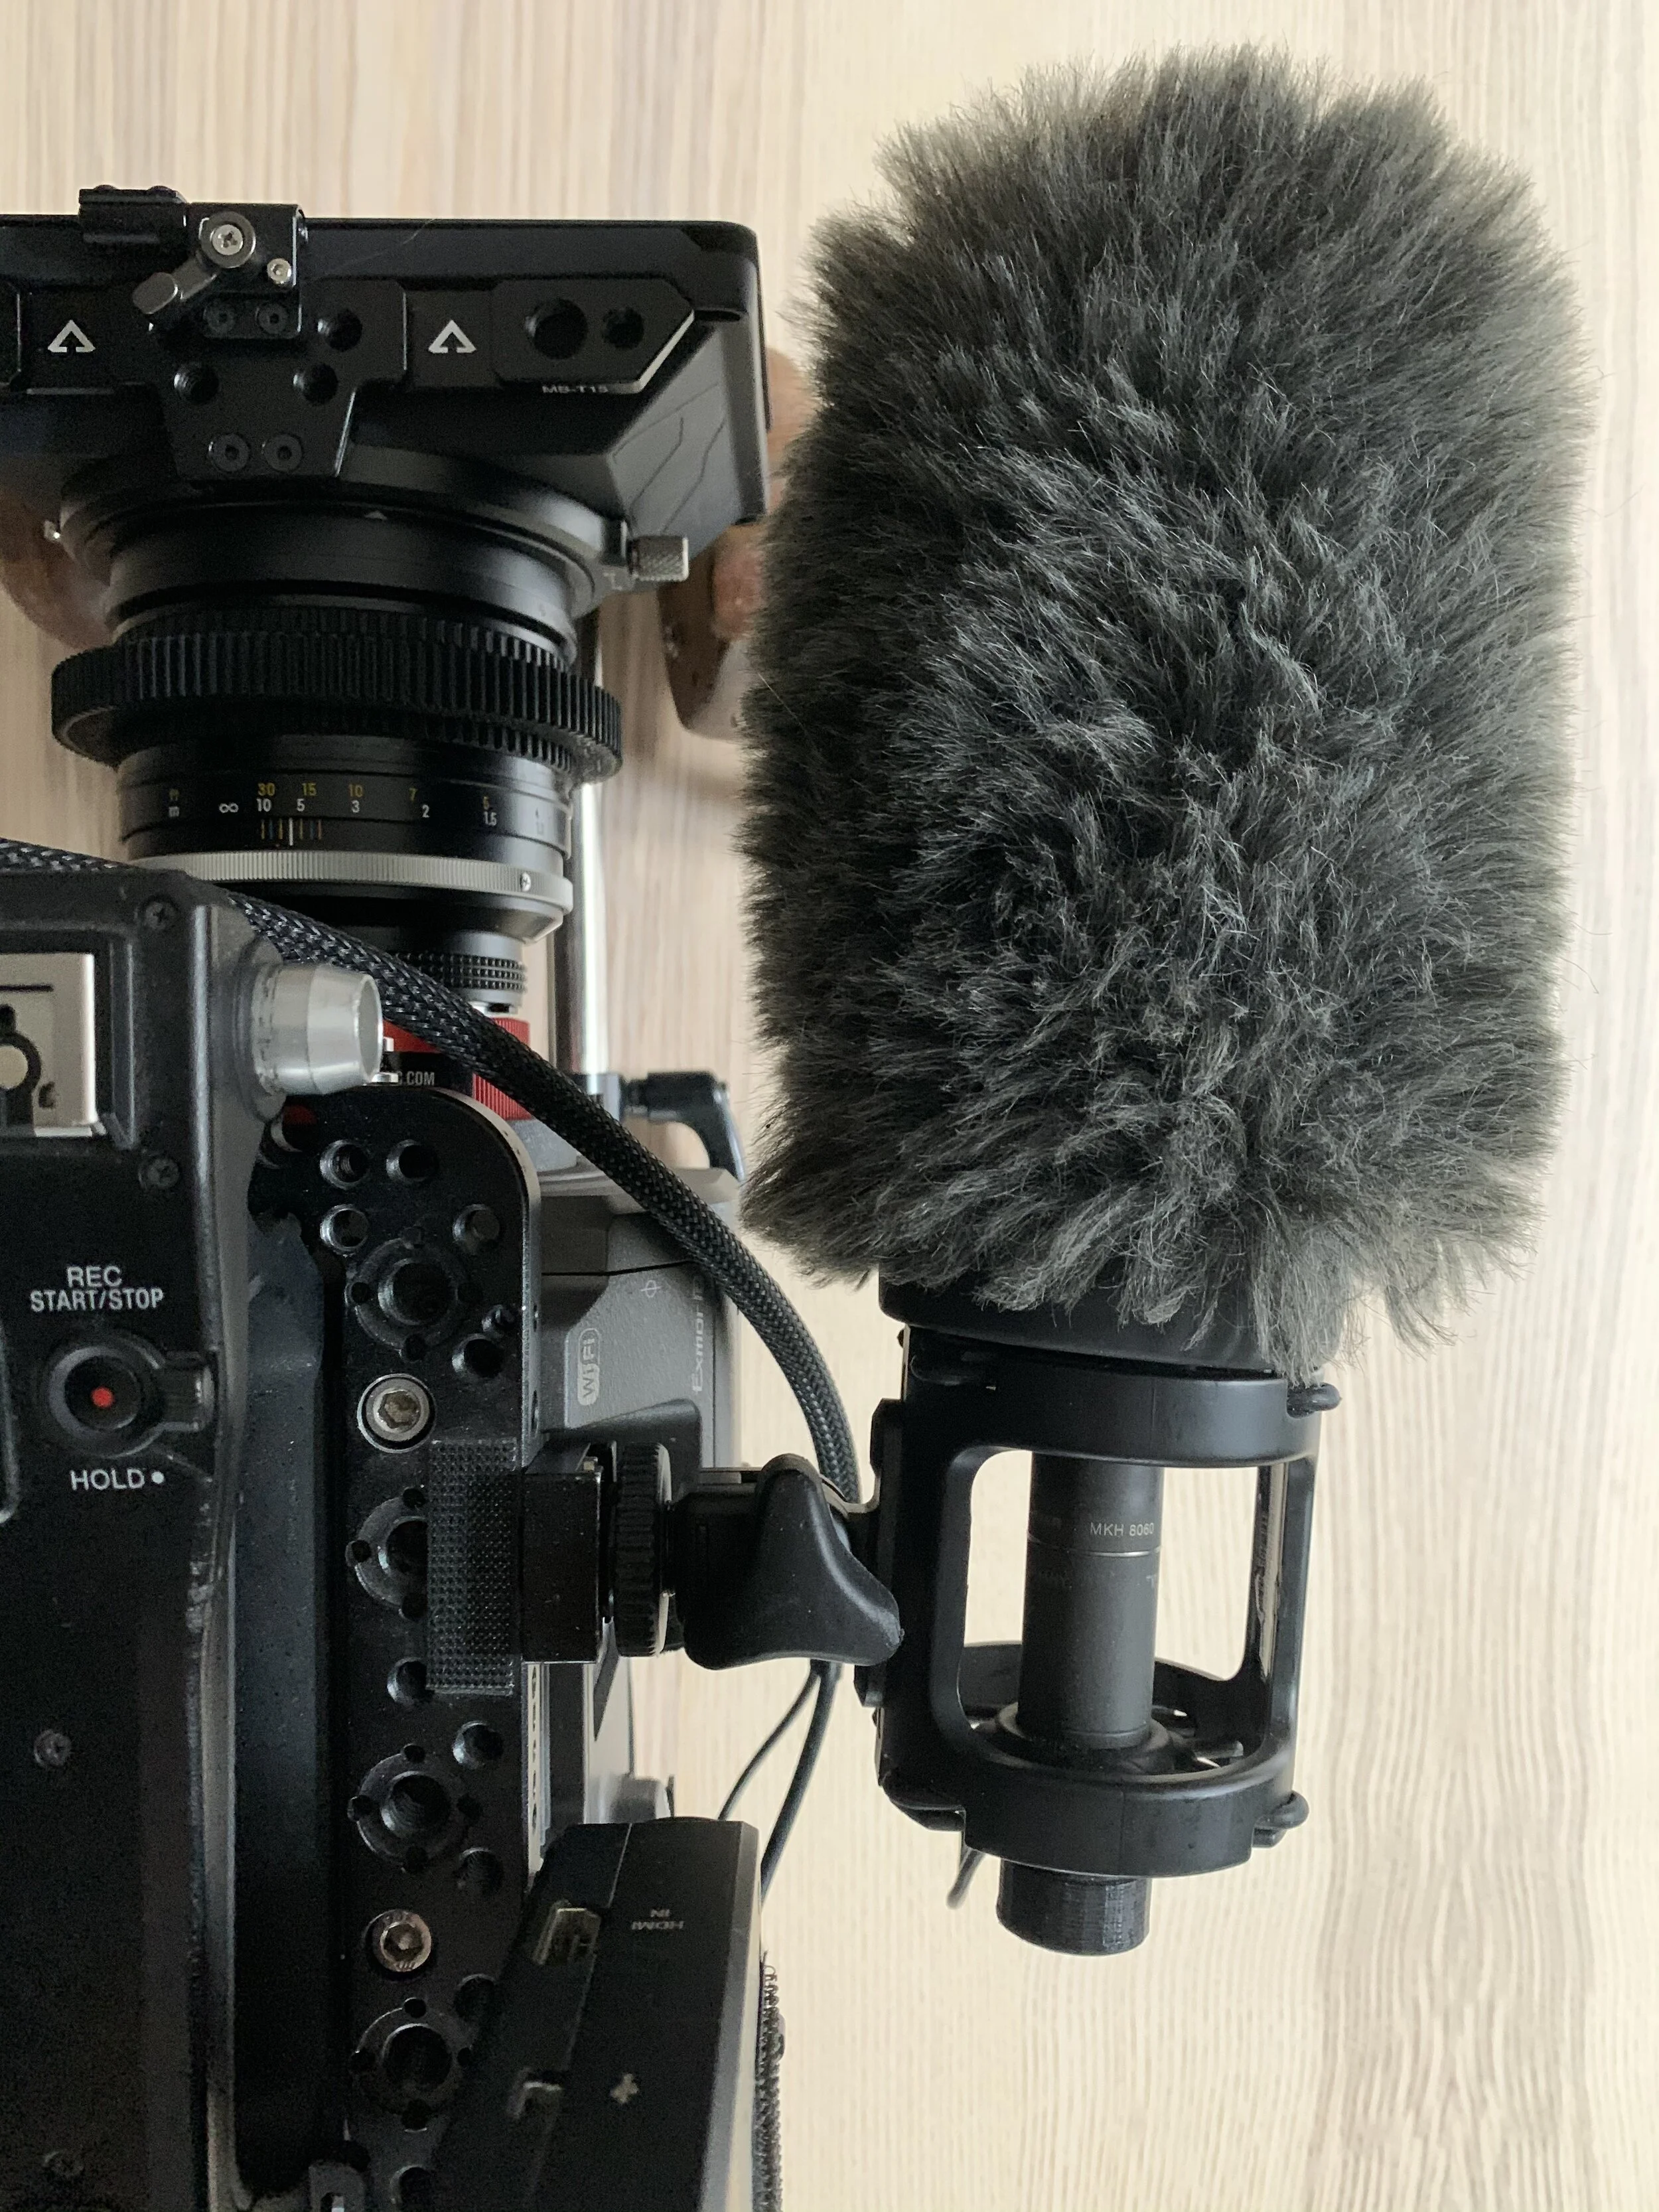
Auray DUSM-1 Universal Shock Mount
Price: $40.00
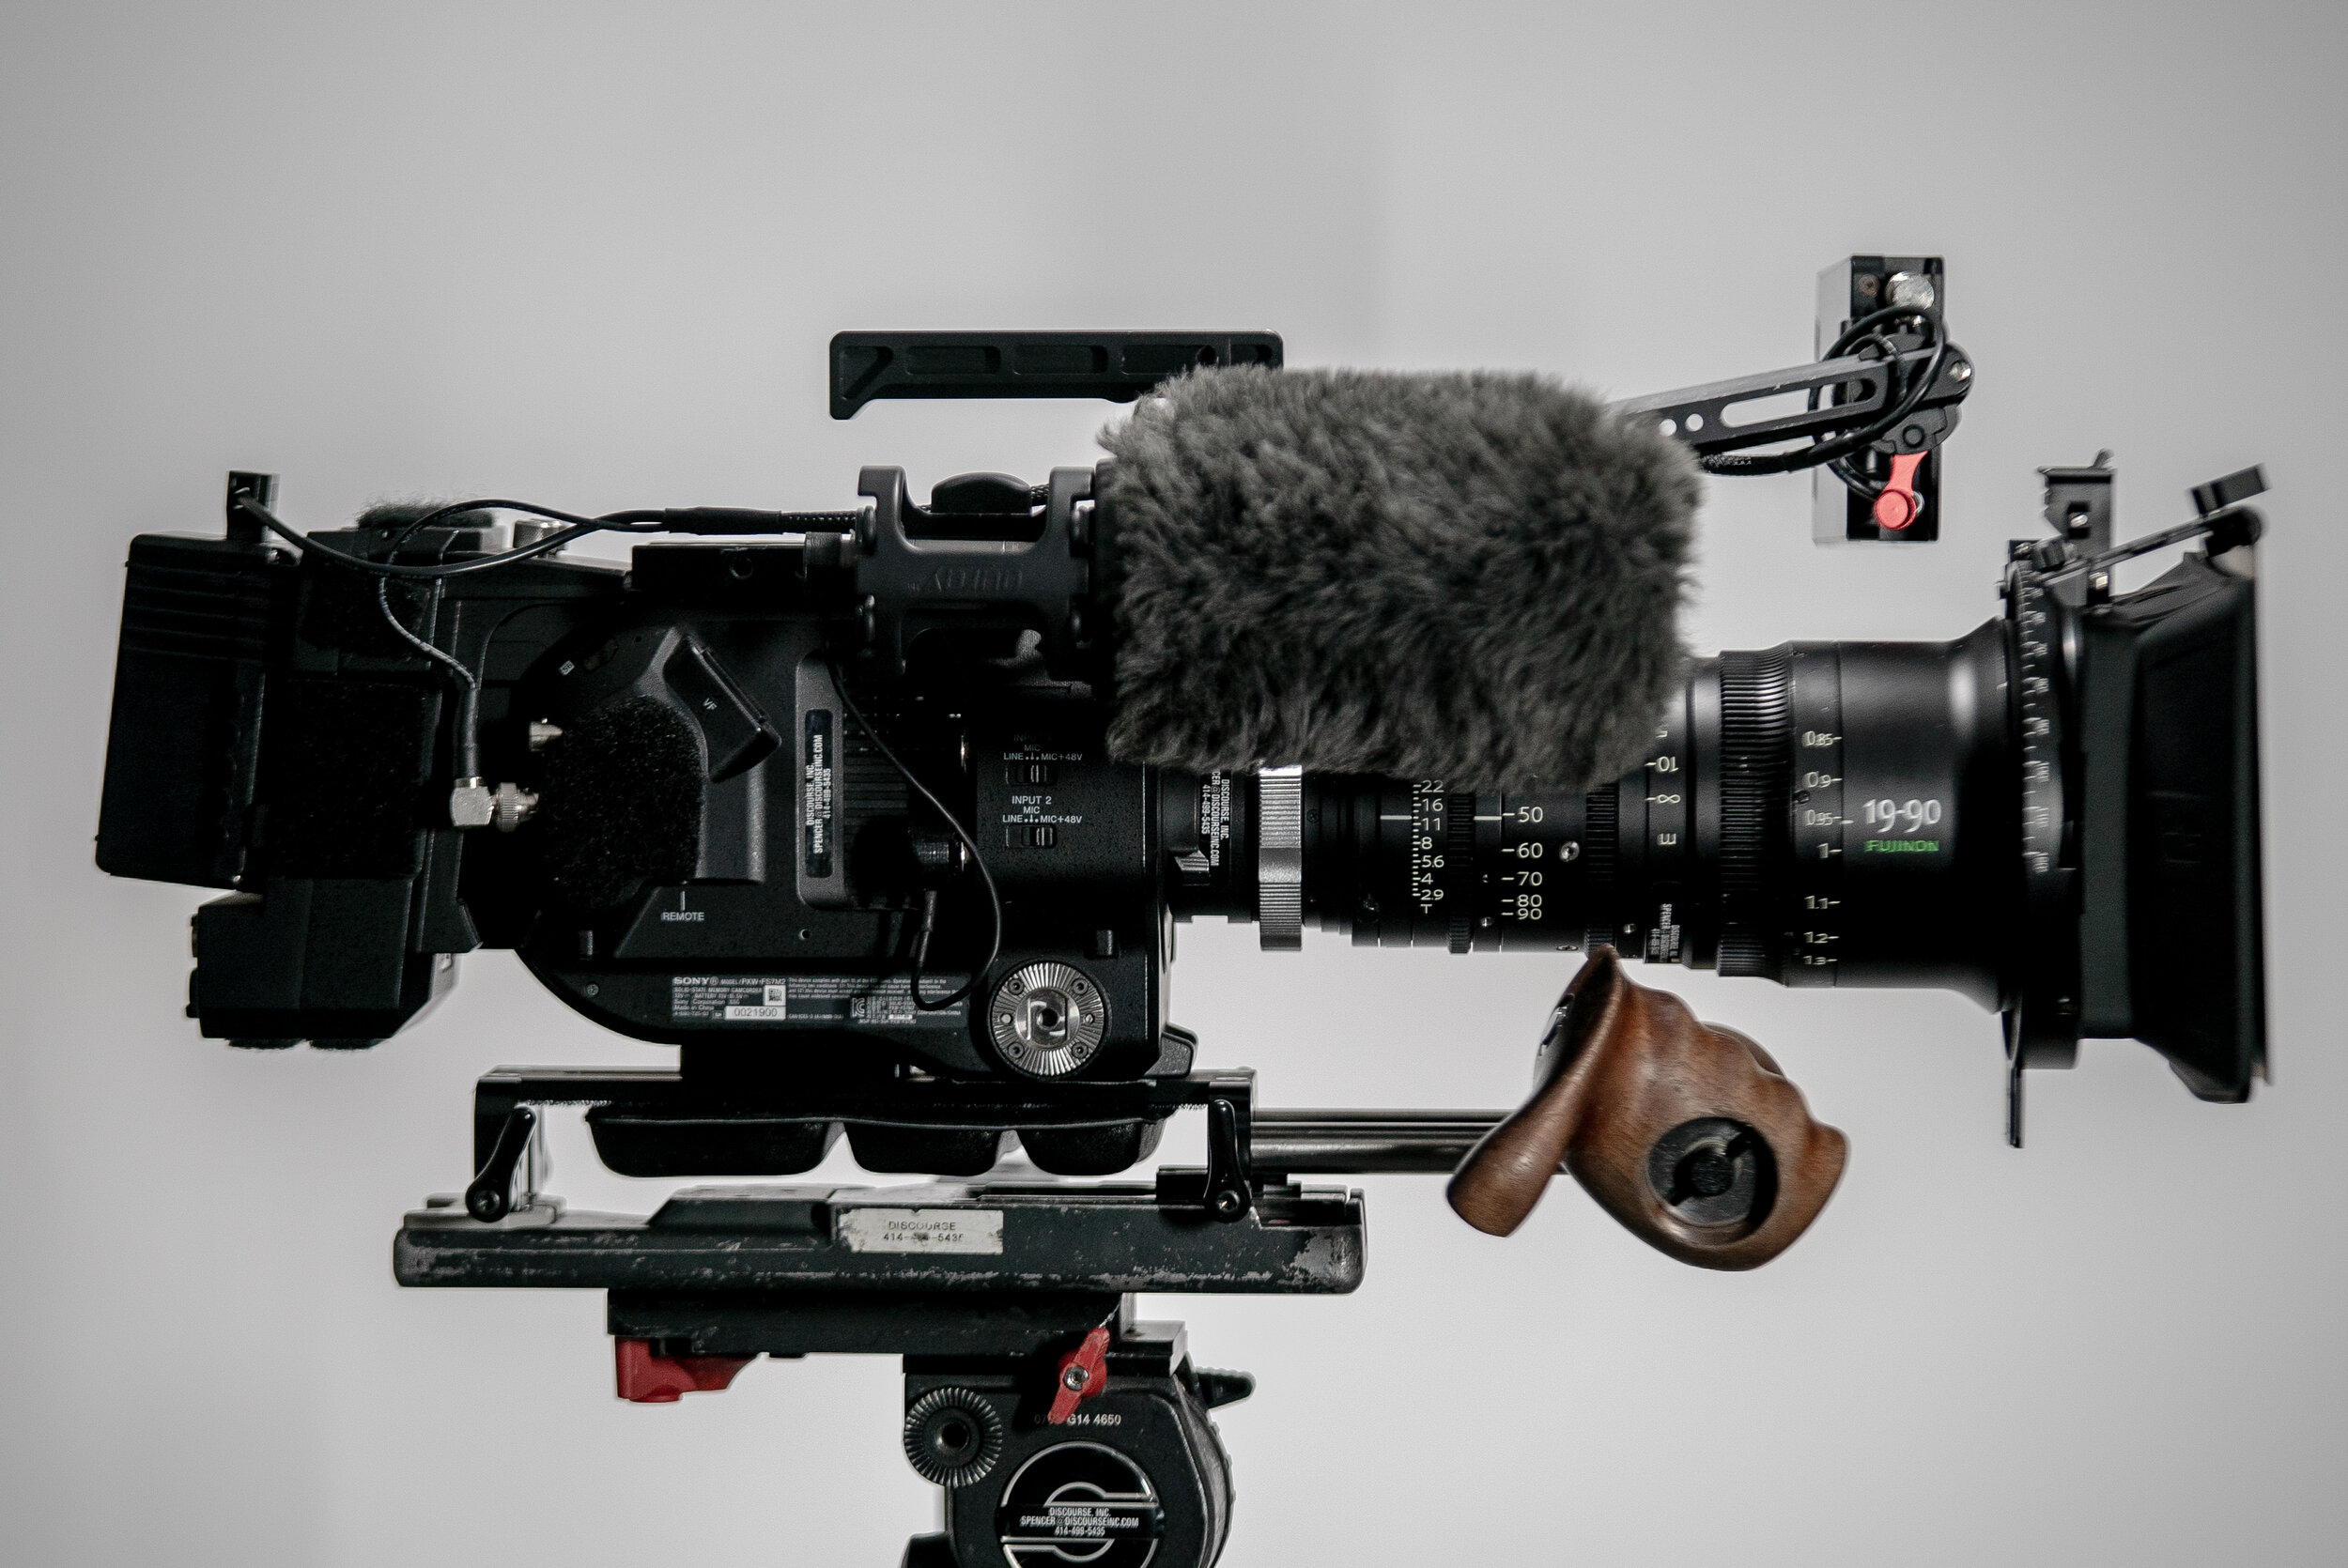
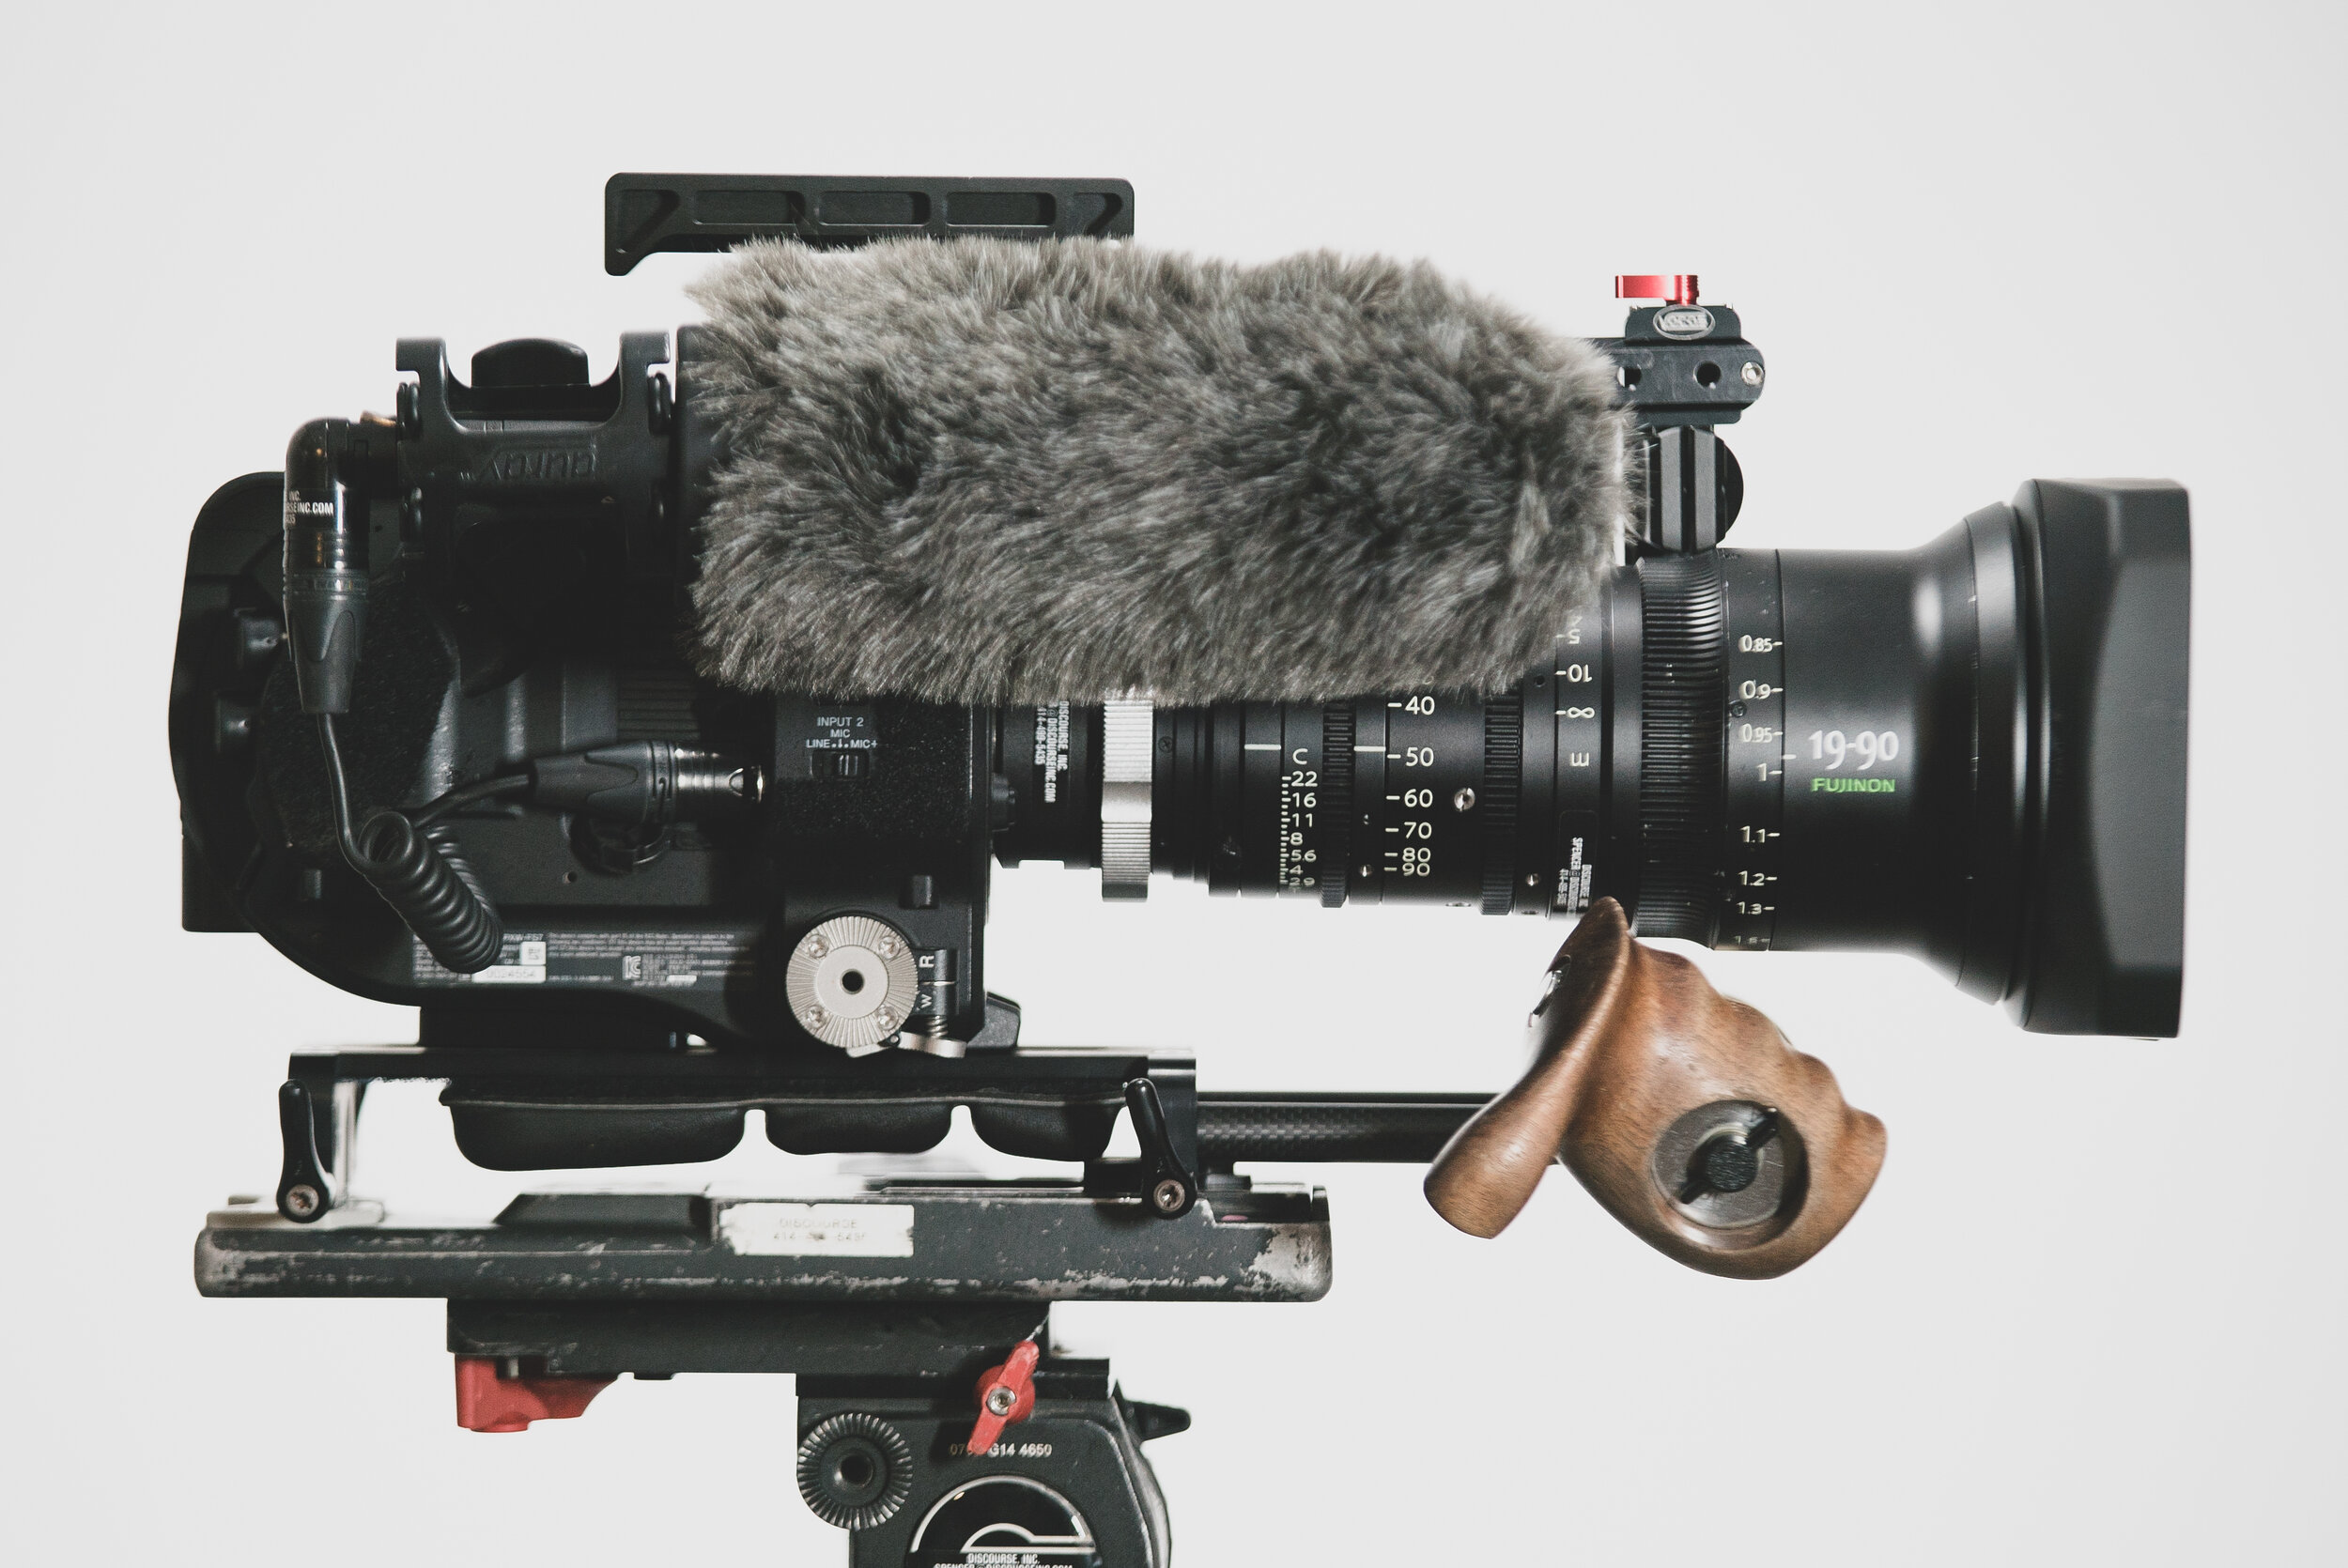
When using any top plate, its a good idea to relocate and re-mount your shotgun mic. Why? Depending on the length of your shotgun mic you may catch a bit of your deadcat/foam wind guard when you are at your lens’ widest focal length. Additionally the stock mount that comes with the camera is not very solid and sits very high on the camera. Use this universal shock mount in combination with a bolt on cold shoe to mount your microphone further back and lower on your rig via a top plate of your choice. If you look at the photos at the top of the page you will see a larger Sennheiser 416 and a shorter 8060 on the two different setups. So you can mount it at a different positions based on the length of the shotgun mic.
I suggest this shock mount over Wooden Cameras or Small Rig’s shotgun mic mount as the rubber is thicker and more durable - and since you mount it with a bolt-on cold shoe, can be mounted on a variety of FS7 top plates.
This cold shoe from Small Rig is cheap, allows for 2 bolts holes to securely mount to the top plate prevent cold shoe twist.
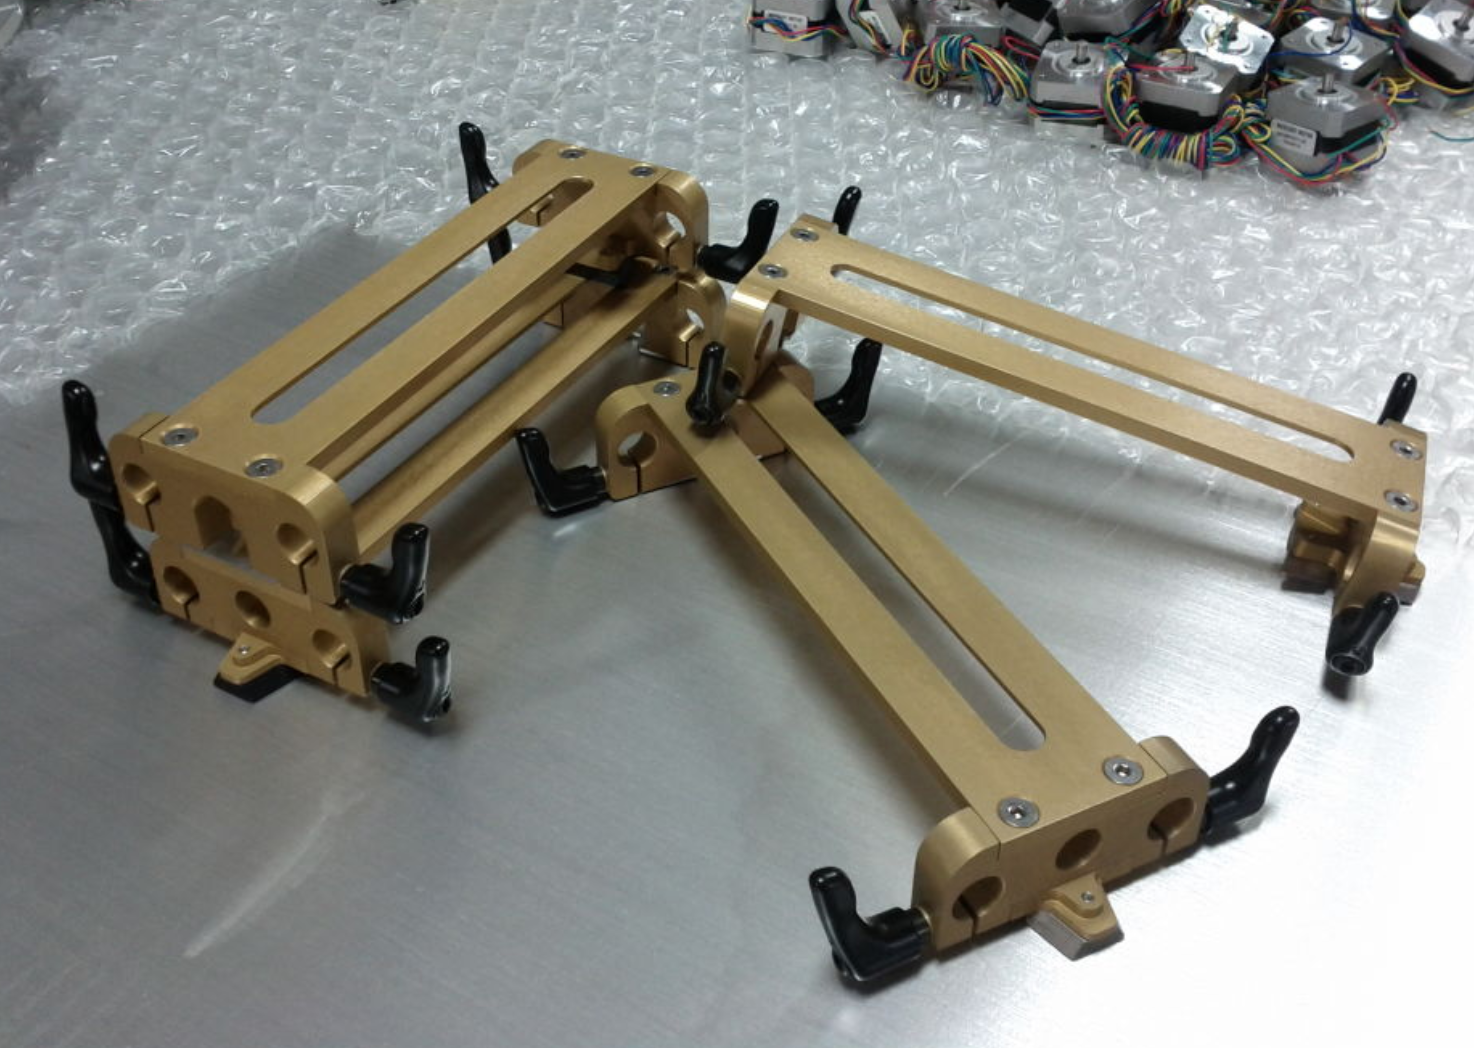
Prototypes of the Rush Design plate. They now ship in Black.

RushDesign Lightweight VCT Baseplate
Price: $600.00
I’ve owned universal base plates from Zacuto and Vocas, along with two FS7 specific plates from Vocas and Tilta. This light weight baseplate from Rush Design is the lightest base plate I’ve ever used and I really love its minimalist design. I’ve written about this in more detail in article for NewsShooter.com, so I’ll leave it this section short. I’m currently using a Shape replacement shoulder pad part ($30.00) as my shoulder pad. It comes out of the box with velcro attached and ready to be stuck on the bottom of the Rush Design plate.
If you are using the FS7 on any universal baseplate I would suggest picking up the Zacuto Baseplate Spacer for the FS7 ($27.00). It replaces the rubber shoulder pad on the camer and makes the FS7 base flat - and creates an additional place to attach the rear of the camera to your base plate. Helps when using heavy lenses/battery combos.
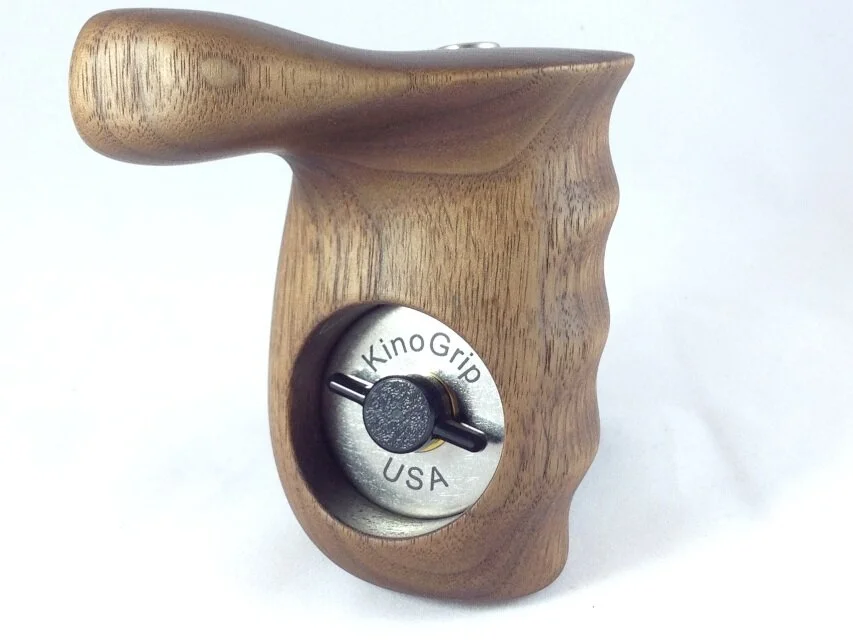


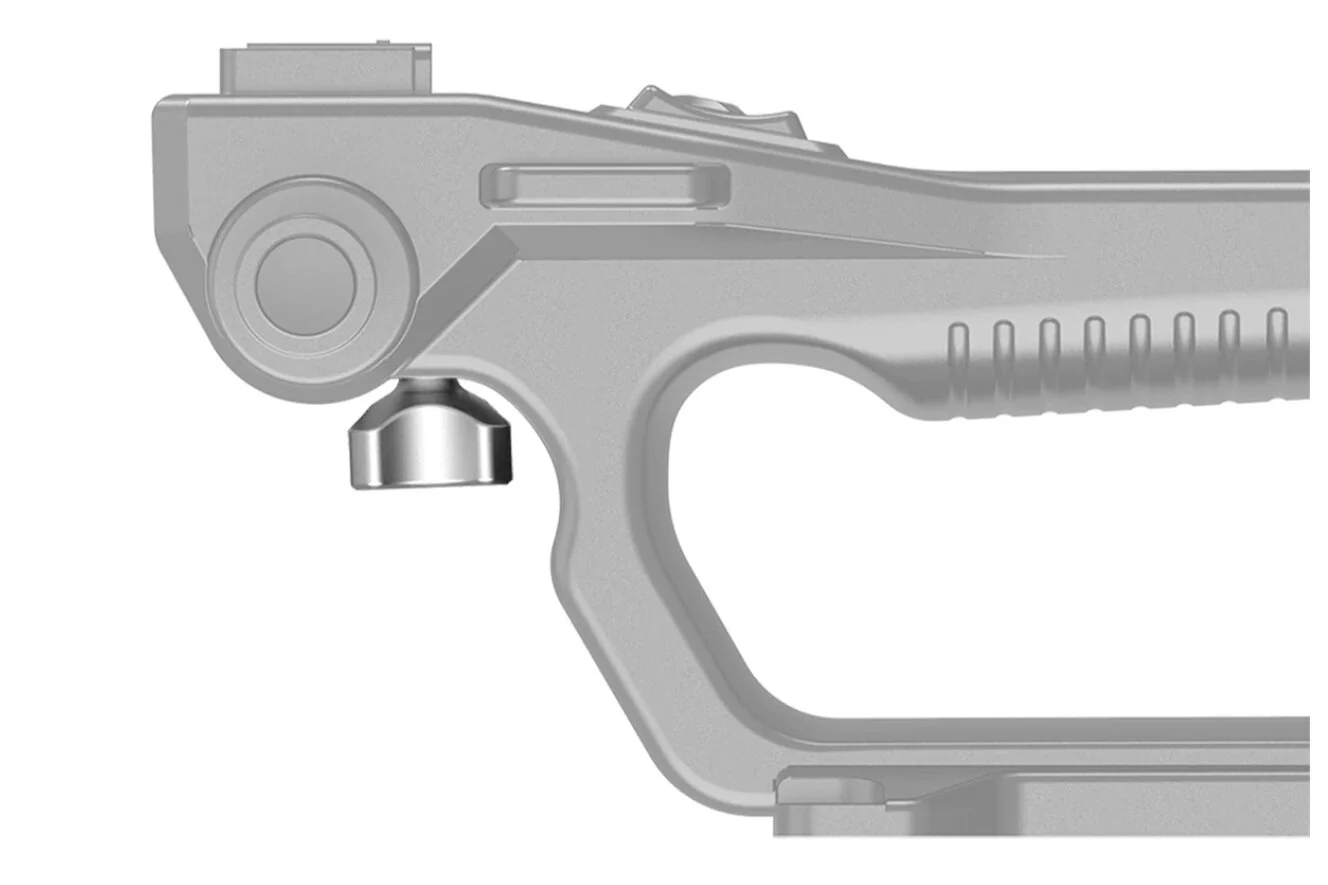
KinoGrip Wood Handgrip / Sphere
Price: $300
In the fall of 2015 I removed the FS7 smart grip assembly from my rig entirely and replaced it with a wood sphere and handgrip from Kinogrip. Ray Thomas hand carves these grips from his base in Arizona in a variety of shapes, wood, and with the option to add trigger buttons. They’re are impeccably made and I’ve grown really attached to them as they have worn over the years. I’ve heard and seen that the quality of other wood grips on the market (Small Rig, Tilta) are pretty bad and lose their finish quickly. While companies like Shape and Wooden Camera also make grips, I find their designs too far of a departure from the Aaton grips that inspired KinoGrips designs. Vocas makes some very similar and nice grips and would be a good alternative if you prefer it. I have them mounted on 15mm rods coming off the Rush Design base plate with the Tilted Vocas Rosette bracket ($110.00 - get a tilted bracket, it creates a more comfortable angle for your wrist). There are budget alternatives but this is the lightest and best designed.
While the handgrip is self-explanatory the wood sphere may not be. Adding a sphere to the left side of your camera creates another point of contact placed in a very handy position near the focus ring of your lens. Since it is not a “grip” you can easily change the way your hand rests on the sphere - you can grip is with your whole hand, support it with your palm, and often maintain contact with it while adjusting focus. With the sphere being mounted directly next to your lens - your focusing hand has less distance to travel to reach the lens - making it easier maintain stability when needing to make focus adjustments.
I also find it handy to be able to set your camera down flat on the ground and the sphere balances out the grip to create a flat base for the camera to be set down on to rest.

IDX 14.4V Li-Ion 96wh BP-U Battery
Pricer: $190.00
IDX came out with some really well designed batteries in 2019 for any camera that takes a BP-U style battery (FS5, FS7 and lots of other Sony Cameras). What makes them great are the two D-tap/power taps and a USB port on the back of the battery. Sony, Core SWX, SWIT and other companies batteries either had no power ports, or just one D-tap and one USB. With these batteries you are able to power multiple accessories at once (say a Small HD 503 monitors and a Teradek transmitter). If you’re ordering a Sony FS5/FS7, skip Sony’s stock batteries and pick up 3-4 of these. They will future proof your setup in a sense - allowing you to add more powered accessories down the line. These batteries can also be charged by a d-tap wall charger that IDX sells as well.
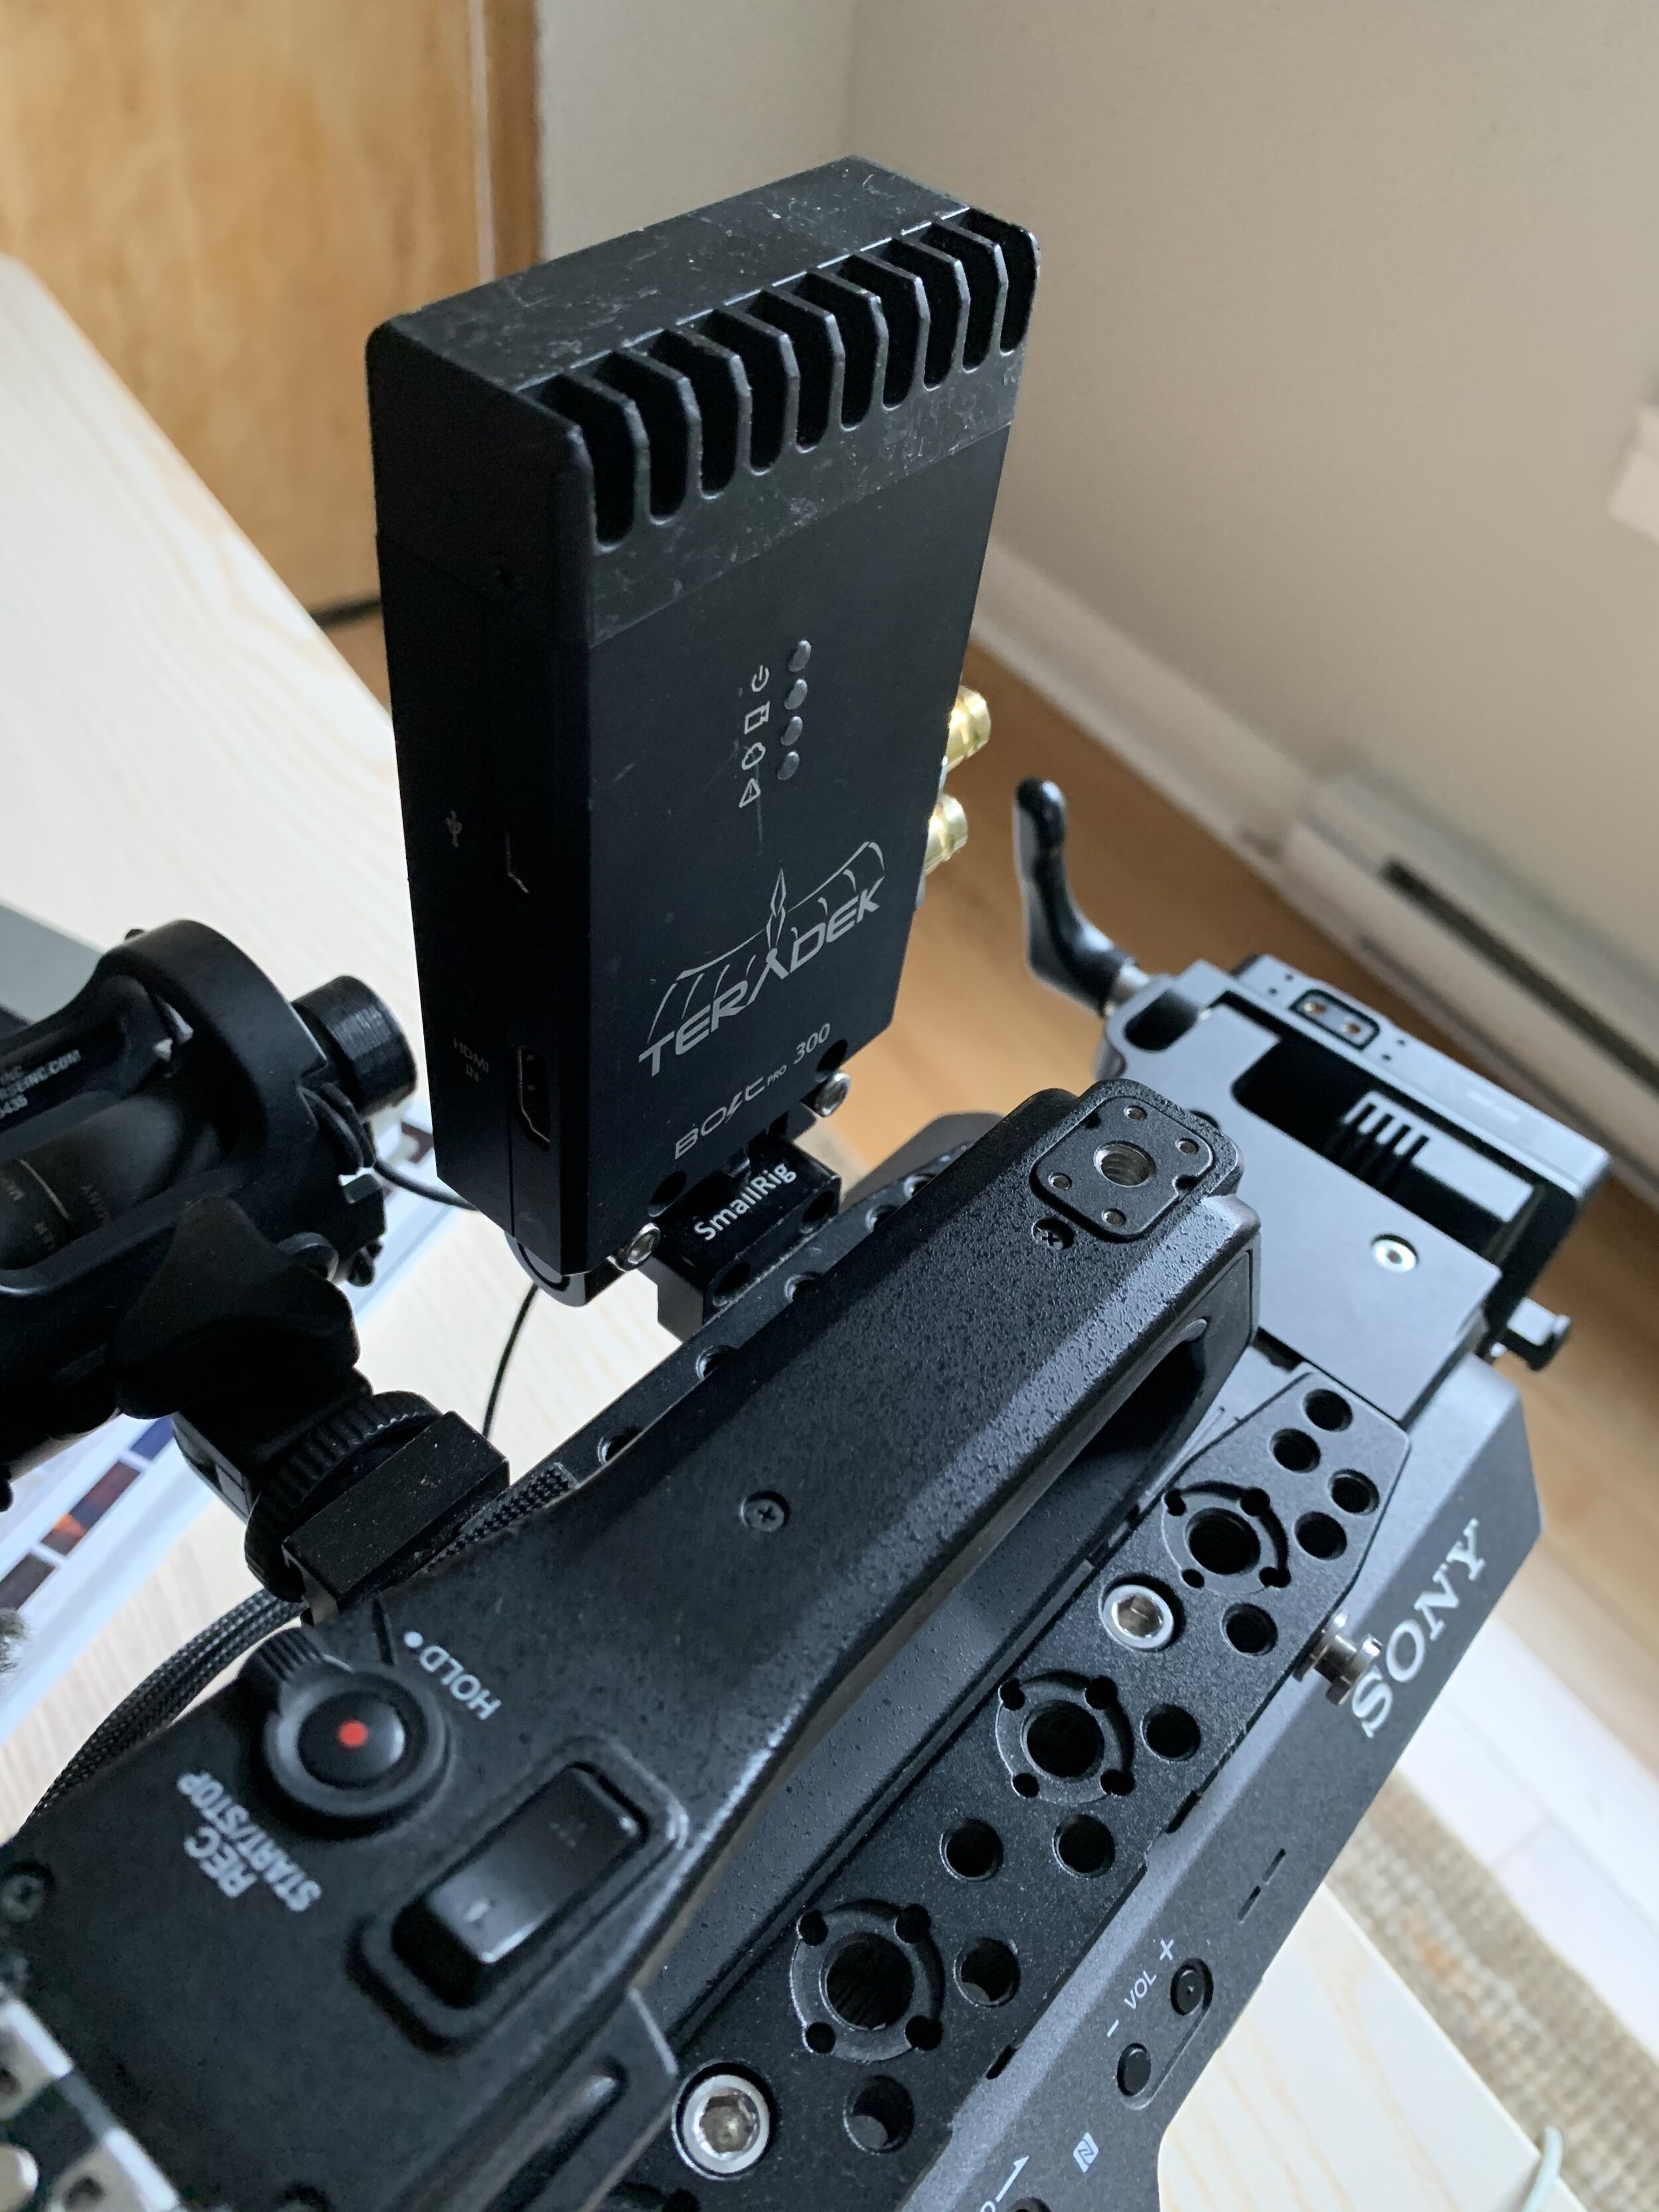
Folding Teradek Bolt Mount (Small Rig Monitor Mount)
Price: $40 USD
When I began doing shoots that required wireless monitoring for directors I had a difficult time mounting a Teradek wireless video transmitter in the way that made sense. After several failed attempts I found this part from Small Rig that has been very helpful. It mounts via 2 screw to the side of the camera’s top plate, just above where the stock monitor plugs in. It then screws into the bottom of the Teradek transmitter. Since its is able to fold, you can easily tuck the Teradek transmitter down along side the camera and then bring it back up when needed.
Video of how this functions here: https://youtu.be/At0AGVQt5q0

SWIT S-3602U Dual Charger/Adapter for Sony BP-U Batteries
Price: $170.00
Having a dual bay charger for your batteries is a really nice convenience. This one from SWIT is well built and I haven’t had any problems with it over the last few years I’ve been using it. Other companies make similar chargers (Watson, etc) for cheaper, but I’ve had some durability problems with Watson in the past (for my A7sii batteries) and would rather pay a bit more for something that I think is built better.
Heavy Duty Velcro (Hook & Loop Tape)
Price: Varies - get it at your local hardware store.
Velcro is one of the most useful tools for mounting accessories such as wireless microphone receivers. I have covered most available surfaces on my camera with the the “soft-side” portion the Velcro including the flat spots on the “dumb” side of the FS7 near the XLR inputs and SDI inputs. I find that most sound operators have hard-side velcro on their timecode, hops, and lock-it boxes and it saves time to just have the camera permanently ready to receive them. I also use the “hard-side” on my own Sony Dual Channel receivers. The velcro then makes it very easy and fast to pull off (ex - to change batteries) and re-mount my receiver with out fiddling with cold shoe adapters.
Did you find this list helpful and wish you could “buy me a beer” for the trouble it might of saved you in outfitting our you camera or solving a problem with how its rigged? Now you can!
Please share if you found this list useful and tag me on Instagram @spencerchumbley and/or Twitter @spencerchumbley